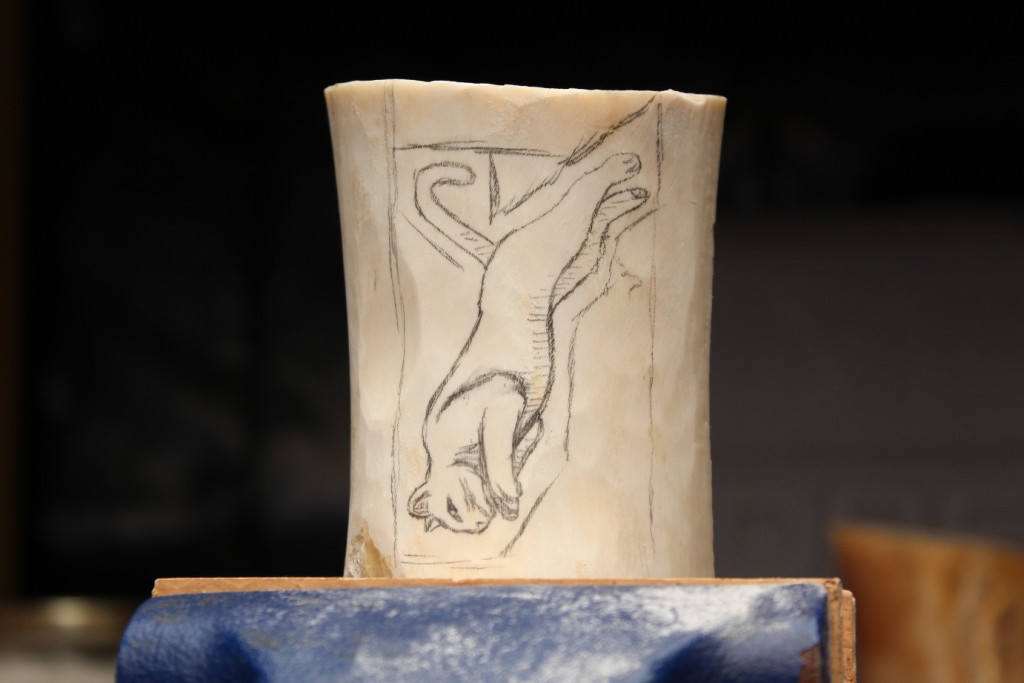
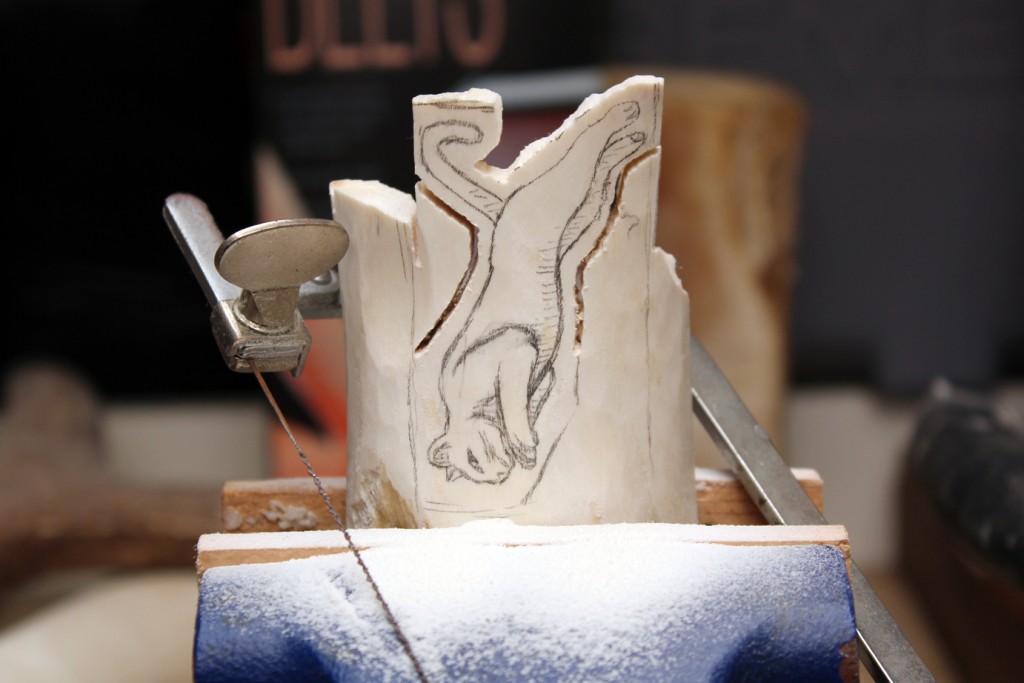
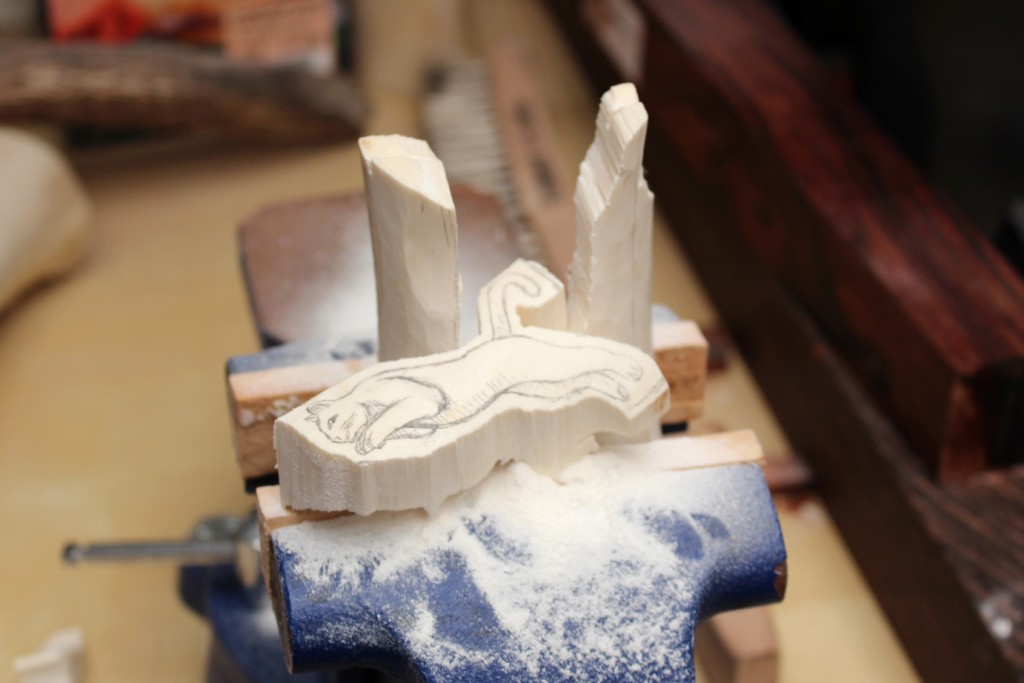
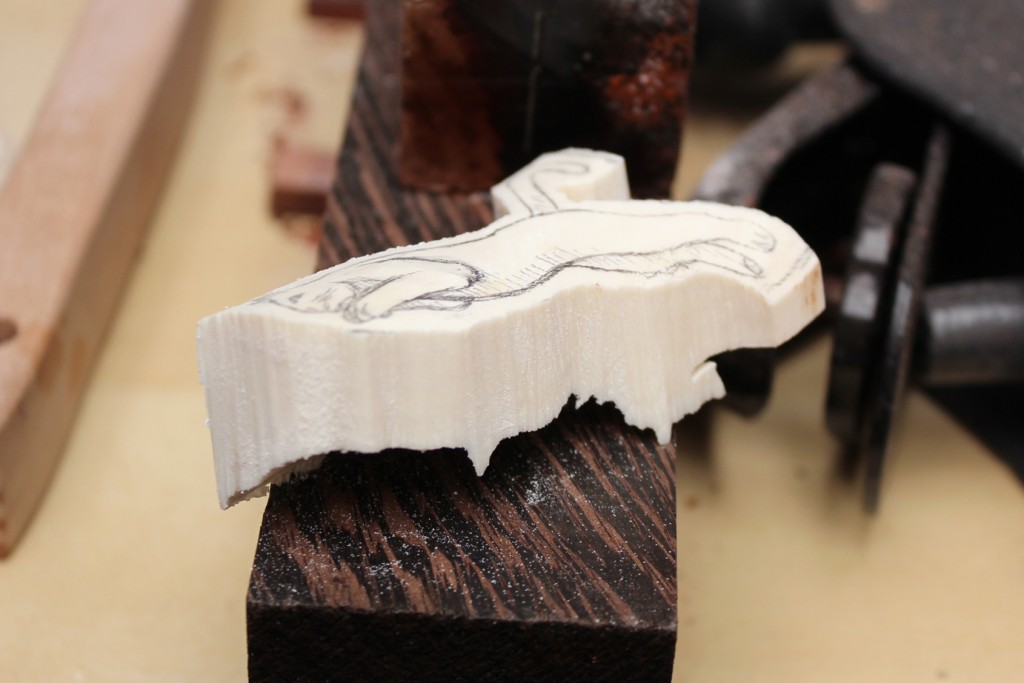
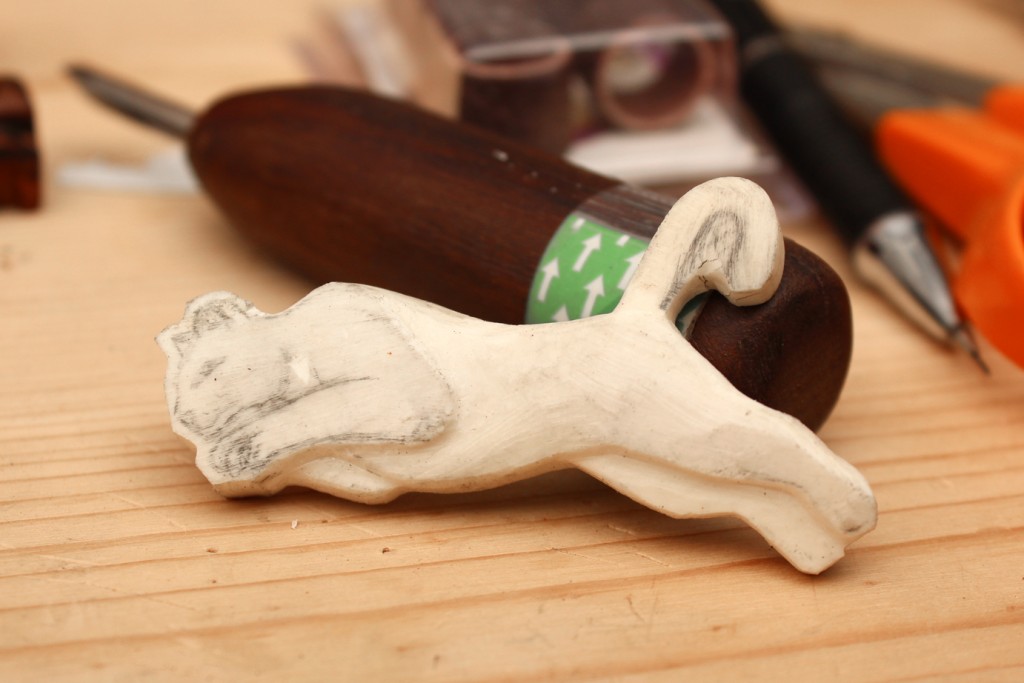
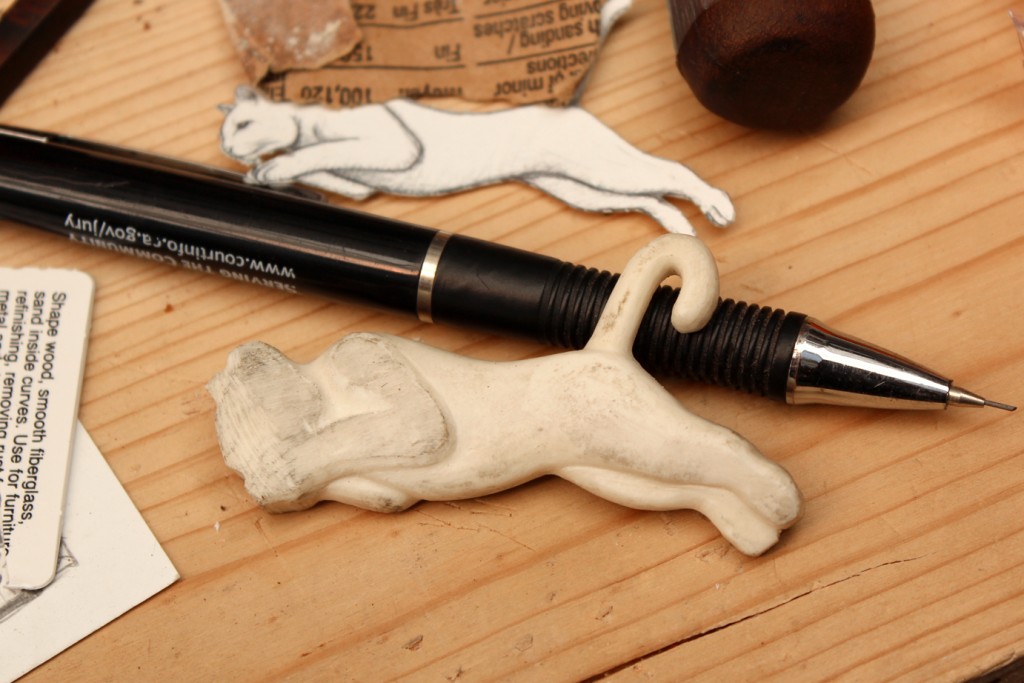
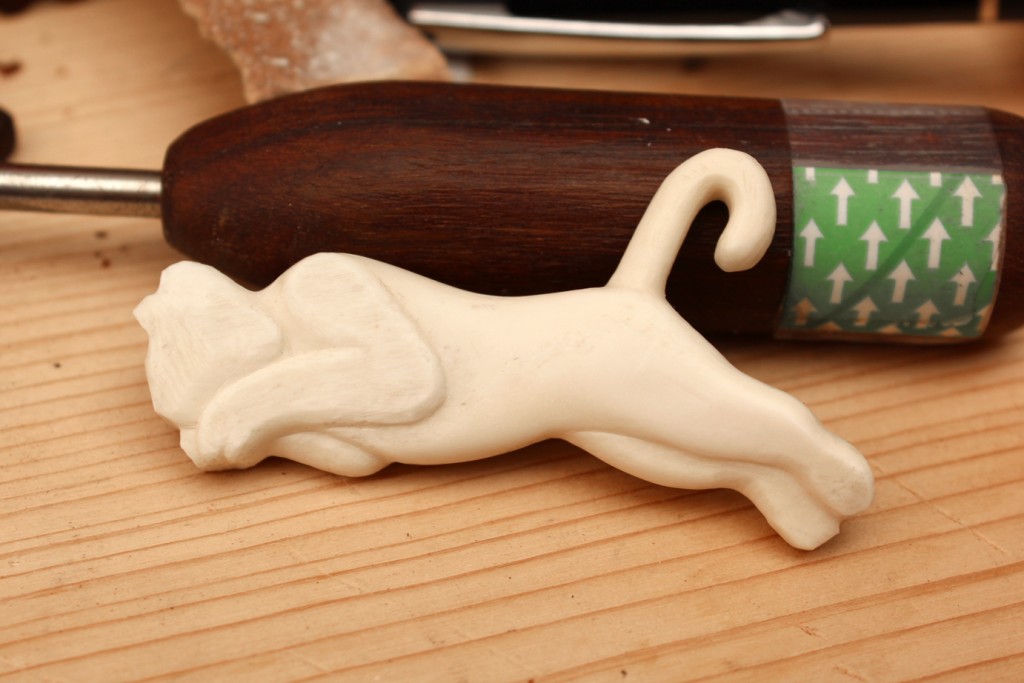
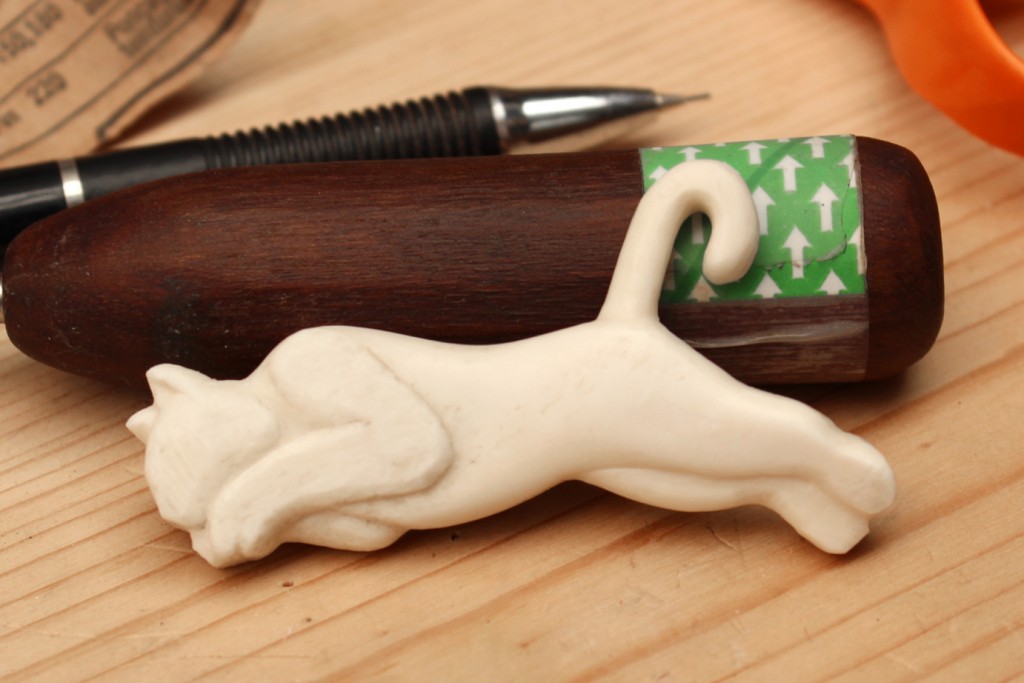
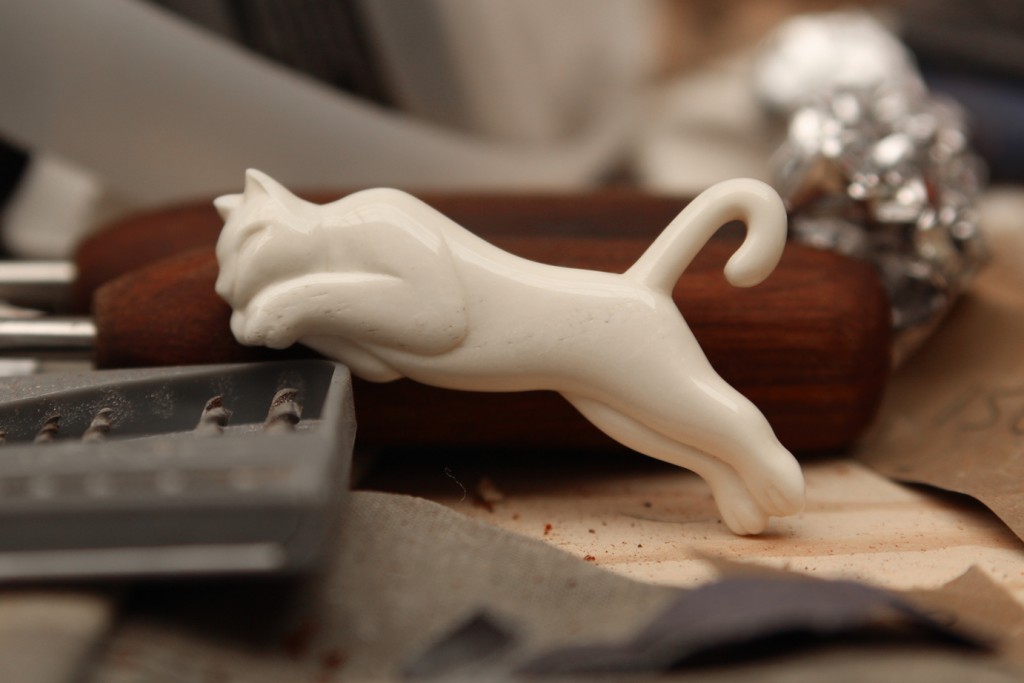
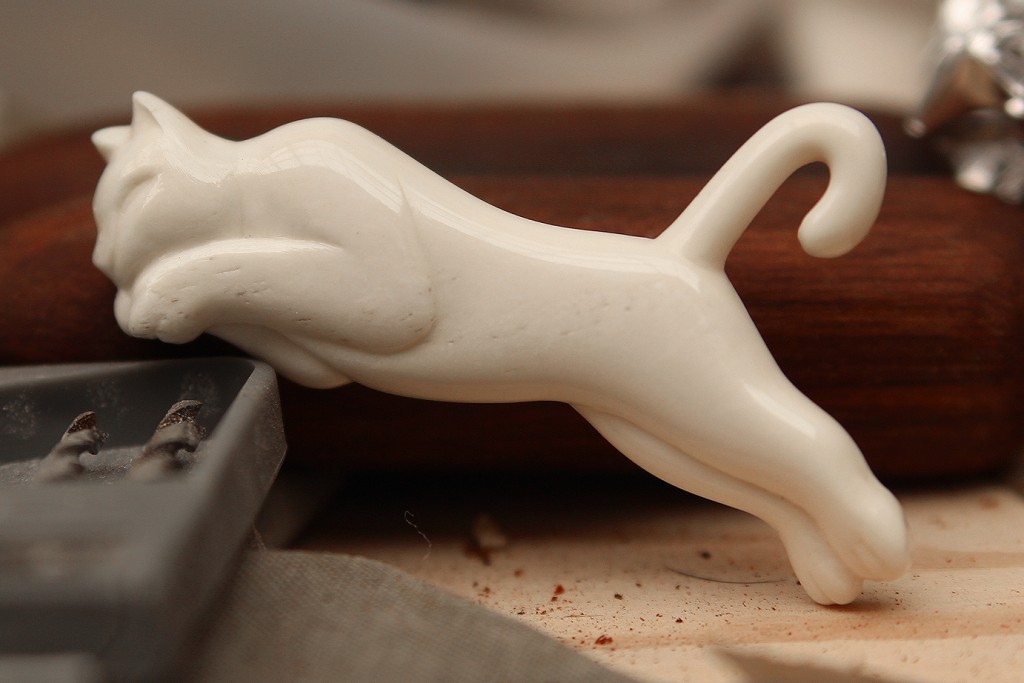
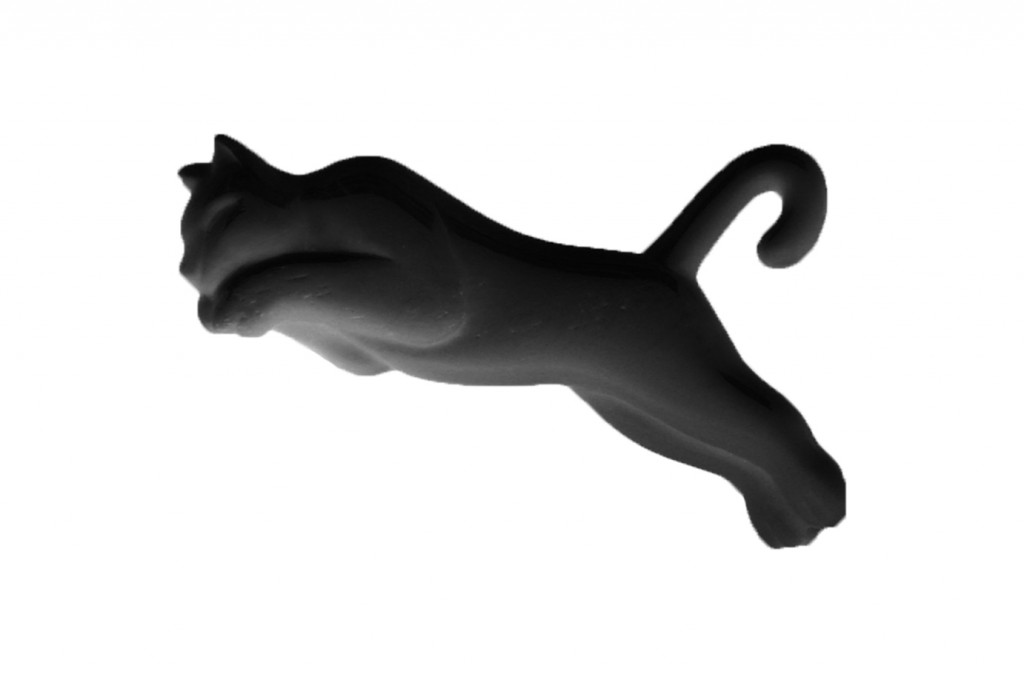
This is the piece we did the dye tests for. I like the texture that came out of the surface so I’m hesitant to attempt to dye it black but whatever the patron chooses will be ok. This design took much longer than In anticipated even though I tried to keep it very simple. It feels like I carved it several times over before I was happy with the proportions. I learned a lot especially using the graver tools and carving in relief. If we try to dye it I am not sure how the piece will turn out but I am eager to see.
Tag Archives: black bone carving
Panther Toe nails – Staining bone black experiment 1: Black Dye Process
The following pictures demonstrate how we prepared and dyed the bone in the first attempt to get black bone without loosing too much of the quality of the bone. (Complete steps in next post)
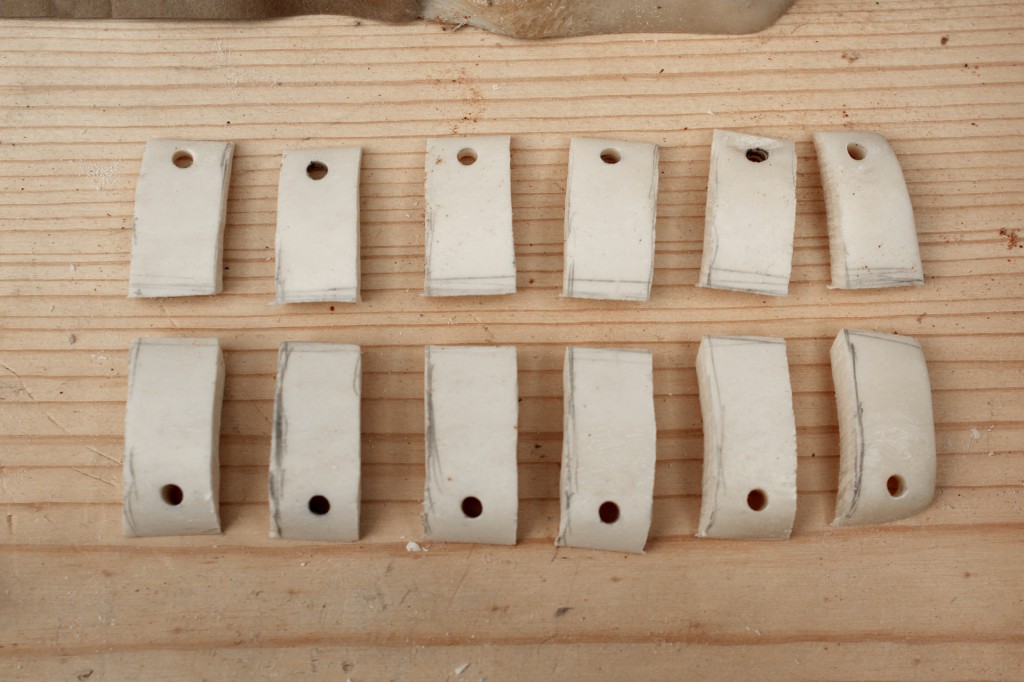 (Above) First off, I made 12 ‘Panther toe-nails’ from two slightly different pieces of bone. I sanded the front of all up to Fine 1500 grit and left the other sides at Coarse 100 grit. I didn’t spend that much time on sanding, I just wanted to get an idea of the impact on the various surfaces.
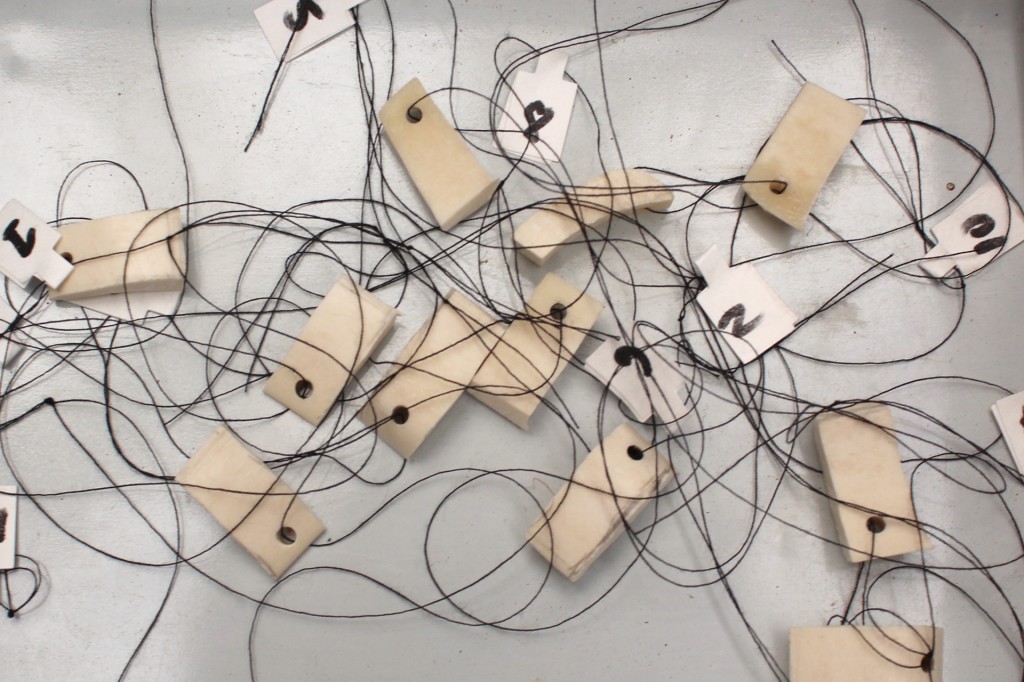 (Above) Next, we labeled each of the pieces one through twelve.
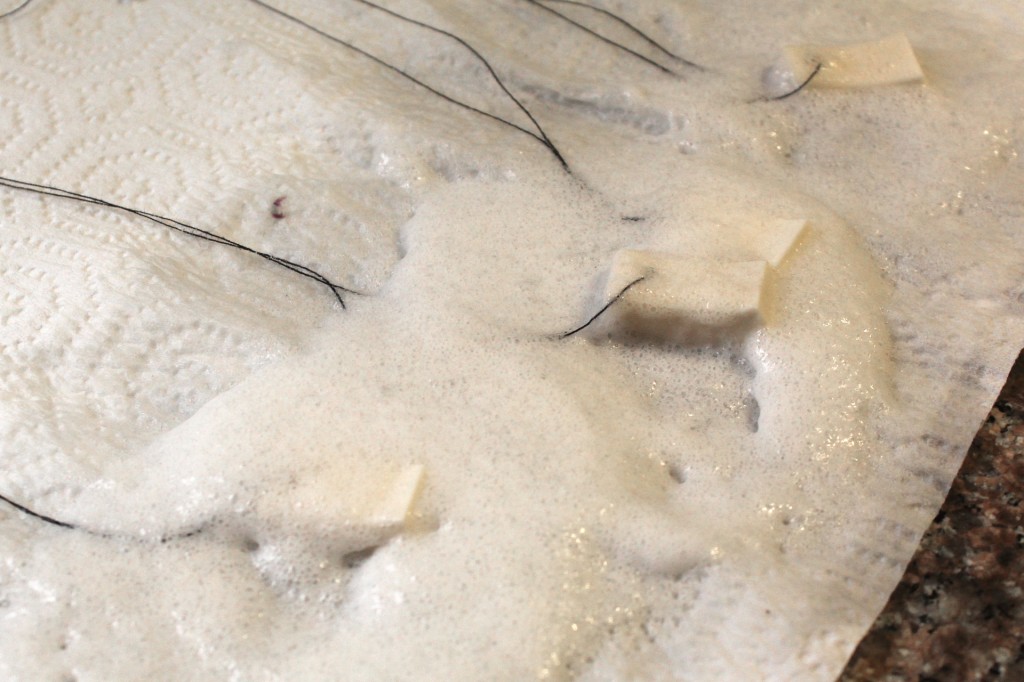 (Above) Some of the pieces were degreased in oven cleaner while others were scrubbed with dish-soap to see if we could get the oils out of the bone. Also some pieces were left alone.
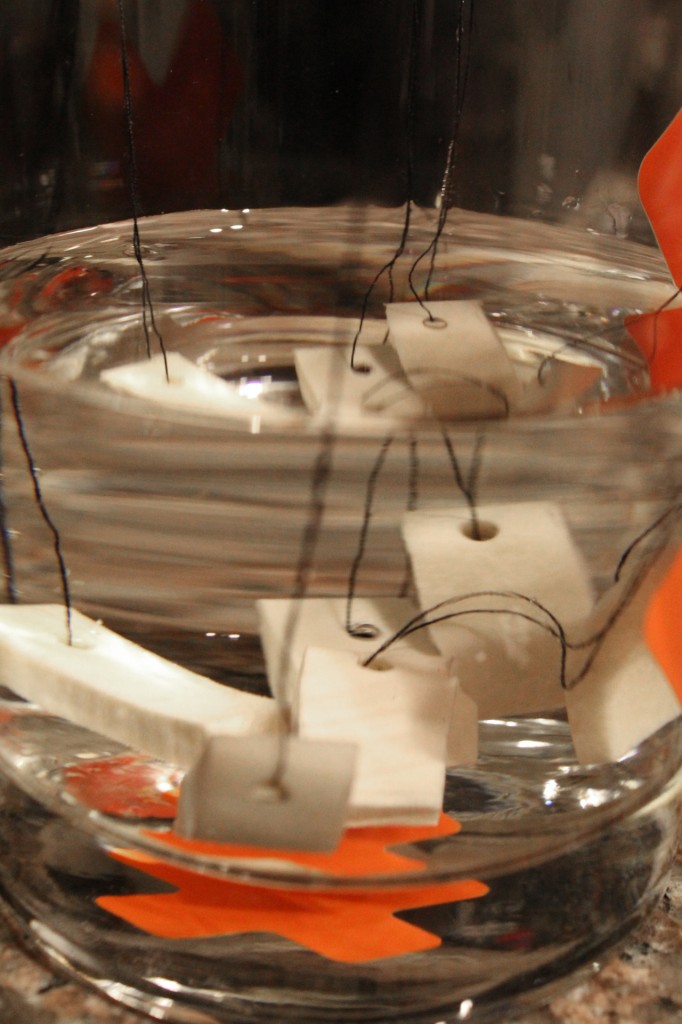 (Above) In this step, we just soaked some of the pieces in vinegar to slightly roughen the surface.
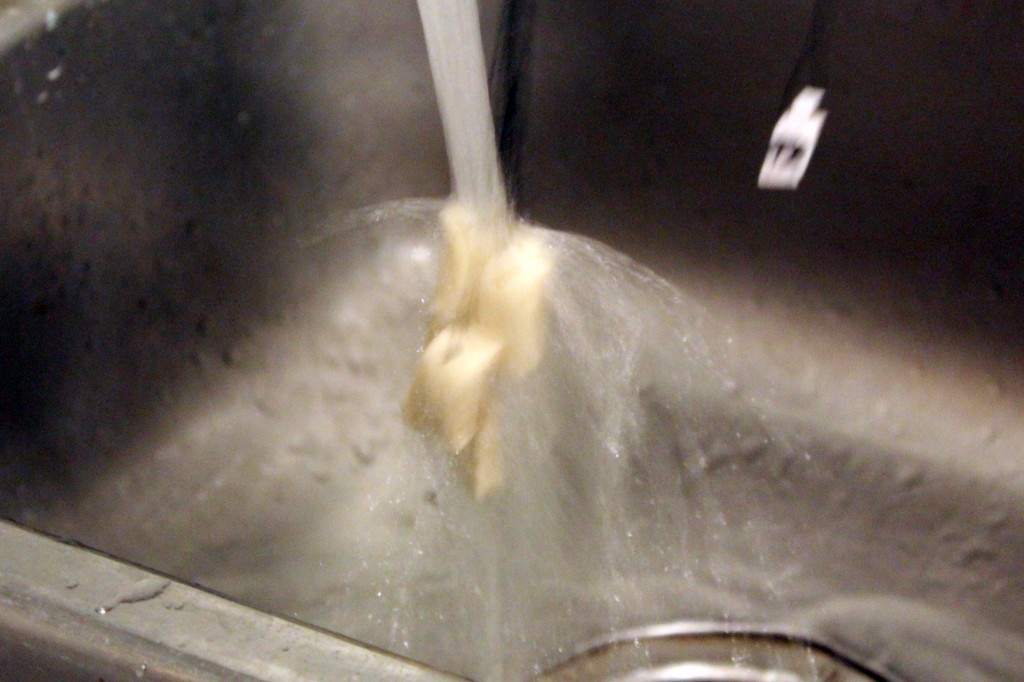 (Above) We also thoroughly rinsed the vinegar off the pieces that were soaked.
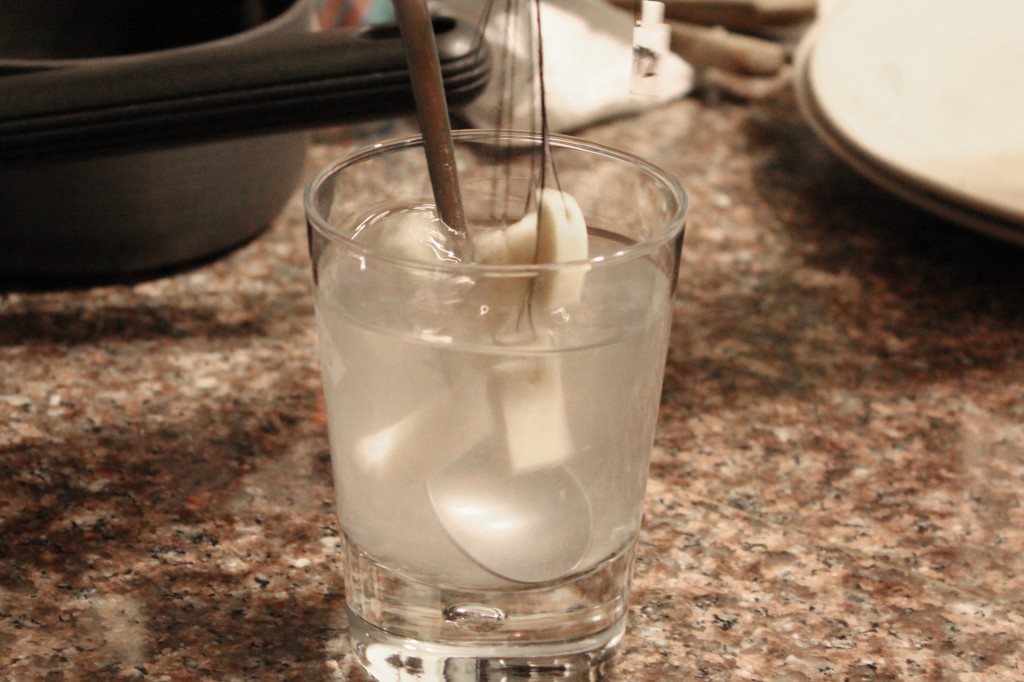 (Above) Then we neutralized the vinegar with a solution of baking soda and rinsed again.
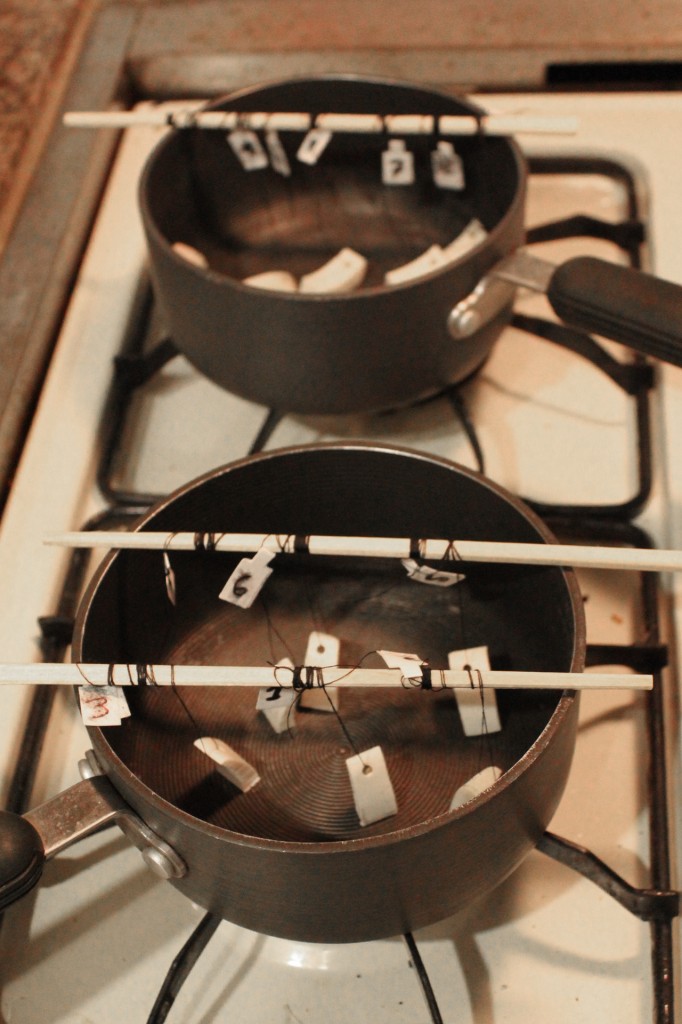 (Above) Next, we tied the pieces to chopsticks and put them in pots.
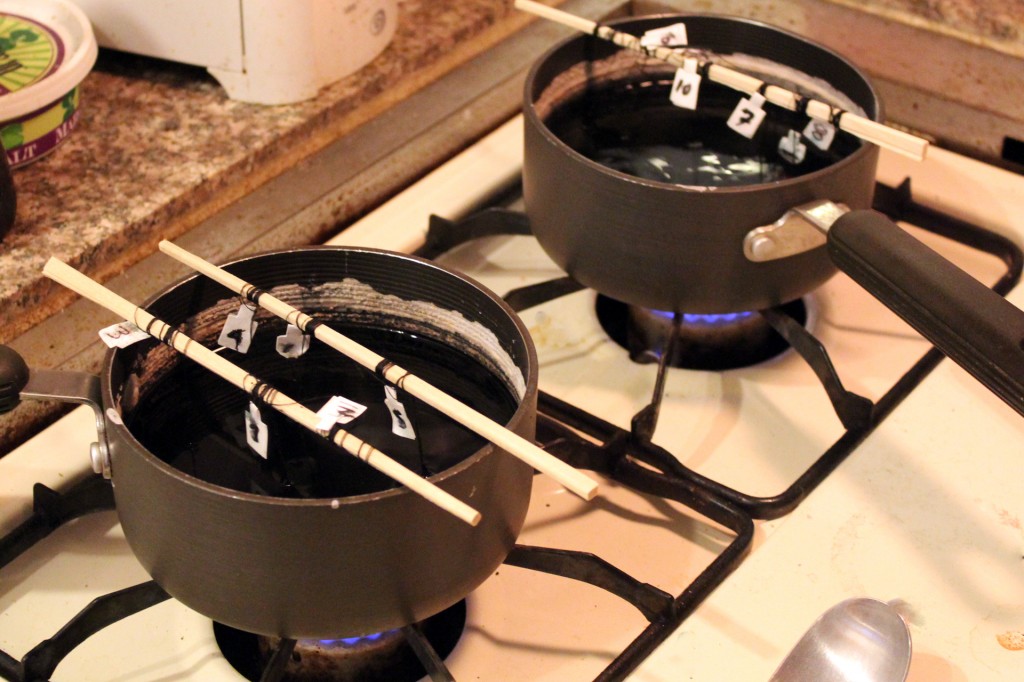 (Above) We filled the pots with just enough water to cover the ‘toe-nails’ (2 cups) and added a little bit of dish soap to each along with 4 tablespoons of the black dye and a 1/4 cup of salt.
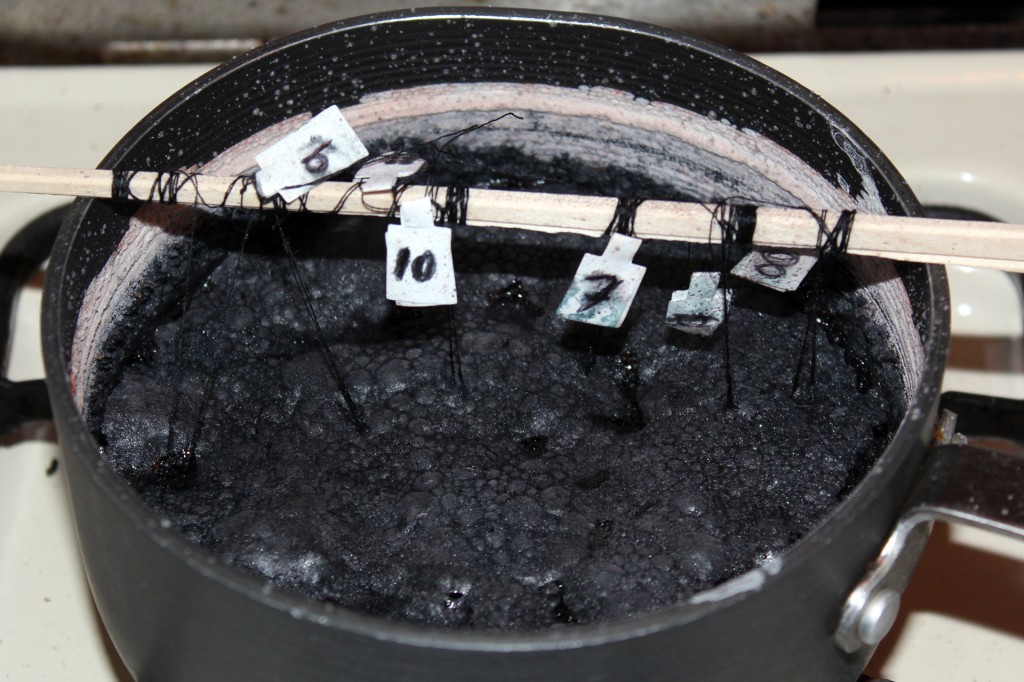 (Above) We put the pieces back in and tended them while they simmered to make sure they didn’t boil. One pot was on for just 15 minutes while the other continued for one hour (turned into the mess pictured above).
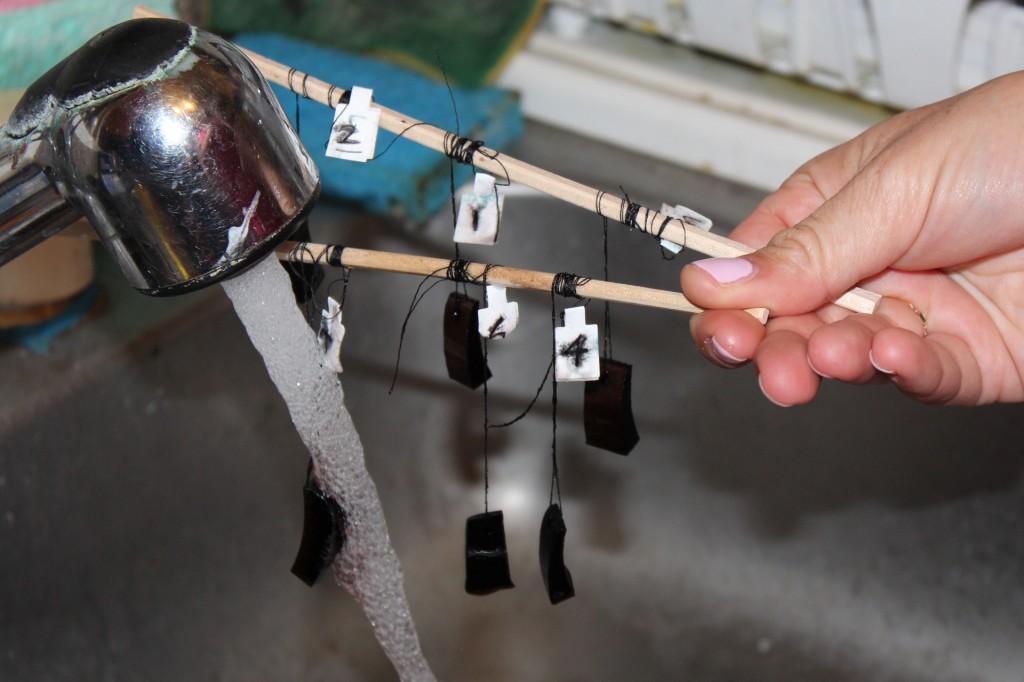 (Above) We left the pieces in the water until they cooled down to room temperature then rinsed them under cold water thoroughly.
Back to STUDIO TAPU HOME

