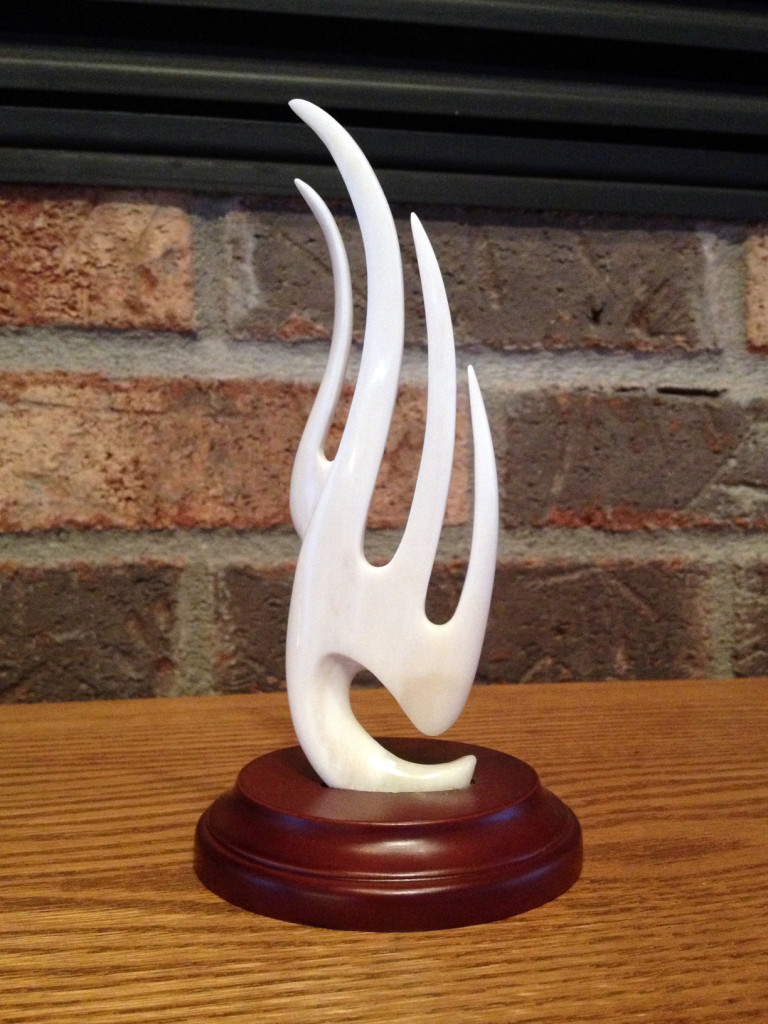
Dr. M Hruby Memorial Bone Carving Sculpture – Bone Sculpture

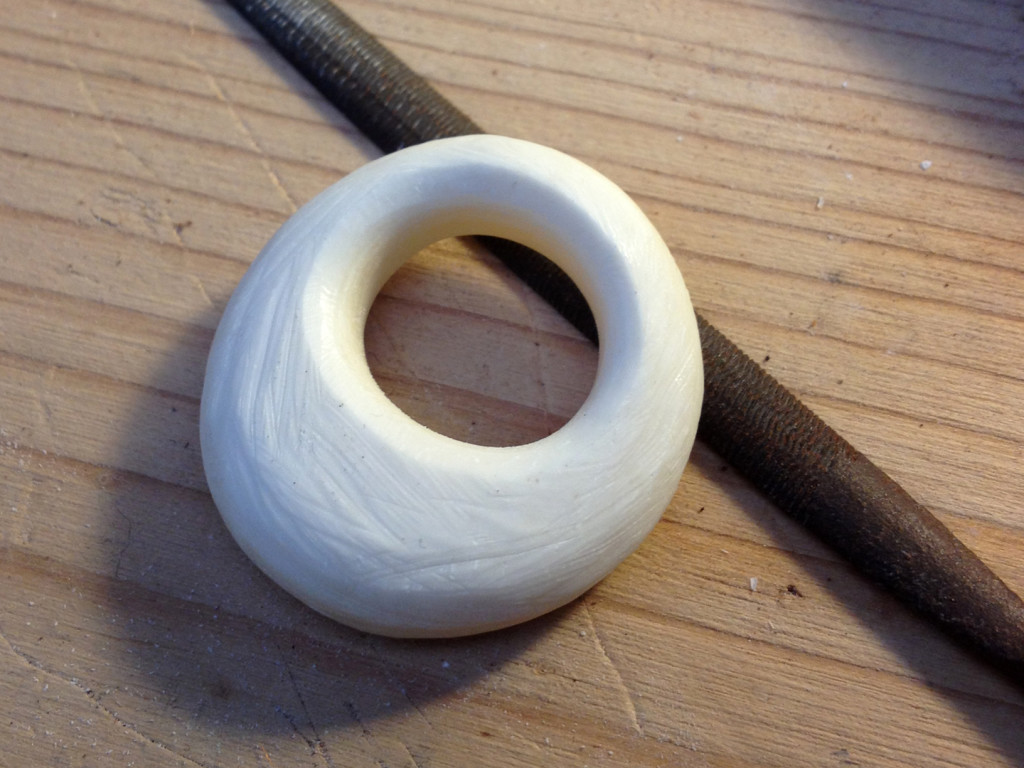
HrubyFlameMemorialThis sculpture was commissioned by my father-in-law before he unexpectedly passed away. I hadn’t made any sculptures before but he looked through a sketchbook I had and picked out the original design for this one telling me I could easily make it. Mark was a great guy and we all miss him. He believed in my work and contributed in many ways including building a special bone carving chamber to reduce noise and exposure to bone dust. The sculpture now sits on top of the fireplace in the Hruby family home.

This is a repost of a sculpture I made a couple years ago. The photos of the sculpture in progress are on my old blog here: http://artbytimjepson.blogspot.com/2011/08/studio-tapu-sculpture-hruby-flame.html

LOST IN THE MEMORY PALACE EXHIBITION @ MCASD La Jolla

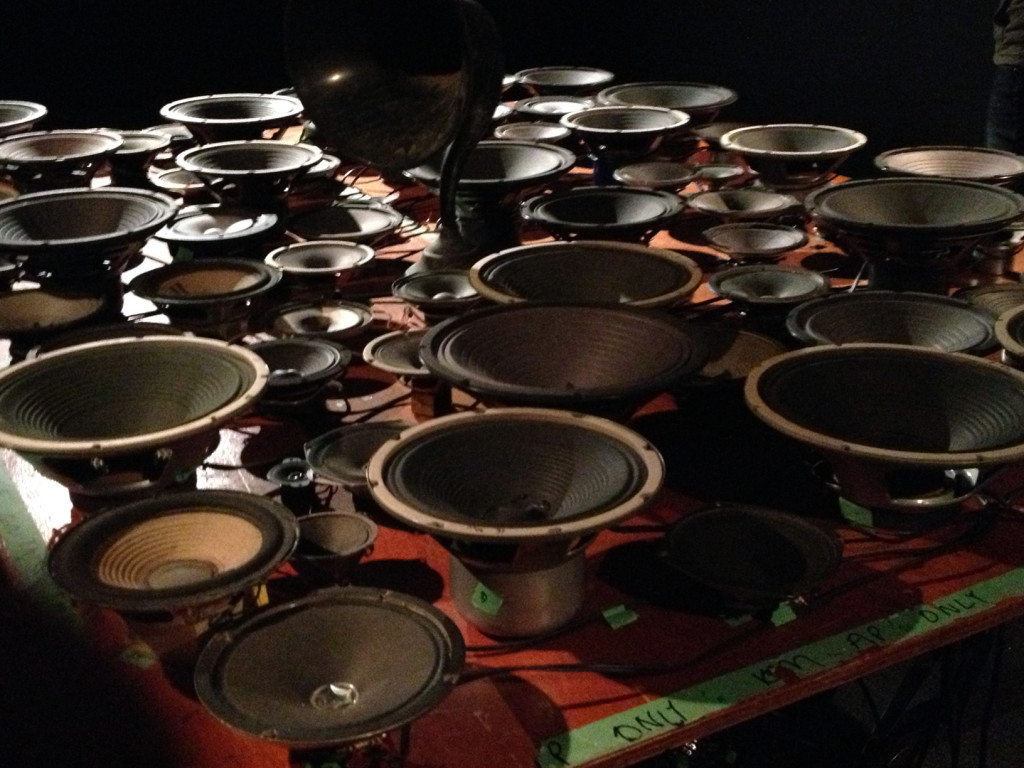
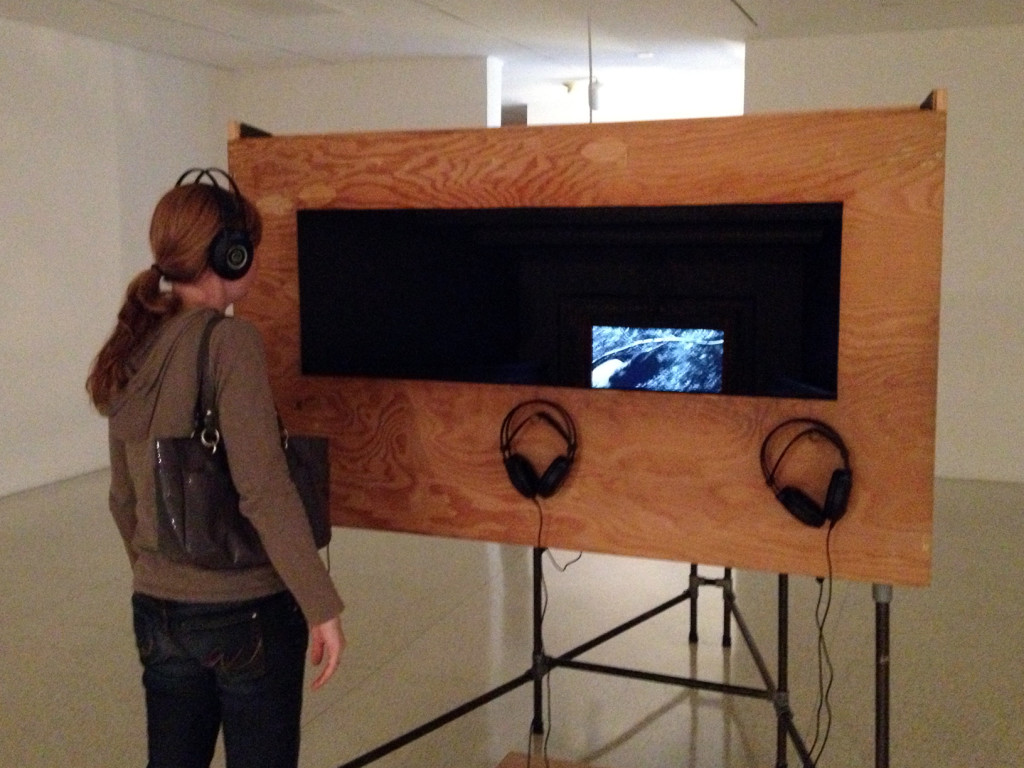
MCASD-Exhibit-004MCASD-Exhibit-002

Pictures from our latest trip to MCASD La Jolla. The Exhibition Lost in the Memory Palace with works by Janet Cardiff and George Bures Miller. This was a weird exhibition with old movies and lots of weird audio and various odd items left laying around on old tables and desks. Not really my thing but I liked the table of speakers.

I think the exhibition is over now but here is the link for anyone interested: http://www.mcasd.org/exhibitions/lost-memory-palace-janet-cardiff-and-george-bures-miller

Custom Setler’s of Catan pieces (Rome Theme) – Wood Carving

Setlers012

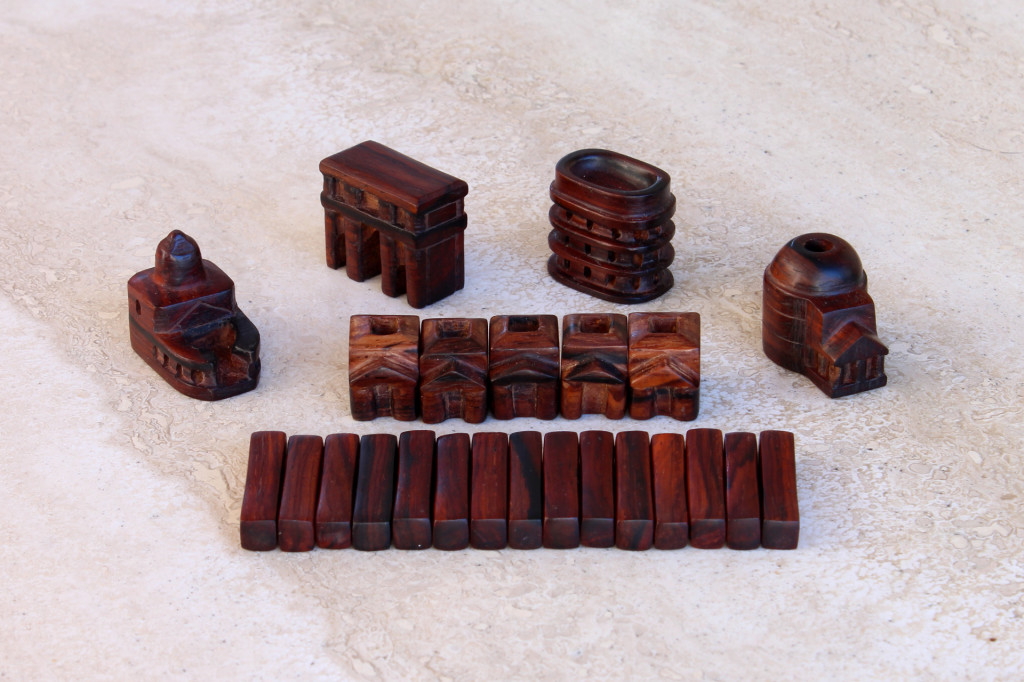
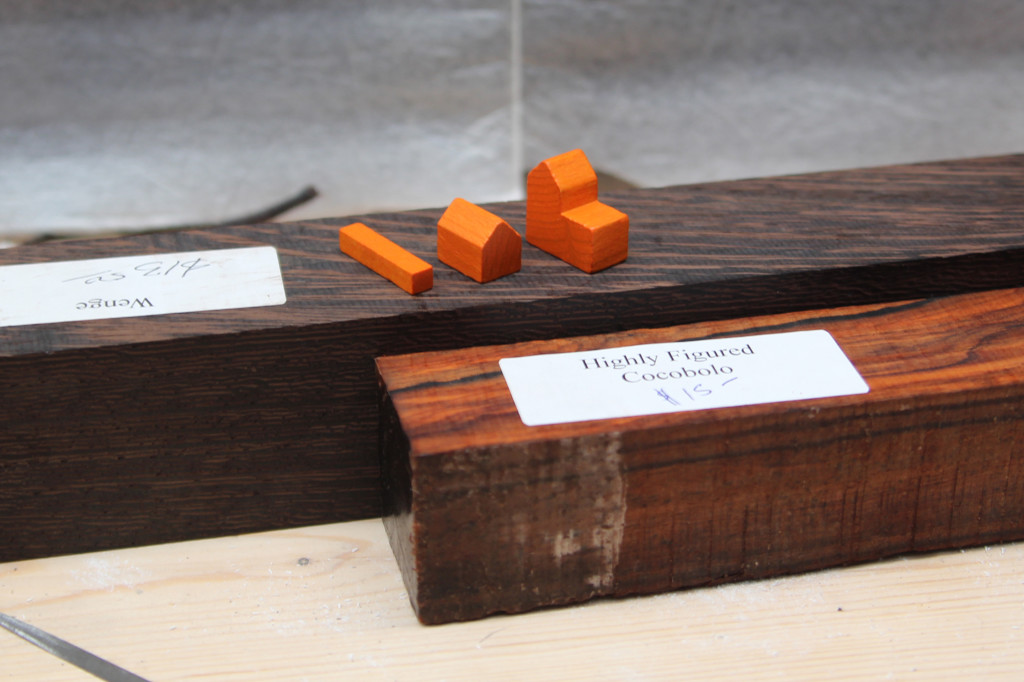
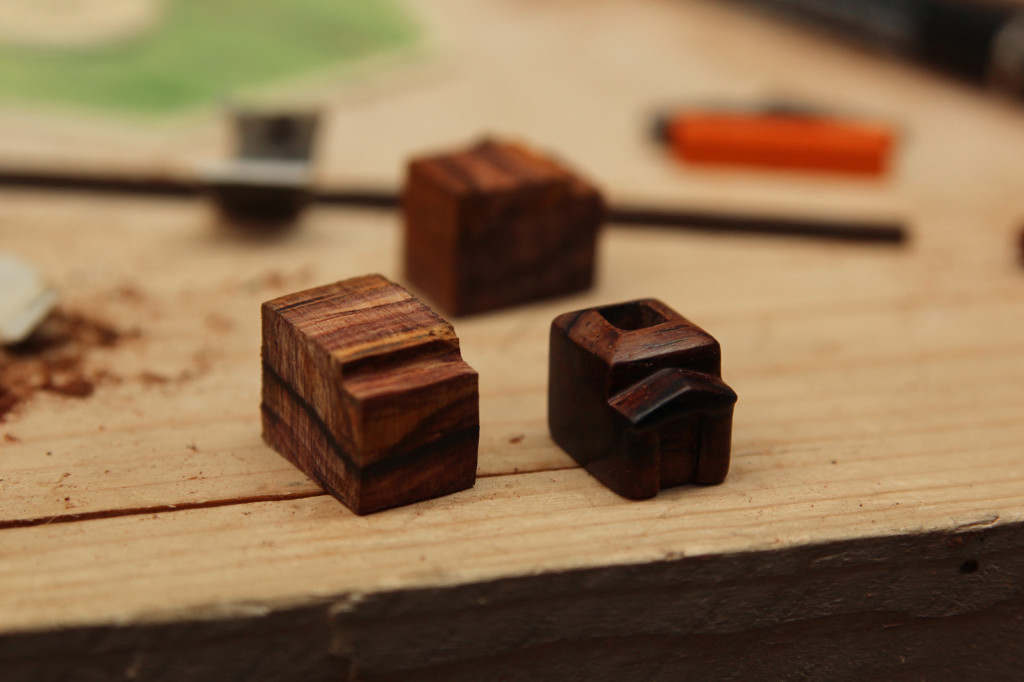
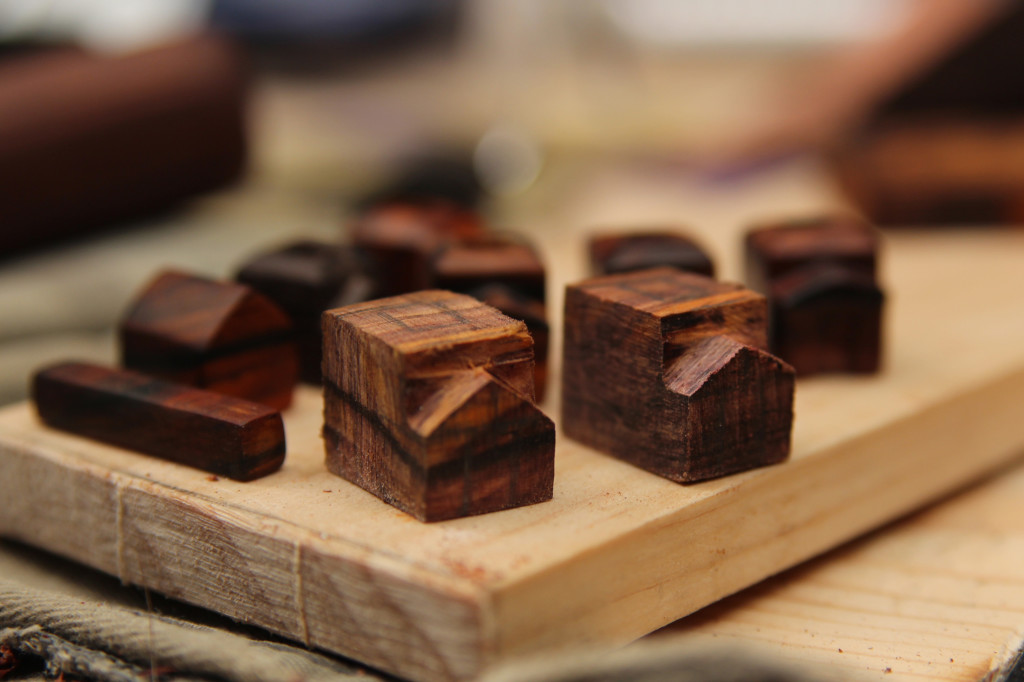
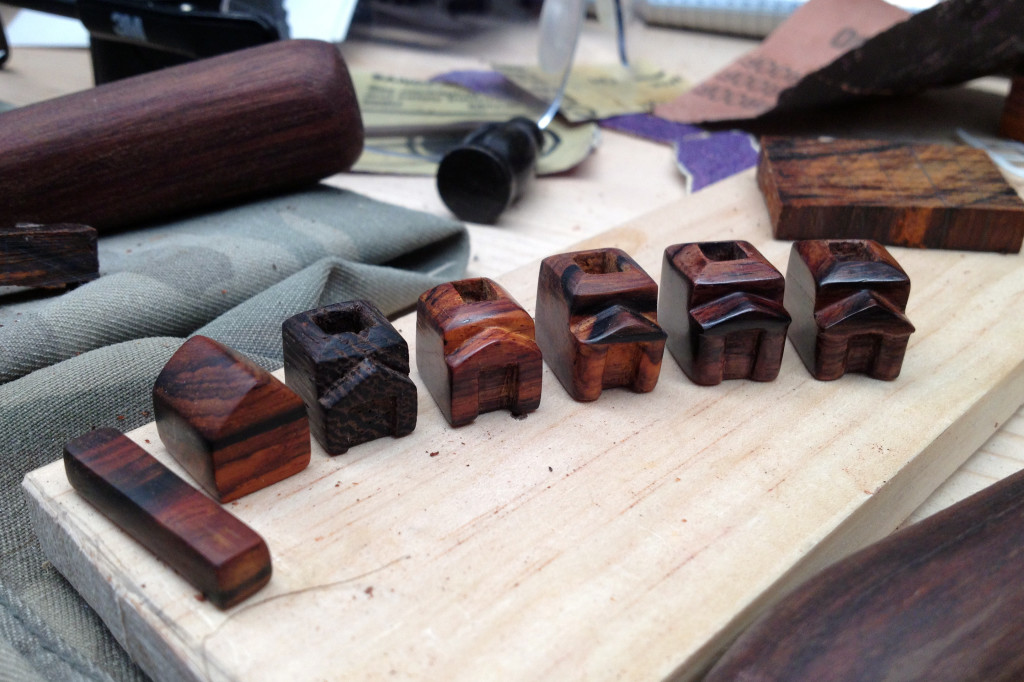
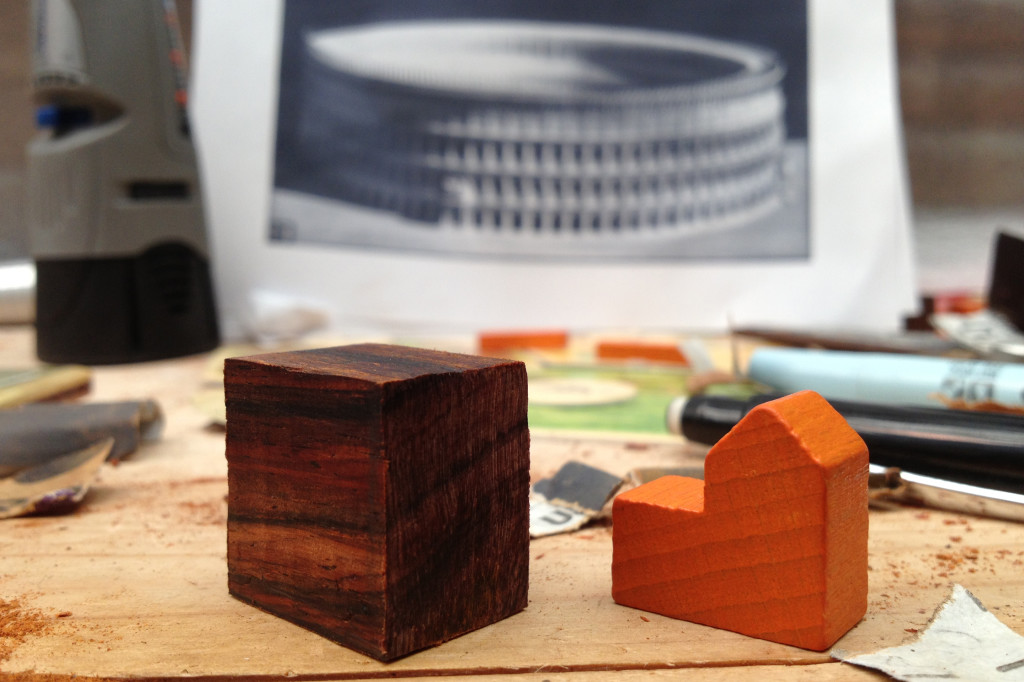
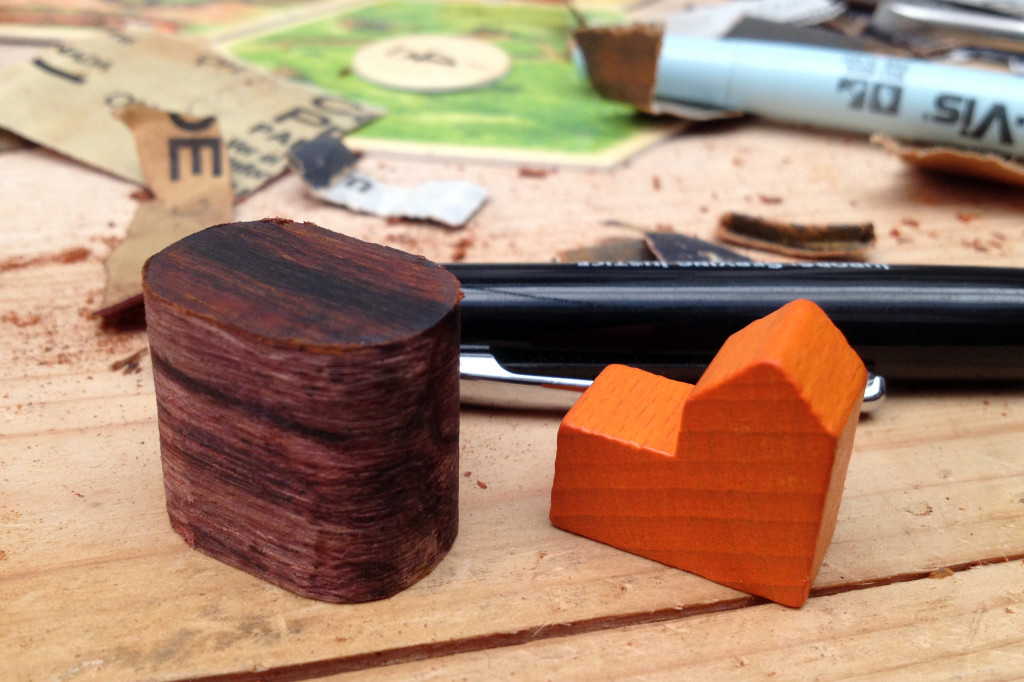
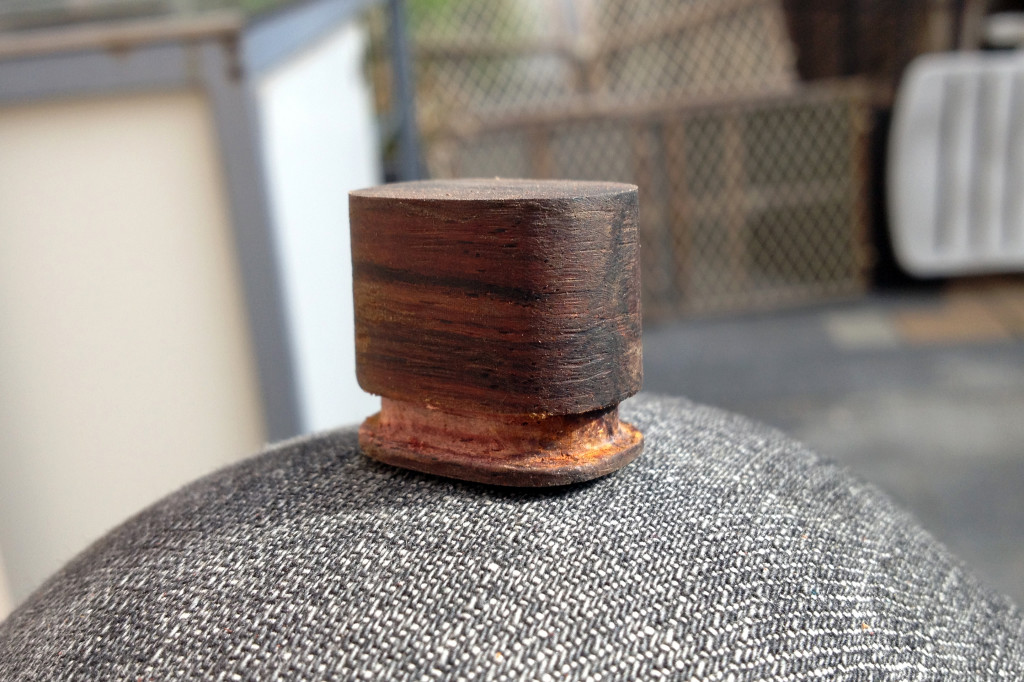
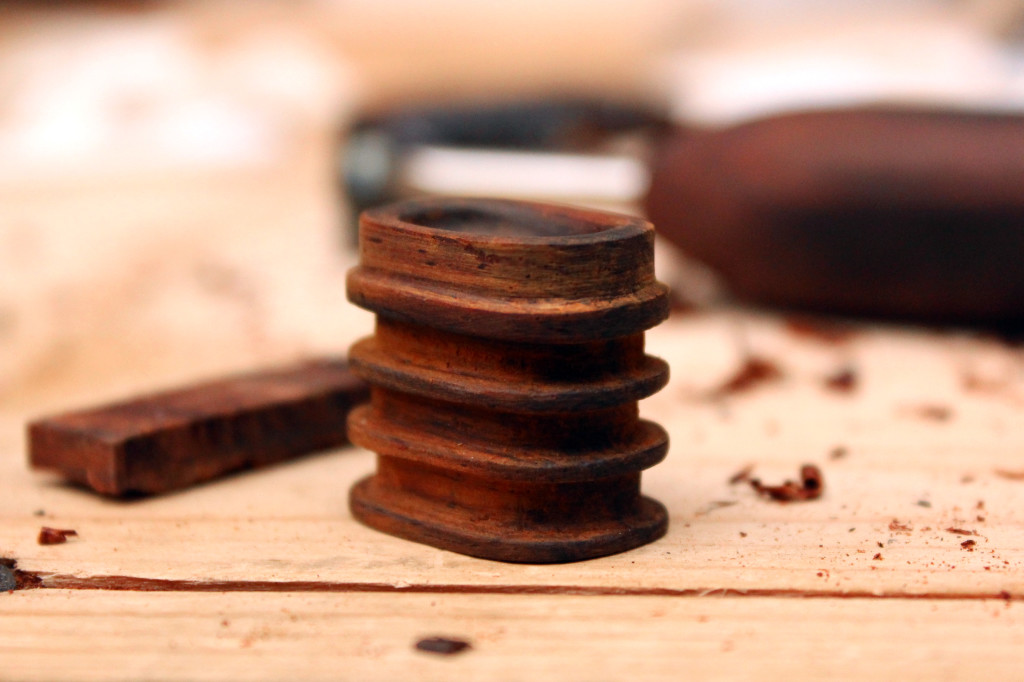
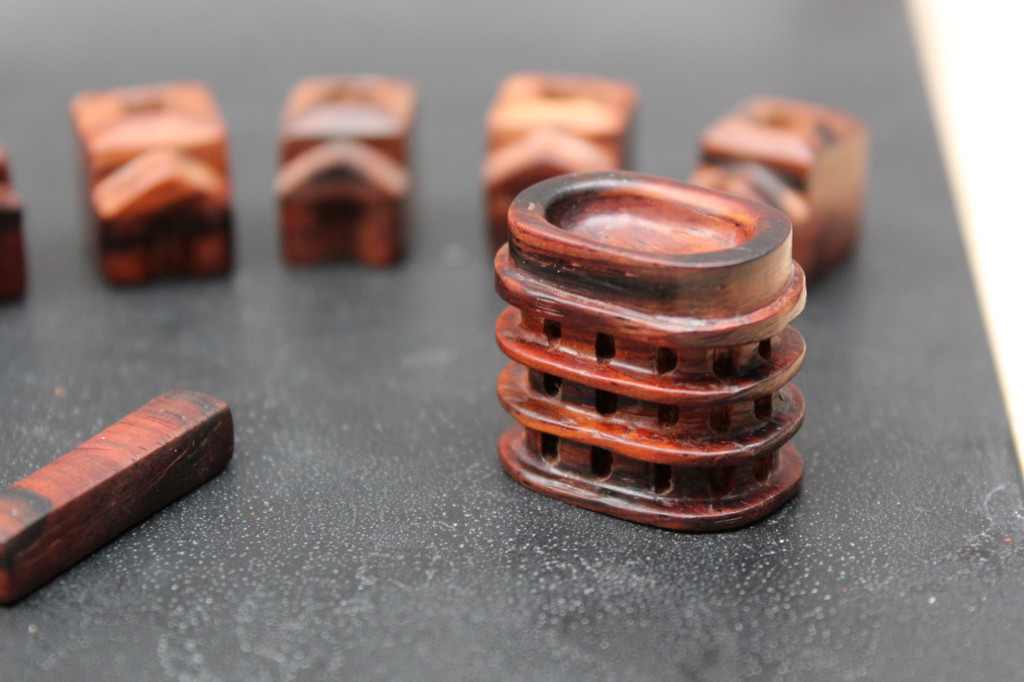
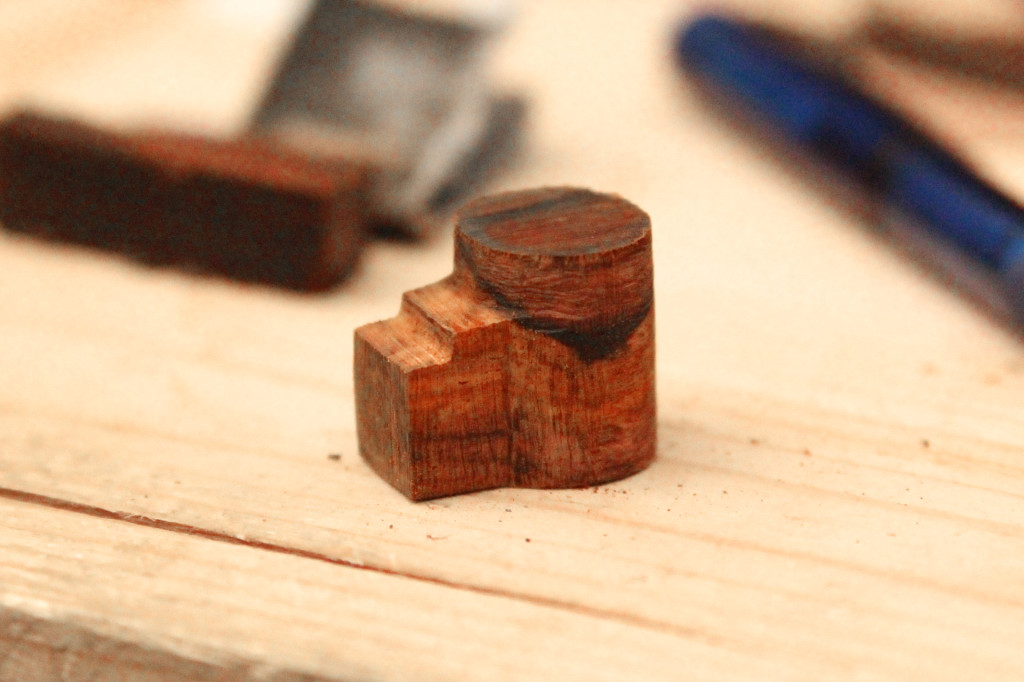
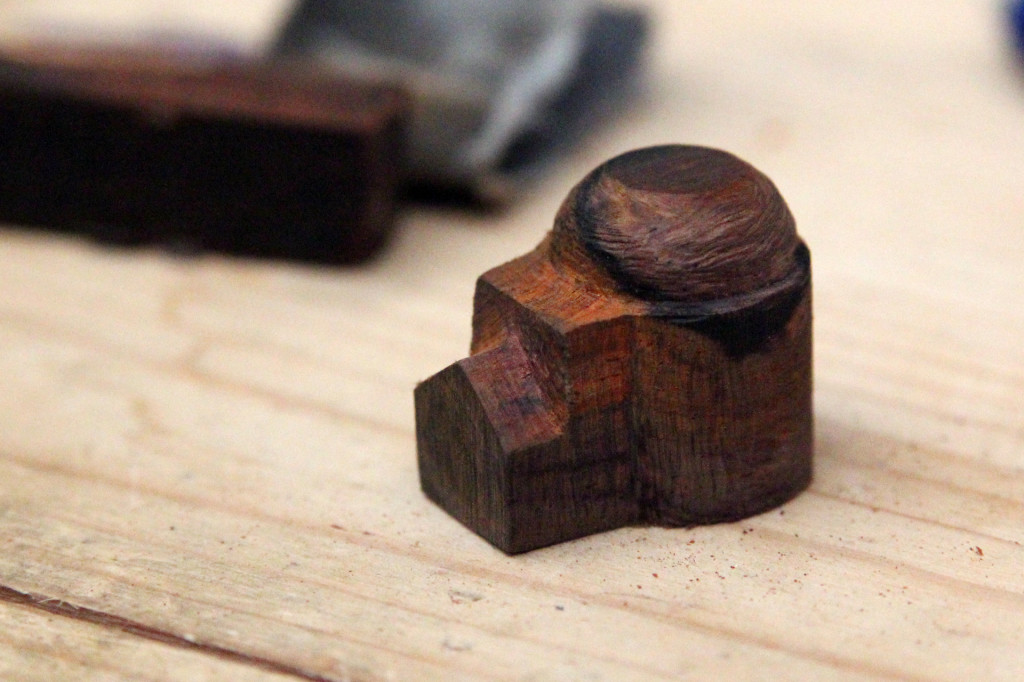
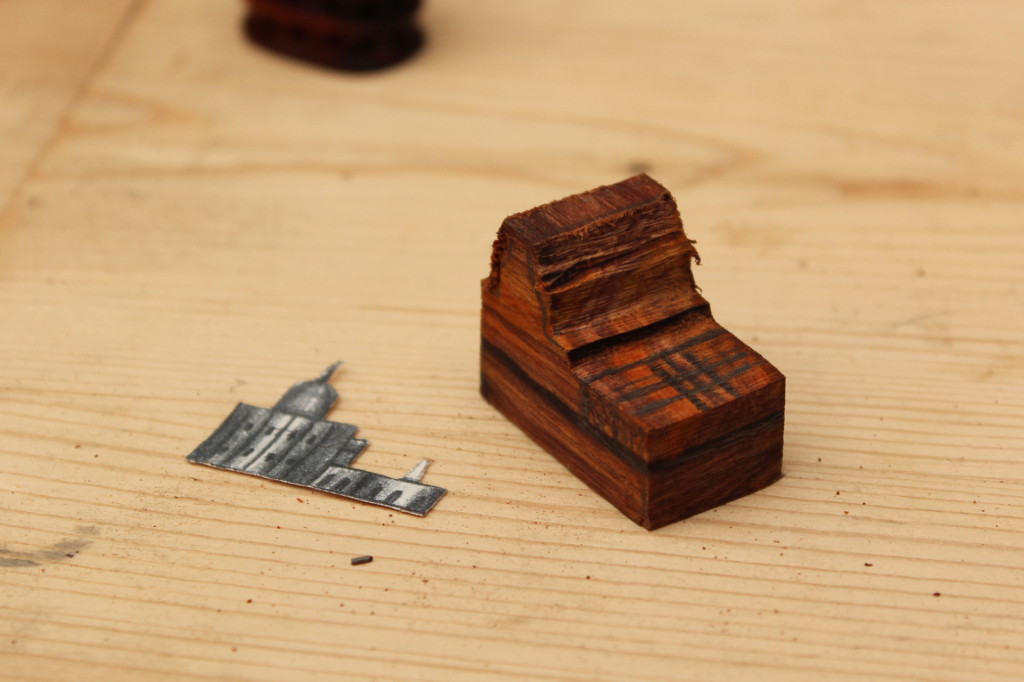
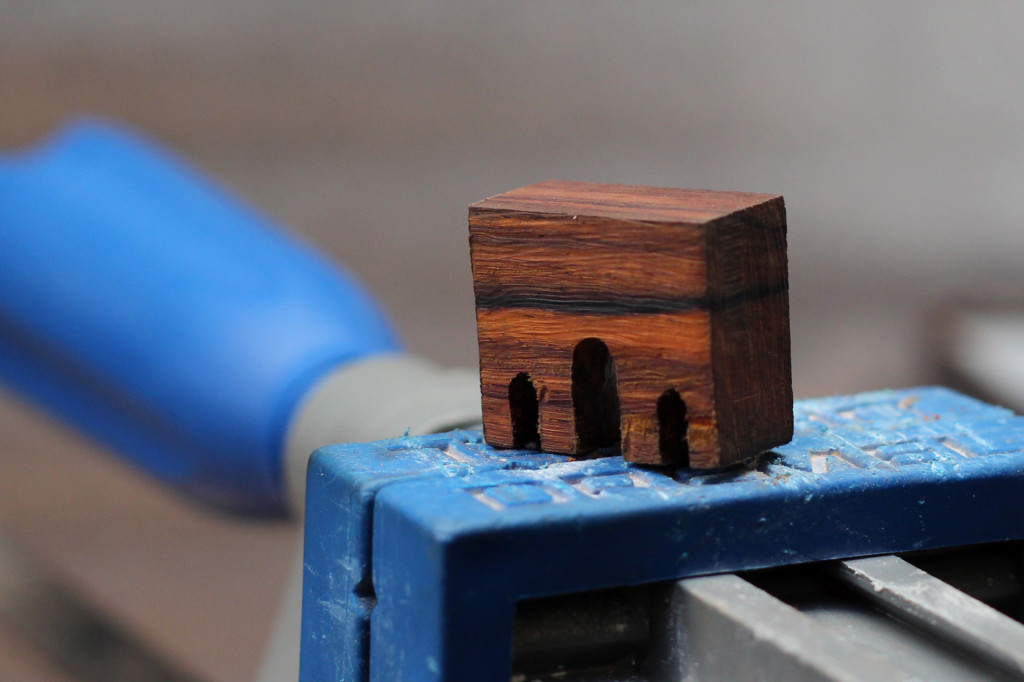
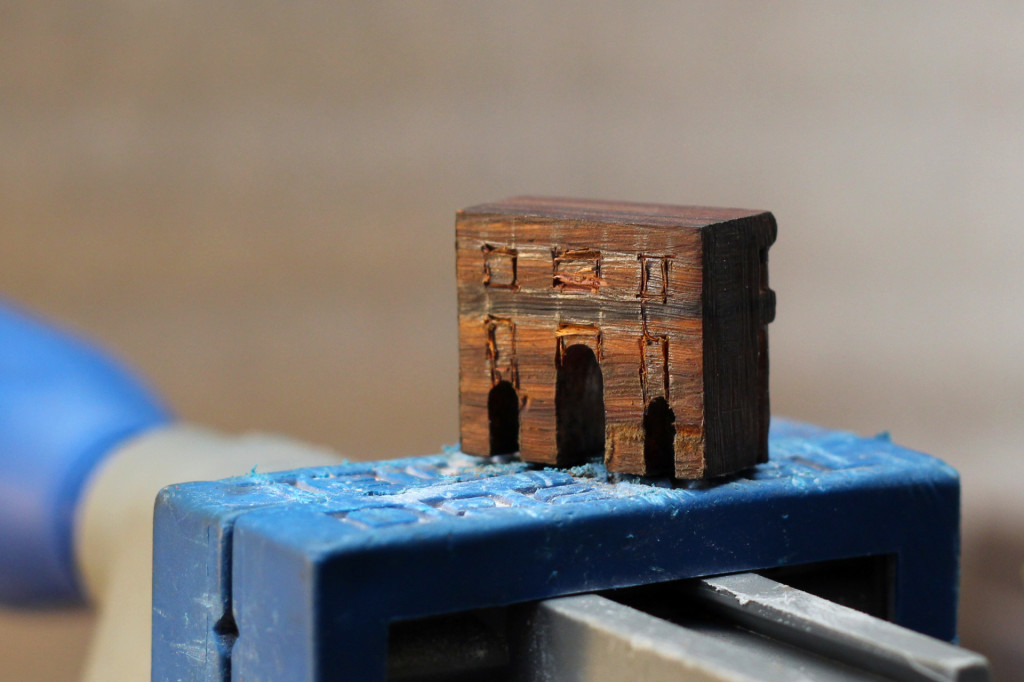
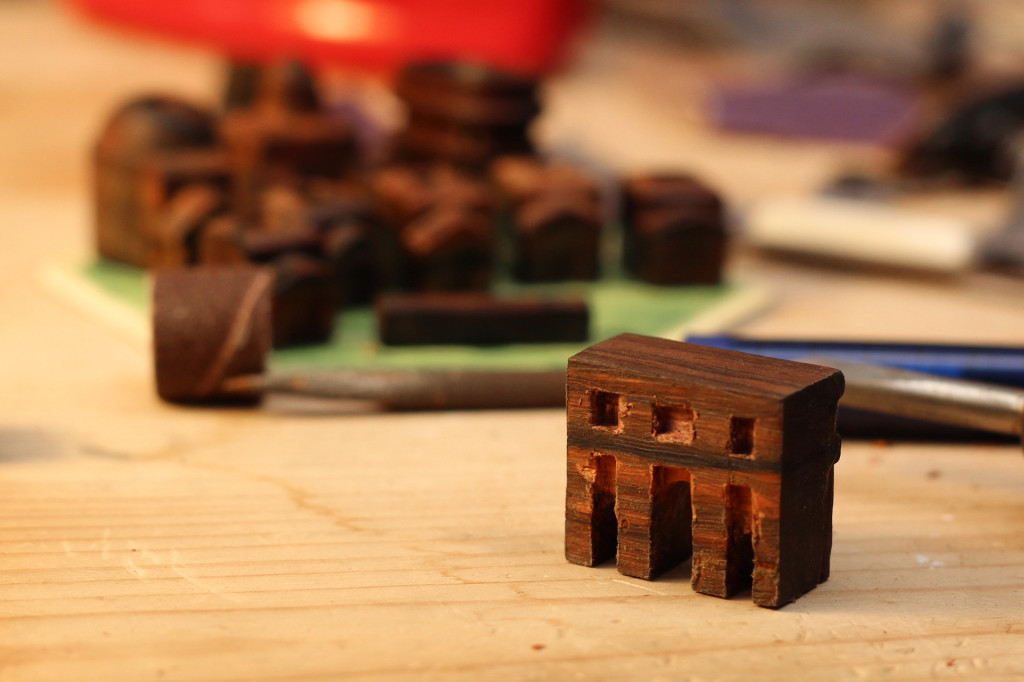
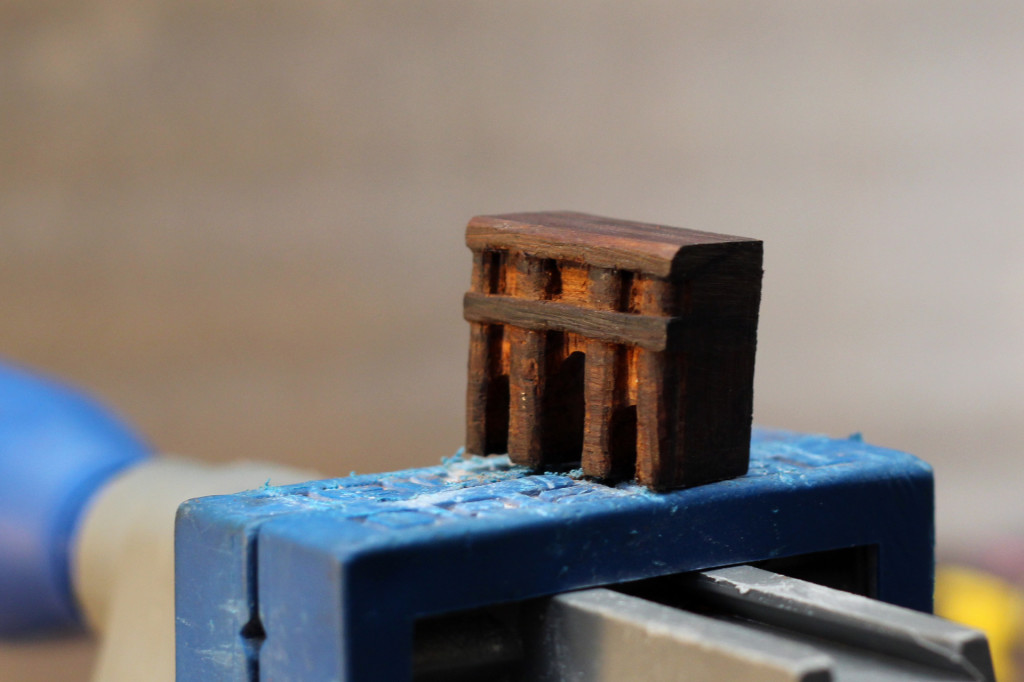
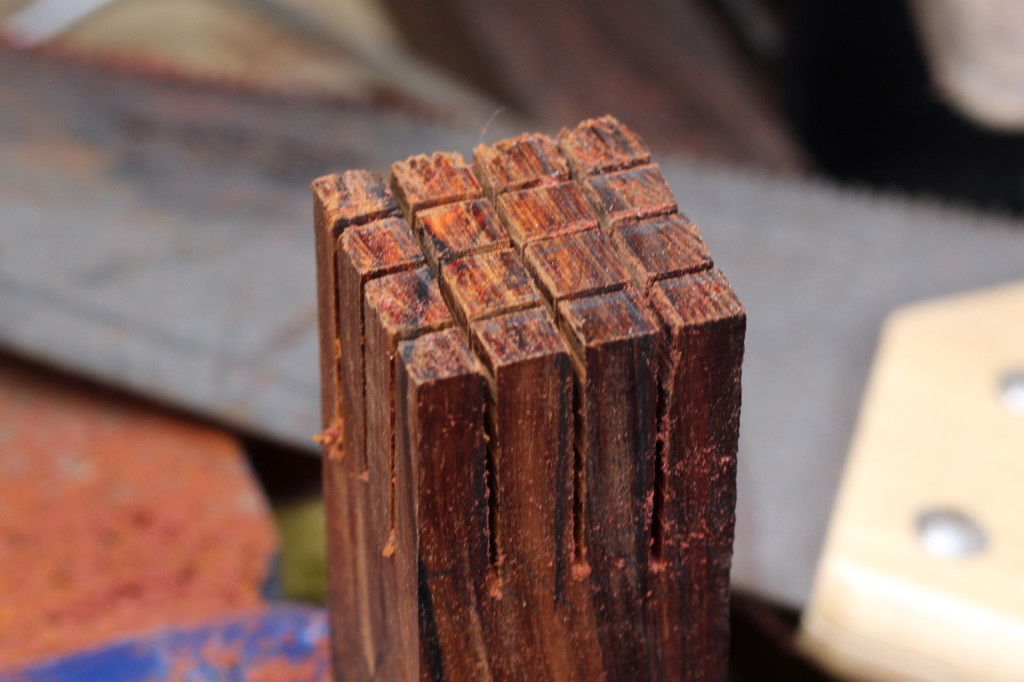
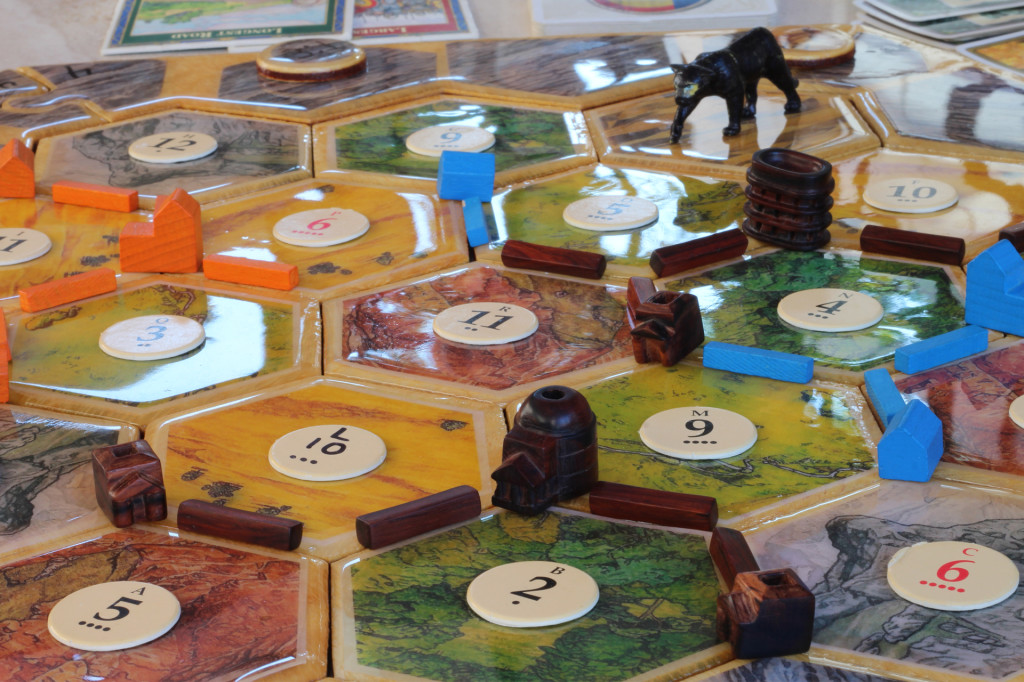
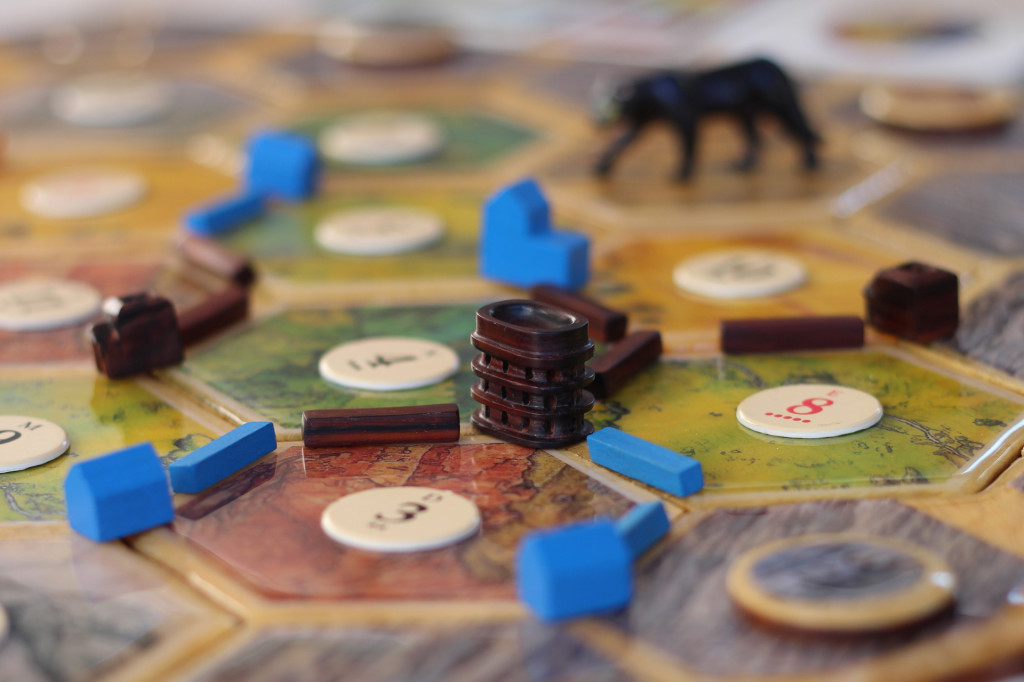
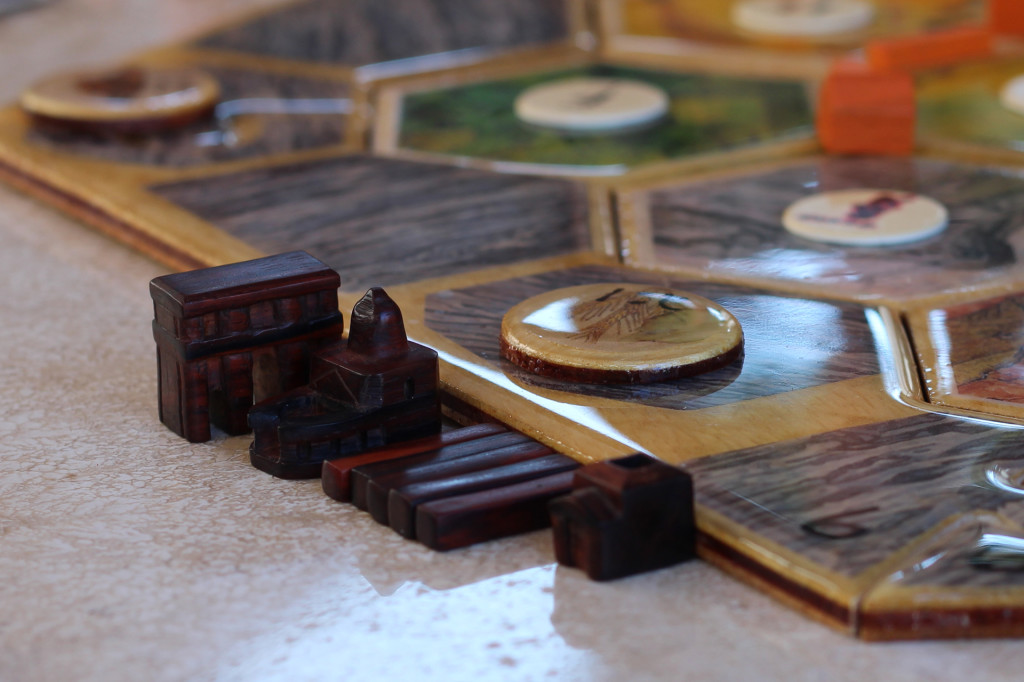
A while ago, my brother in law said how cool it would be to have your own custom Setler’s of Catan pieces and so for his birthday I had the brilliant idea of making a set with a Roman theme because he lived abroad in Rome for a while. This was the biggest littlest project I have ever worked on. It took way longer than I had anticipated but I learned a lot about hand carving with my new hand tools for carving bone and also a bit about wood carving which can be different in many ways.  Below are some pics of the process.

Setlers021

Setlers024

Setlers025

Setlers026

Setlers028

Setlers029

Setlers001

Setlers002

Setlers003

Setlers004

Setlers006

Setlers005

Setlers007

Setlers008

Setlers010

Setlers009

Setlers011

Setlers013

Setlers017

Setlers019

Tools and Bits from the studio

Bits01

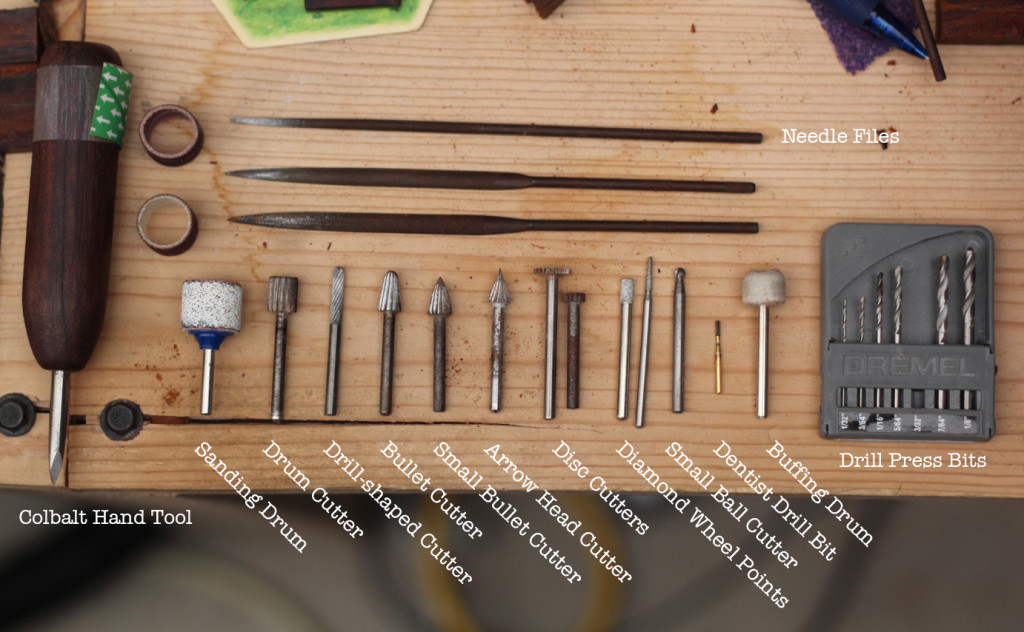
Various Tools/Bits used for bone carving. These are at least the pieces I have found most useful over time. Most of the cutters do the same thing but can be used in different situations when you need the right angle or size to fit. I used to use metal cutters rough out my my work but eventually found that the sanding drum does the same thing in half the time and doesn’t leave little chips out of the bone. The dentist drill bit is great for drilling small holes and also has a cutting edge so it can be used for fine detail carving. It is one of my favourite tool-bits for carving and dentist will usually give them to you for free (used). Course and fine needle files will come in handy and help with the odd angles when in the sanding phase. The Colbalt steel hand tool is essential for detail and complicated pieces. I invested in a Dremel Drill press for drilling the holes as it helps keep things aligned and allows you to drill slowly though thin pieces without putting too much pressure on the bone.

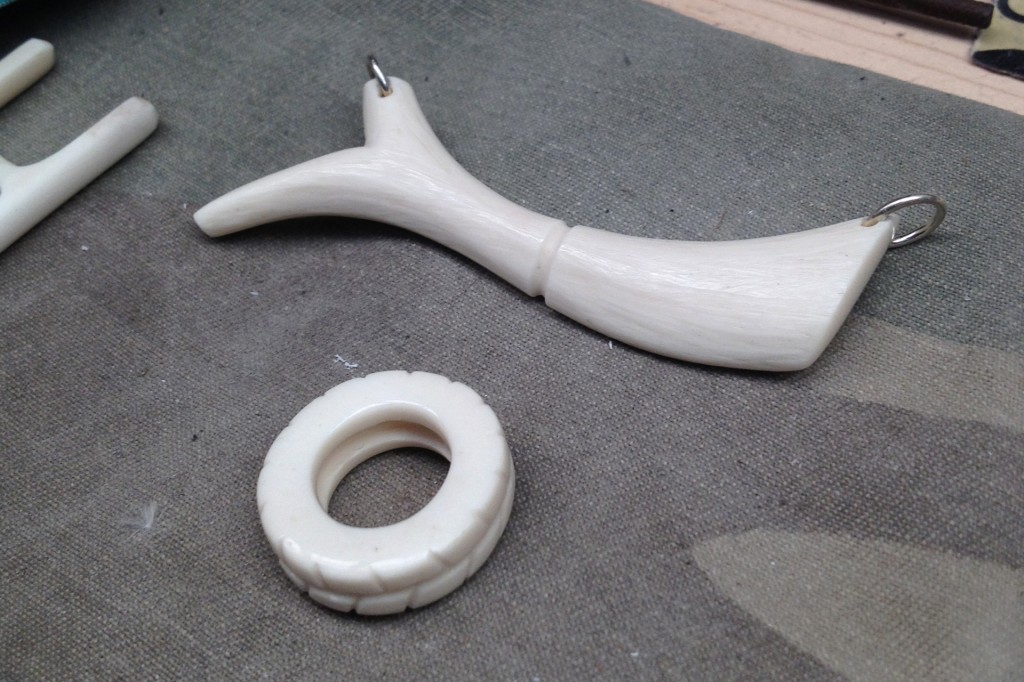
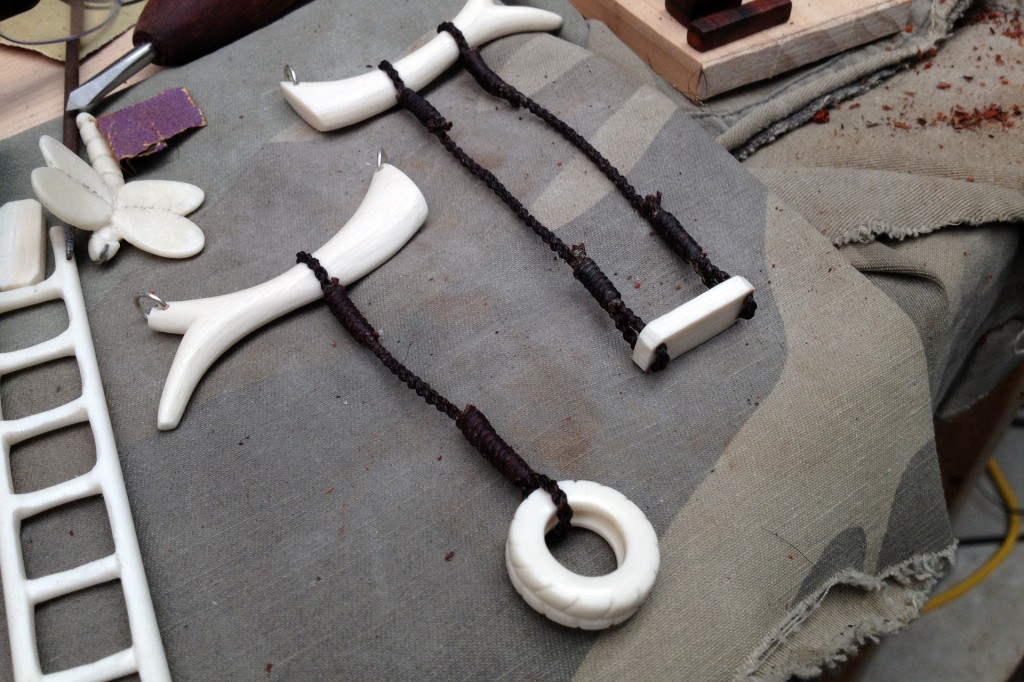
Rope and Tire Swing bone carvings

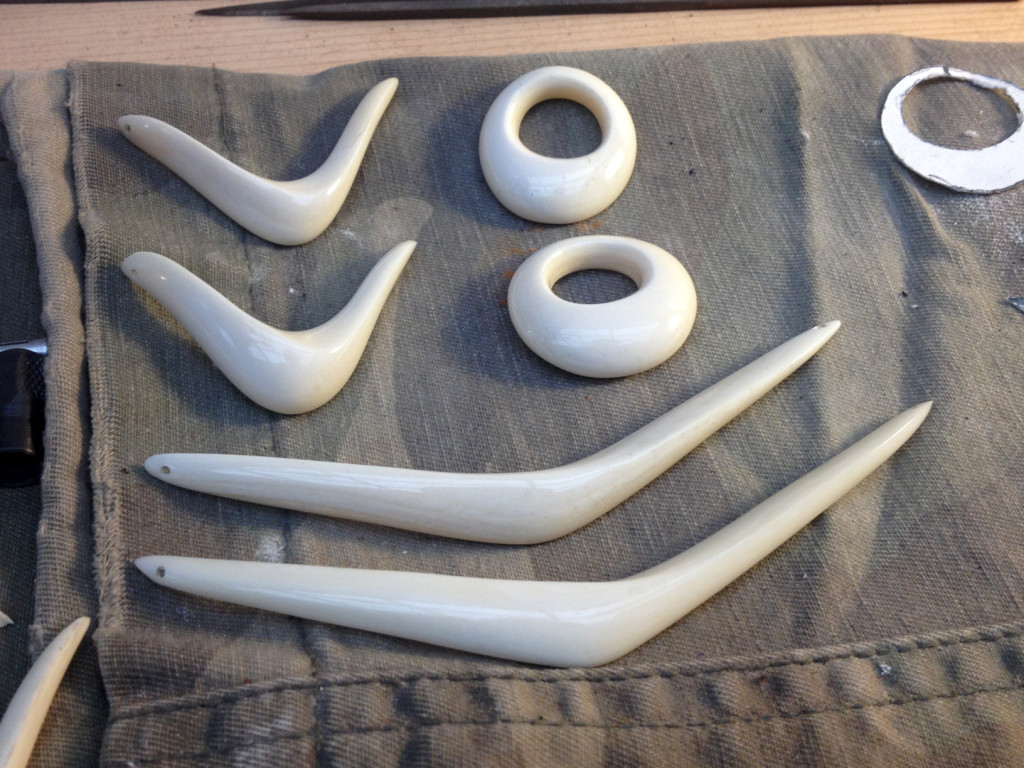
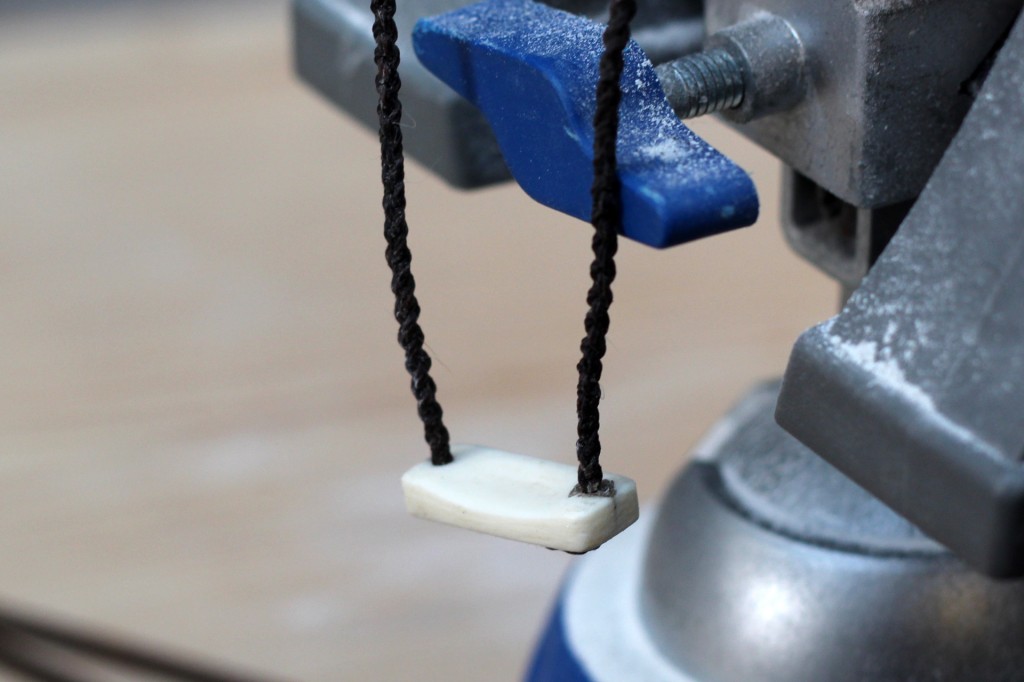
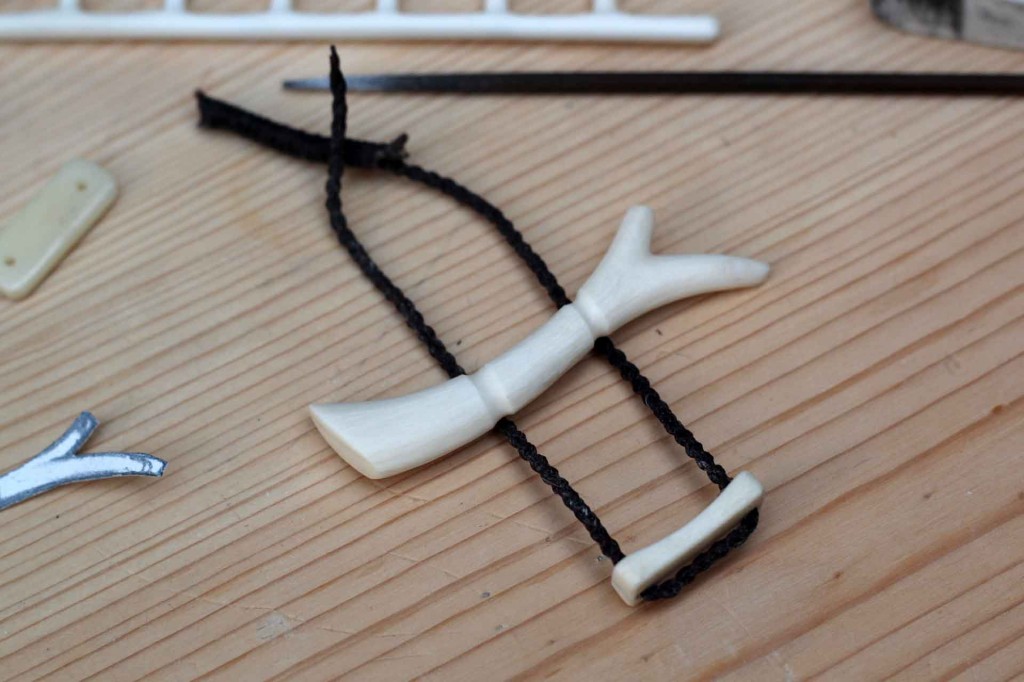
Rope and Tire Swing bone carvings for MCASD. Still trying to figure out how to make the swing work as a necklace. It doesn’t have much weight so I might work some kind of straight wire into the ‘ropes’. The tire makes more sense to me as a necklace and seems to set a different tone. More of a by the lake kind of vibe. the idea behind the rope and tire swing is just building off the ladder concept. Things we kind of take for granted but are very familiar. Swings don’t necessarily elevate you but they support you while you glide through the air. I think seeing this kind of imagery conjures up memories of being young.

Art on Adams (Adams Ave Art Walk) 2013

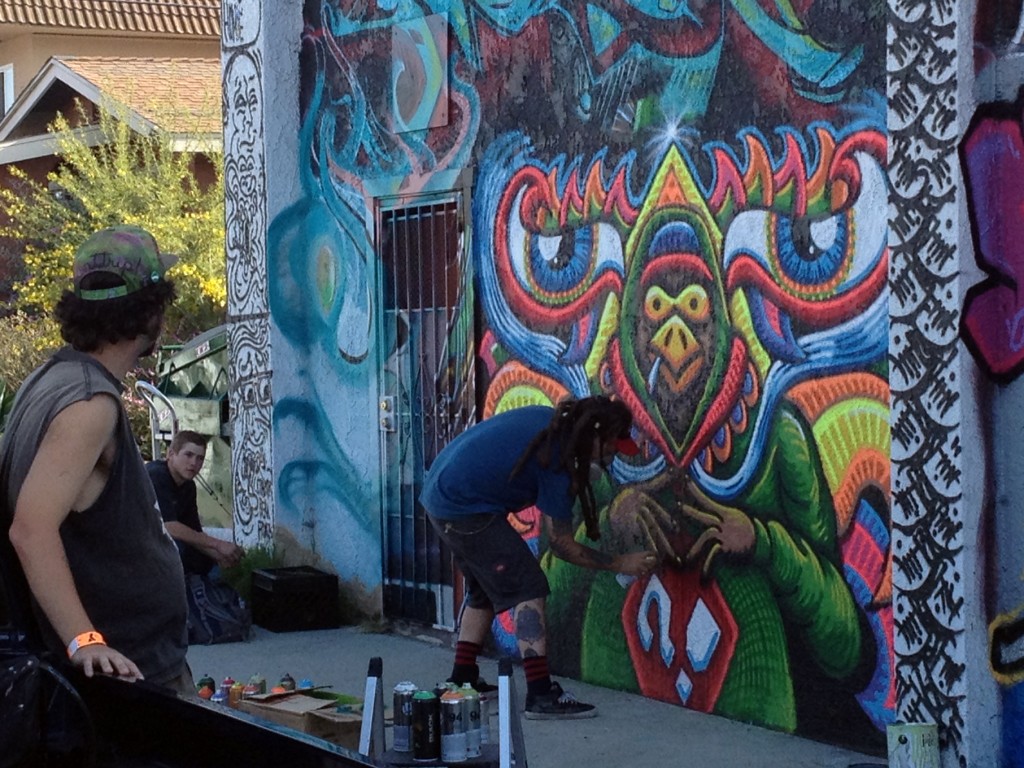
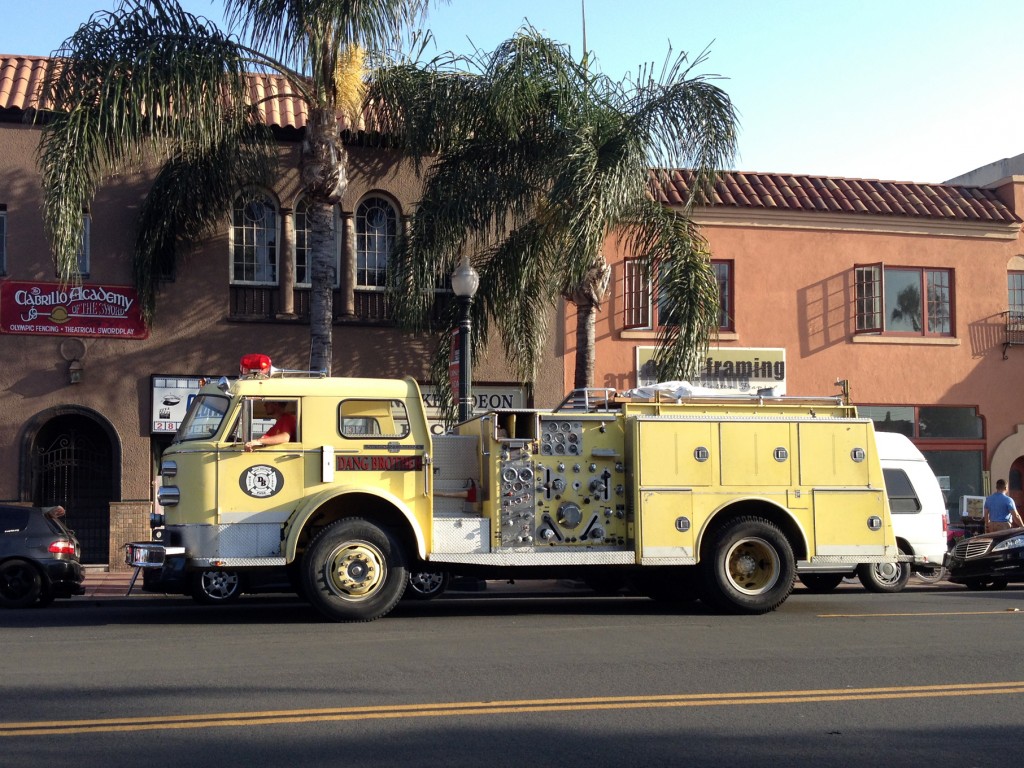
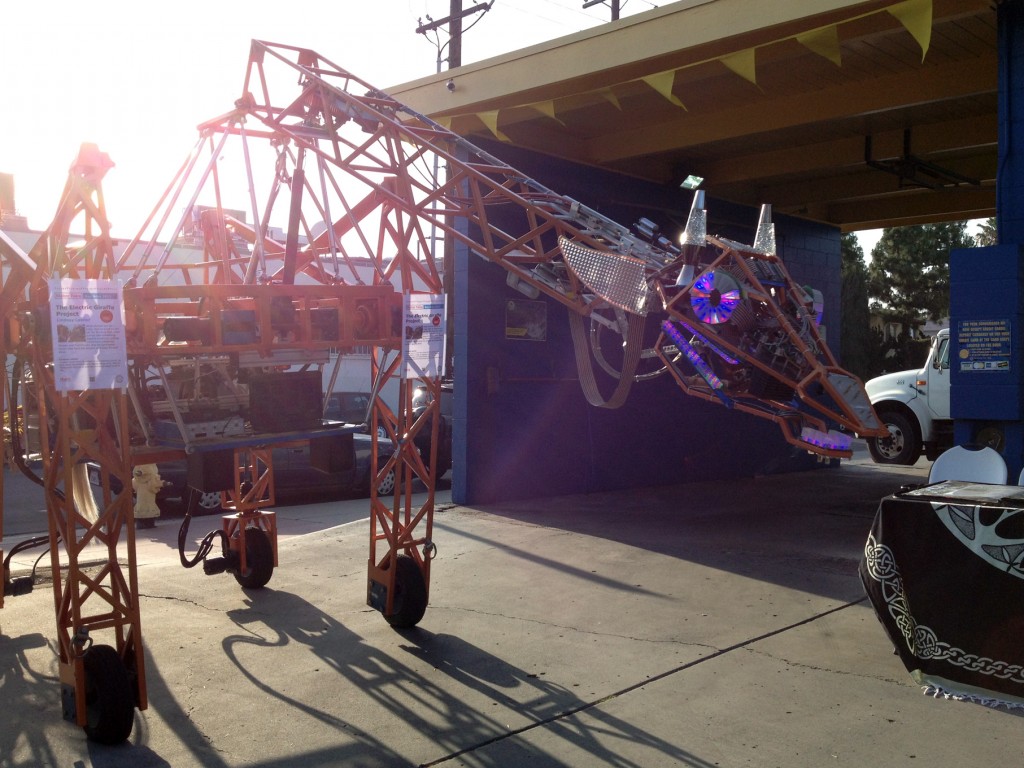
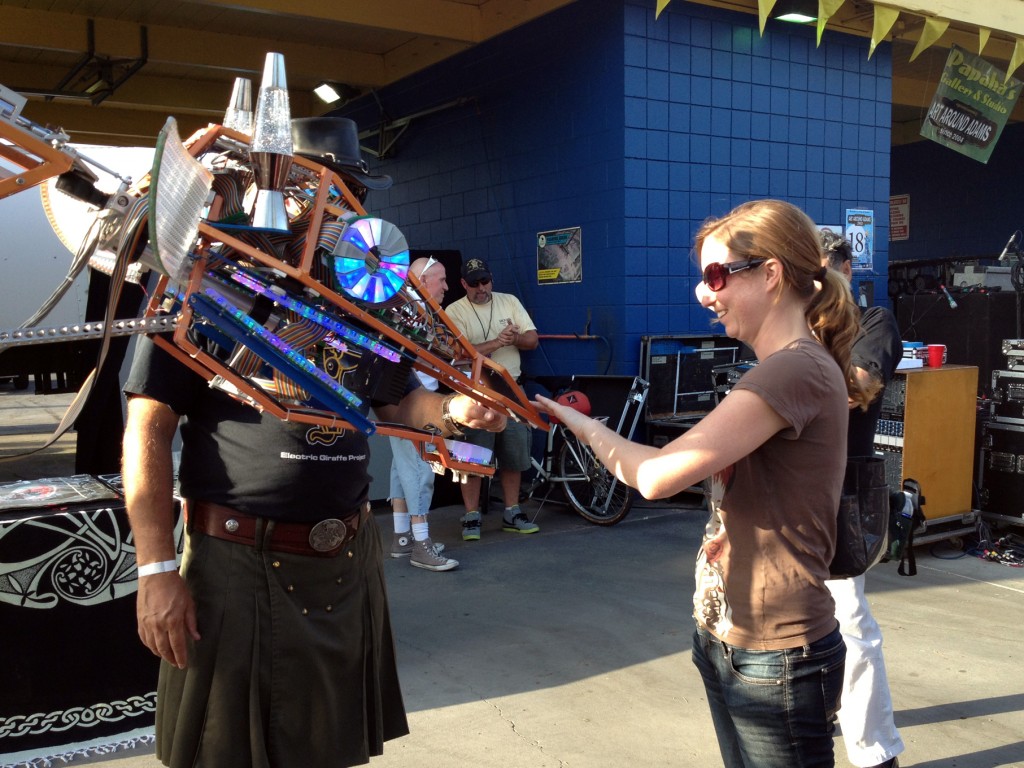
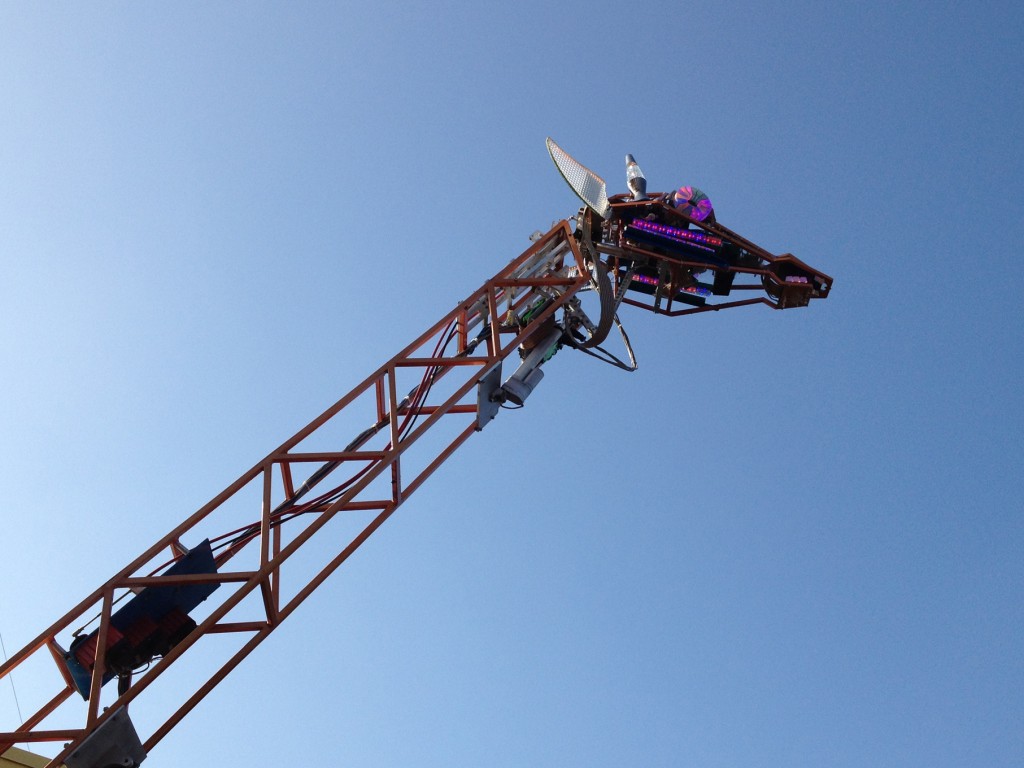
Just some of the sights we saw on our visit to the Adams Ave art walk about a month ago. The Meca-Giraffe was supposedly a fully functioning robot that would respond to your interactions with it and the old yellow fire-truck had a BBQ on the back and seemed to be some kind of party/fire-truck. I saw a lot of great art which I didn’t photograph but hopefully you get the idea. Its worth checking out to be sure.

Studio Tapu space as of June 2013.

Studio Tapu Space bone carving studioStudio Tapu space as of June 2013.

I used a panoramic feature on my phone to capture this shot but it is actually a very narrow patio which runs down the aside of our apartment and out onto a larger bbq area in the back. The studio is very messy right now and I am working on too many projects at once to keep things organized.

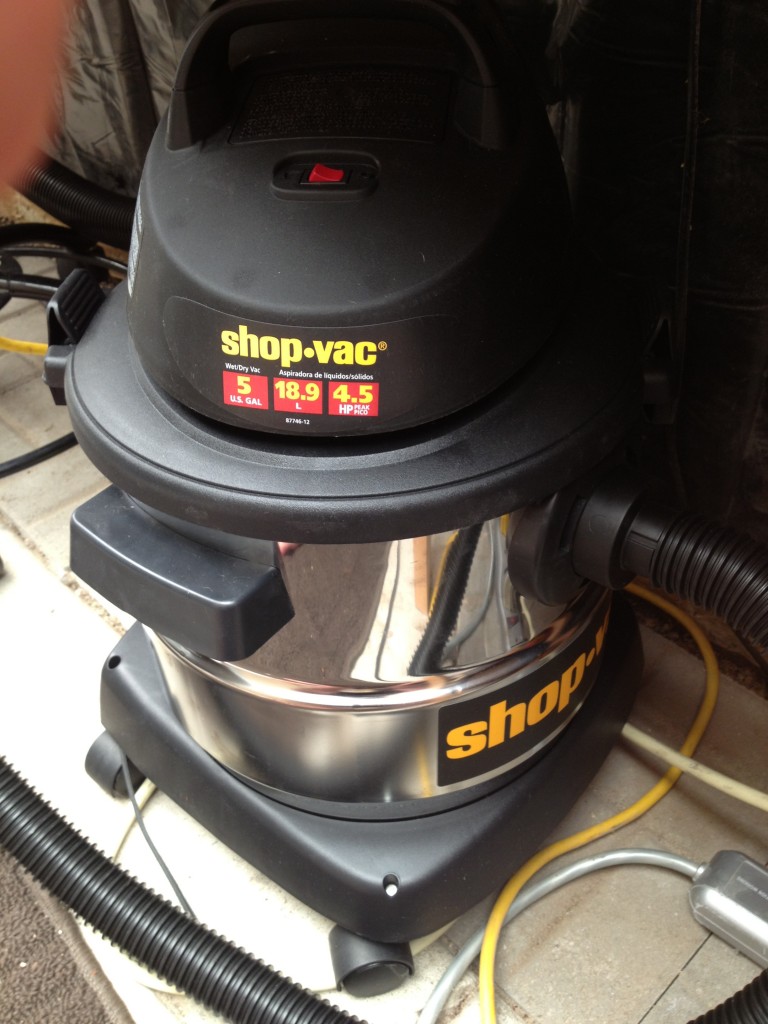
Below is the latest addition to Studio Tapu. I’ve come to a point with carving where keeping the studio clean and dust free is crucial not just for my health but also just to keep me motivated. This Shop-Vac was about $60 and a pretty good deal for what it is I think. I have it rigged up to attach to a vent on my work-bench and also to attach to a vent inside the carving chamber. The hose is pretty long so its easy to give the studio a once over after working but because it is quite powerful I have to be careful not to get it too close to any of the little accessories i use for carving etc.

Bone Dying Instructions and Results

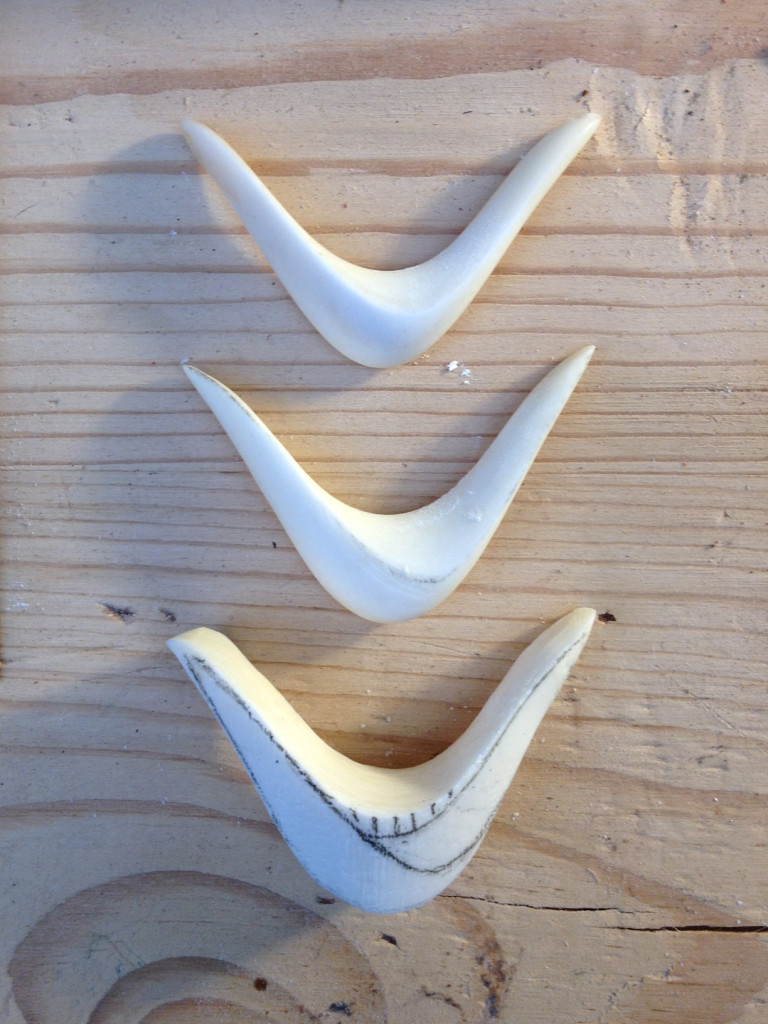
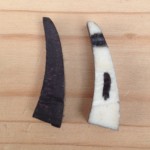
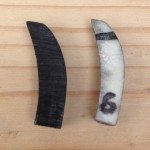
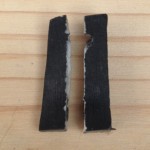
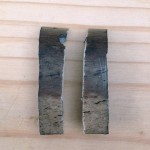
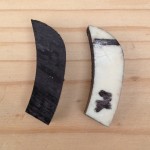
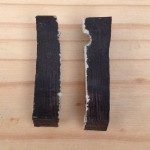
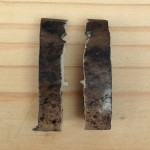
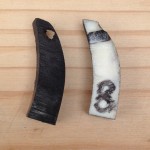
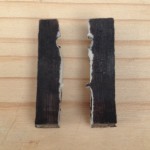
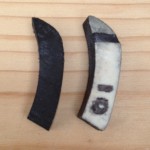
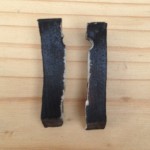
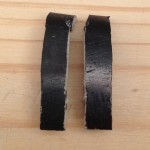
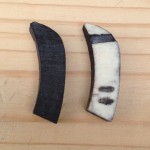
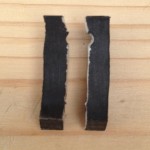
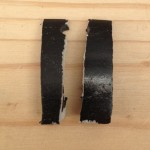
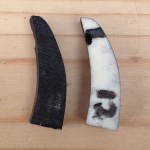
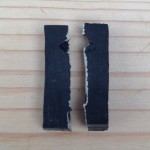
I asked my wife to help sift through all the research I did online and she came up with the following experiment to see which processes worked best for turning bone as black as possible without loosing too much of the surface texture. The results so far suggest that the rougher the bone’s surface the more the dye will infiltrate but it didn’t soak into the bone very deep on any of the pieces.

Bone Dying Test: Instructions

 Degreasing (after this step, wear gloves)

  1. oven cleaner method: follow instructions on product
  2. dish soap: wash like a dish, rinse
  3. nothing: easy

Surface Treatment

  1. sand to 1500 grit
  2. sand to 1500 grit, then soak in vinegar 30 minutes and rinse in water with baking soda
  3. sand to coarse grit

Dyeing (use 2 small pots for different time lengths)

  1. put pieces into pot
  2. cover with just enough (normal temperature) water
  3. add a few drops dishwashing liquid
  4. bring to simmer (NOT BOILING)
  5. add ¼ bottle of dye (+ salt if dye container says so)
  6. keep at simmer (NOT BOILING) for either 15 minutes or 1 hour
  7. remove from heat and allow to cool (keep bone in pot)
  8. once water has cooled to room temperature, remove and rinse pieces

Finishing

try nothing, mineral oil, or carnuba wax

15 minutes in dye
no degreasing dish soap oven cleaner
fine sand  1 – light grey  2 – light grey  3 – light grey
coarse sand  1 – grey  2 – grey  3 – grey
vinegar  4 – near black  5 – Black  6 – Black


60 minutes in dye
no degreasing dish soap oven cleaner
fine sand  7 – grey  8 – grey  9 – dark grey
coarse sand  7 – black  8 – near black  9 – black
vinegar  10 – Black  11 – Black  12 – Black

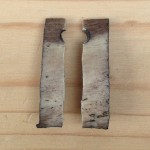
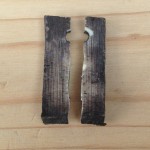
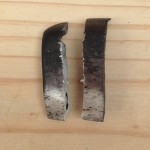
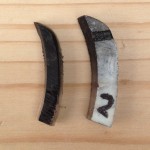
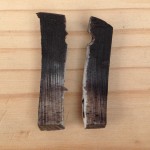
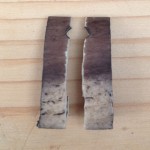
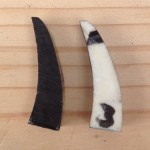
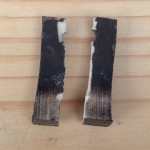
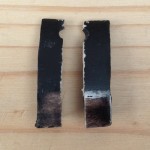
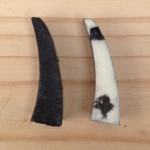
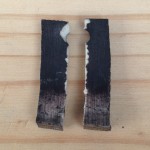
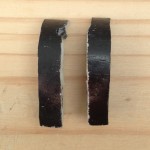
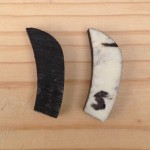
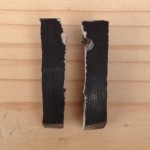
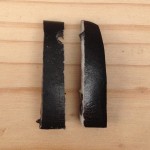
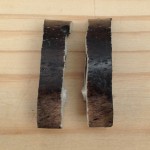
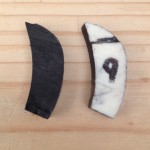
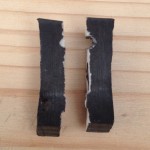
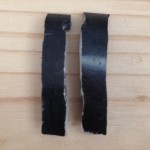
Photos of pieces after treatment:


Back to STUDIO TAPU HOME

Panther Toe nails – Staining bone black experiment 1: Black Dye Process

The following pictures demonstrate how we prepared and dyed the bone in the first attempt to get black bone without loosing too much of the quality of the bone. (Complete steps in next post)
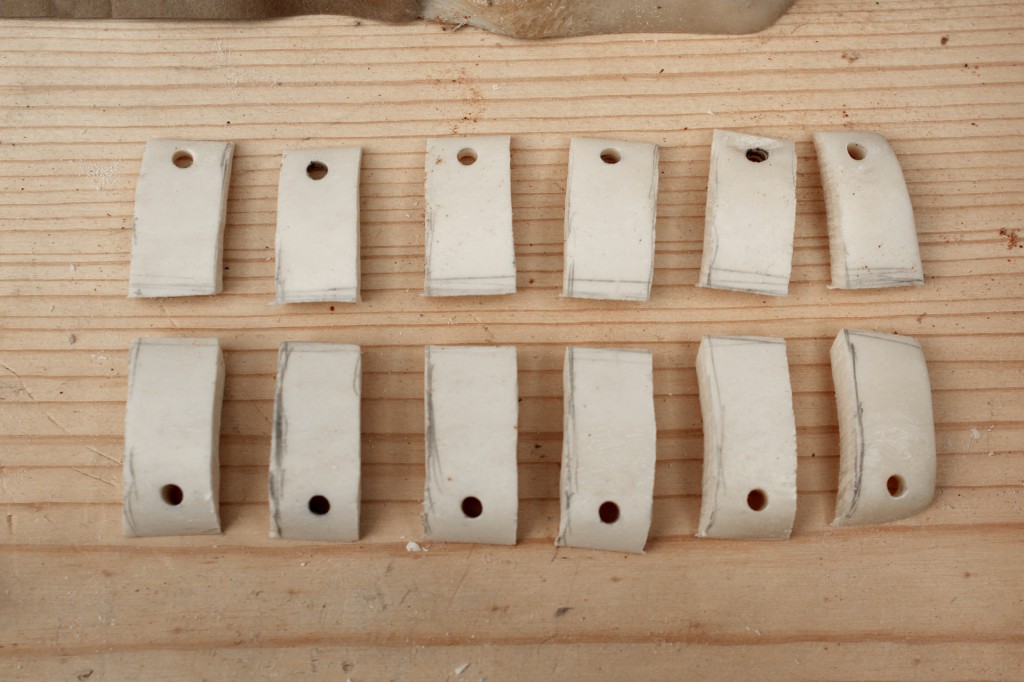
(Above) First off, I made 12 ‘Panther toe-nails’ from two slightly different pieces of bone. I sanded the front of all up to Fine 1500 grit and left the other sides at Coarse 100 grit. I didn’t spend that much time on sanding, I just wanted to get an idea of the impact on the various surfaces.
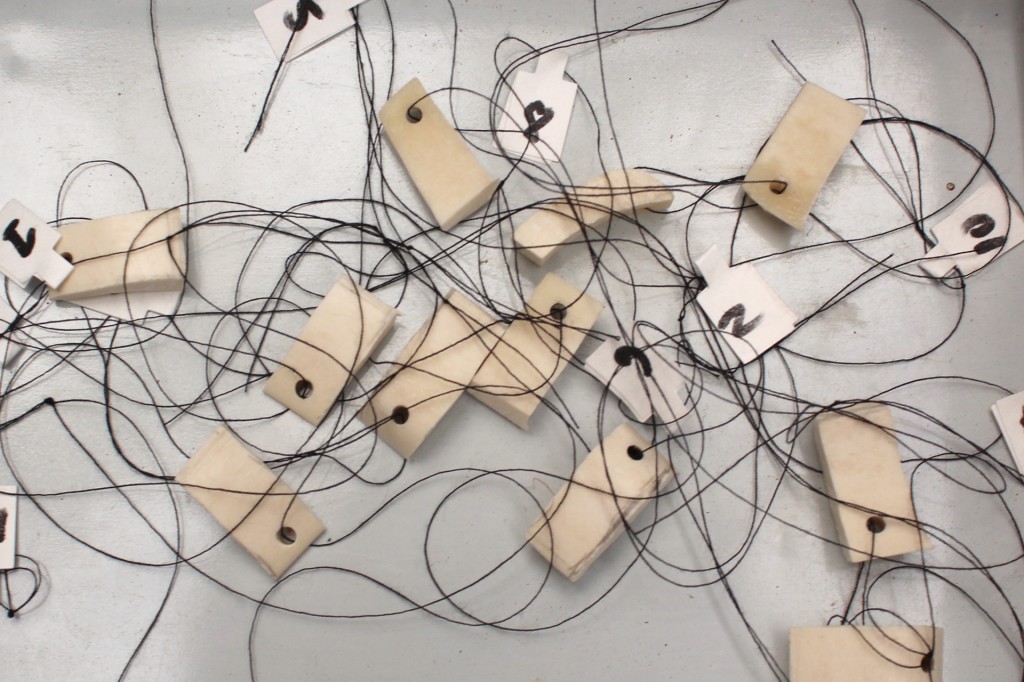
(Above) Next, we labeled each of the pieces one through twelve.
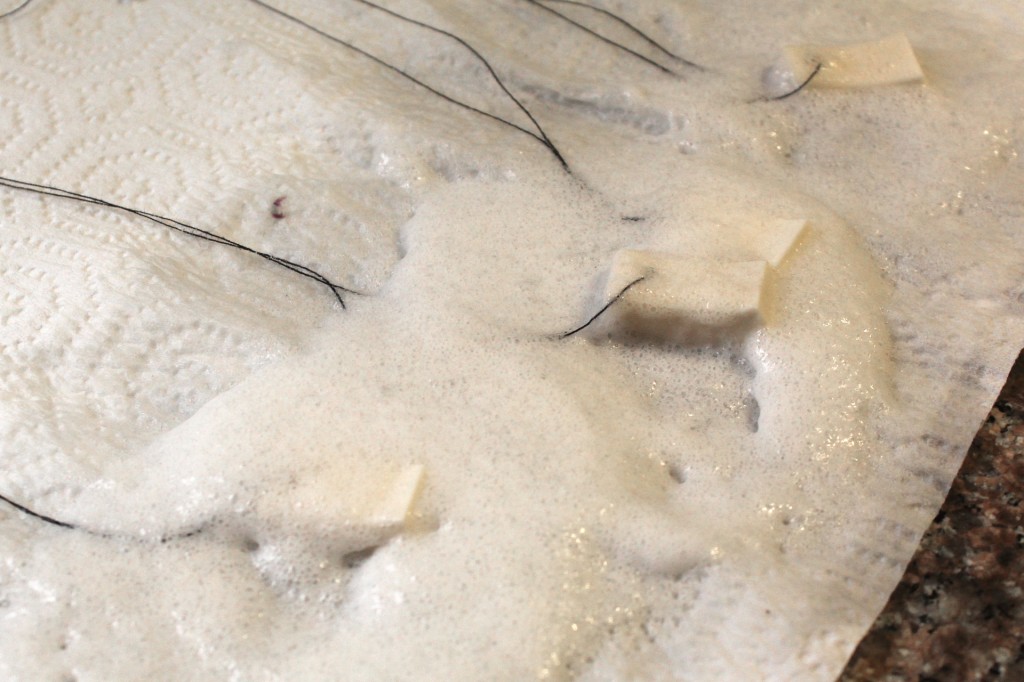
(Above) Some of the pieces were degreased in oven cleaner while others were scrubbed with dish-soap to see if we could get the oils out of the bone. Also some pieces were left alone.
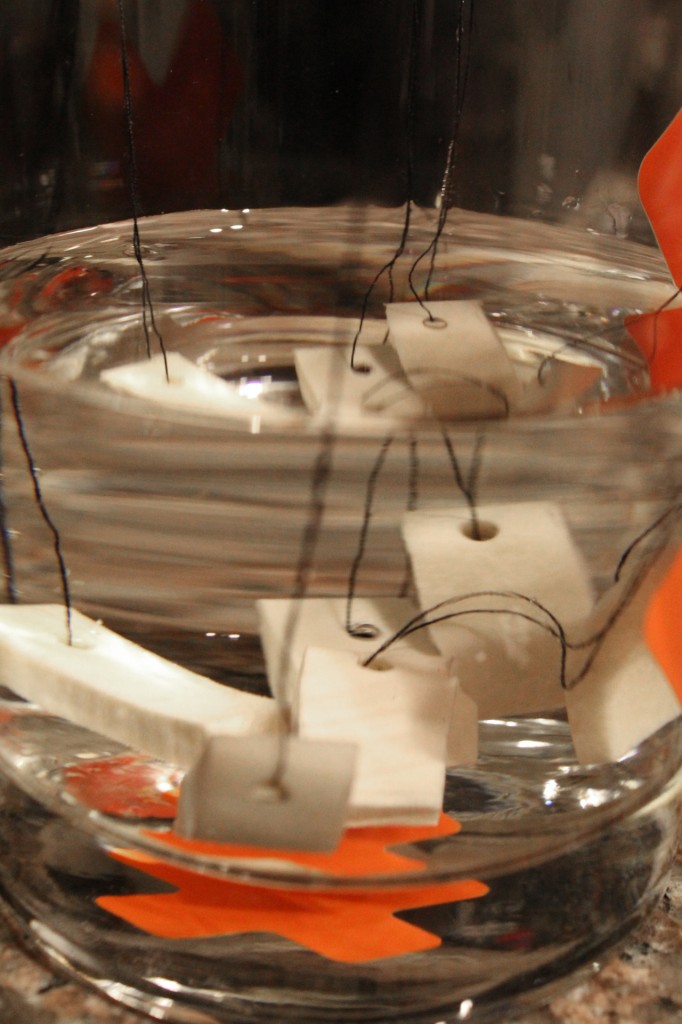
(Above) In this step, we just soaked some of the pieces in vinegar to slightly roughen the surface.
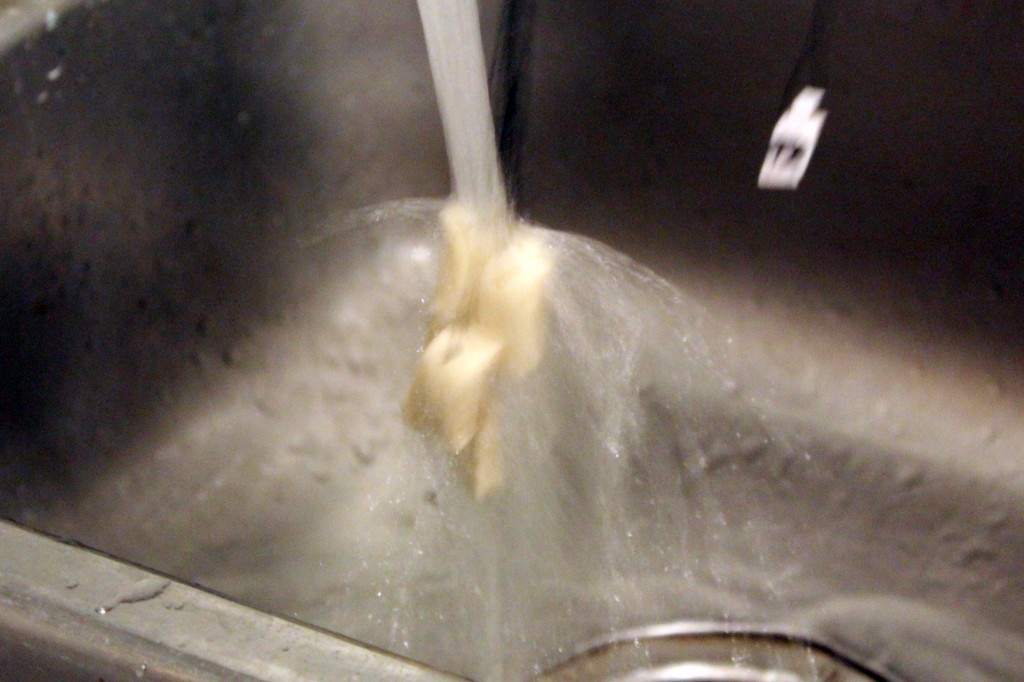
(Above) We also thoroughly rinsed the vinegar off the pieces that were soaked.
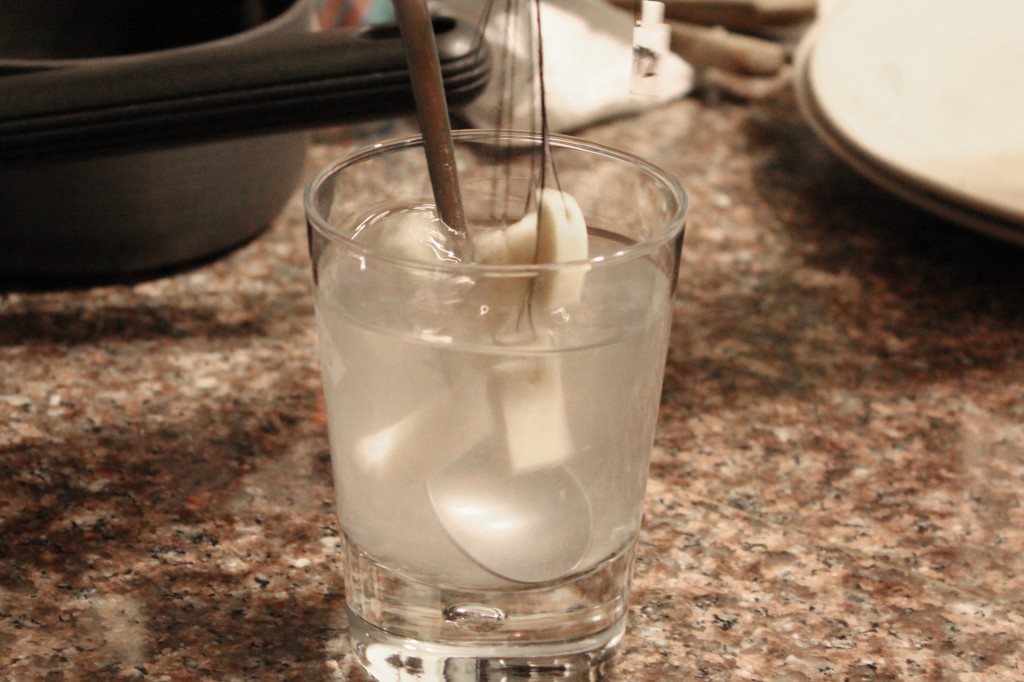
(Above) Then we neutralized the vinegar with a solution of baking soda and rinsed again.
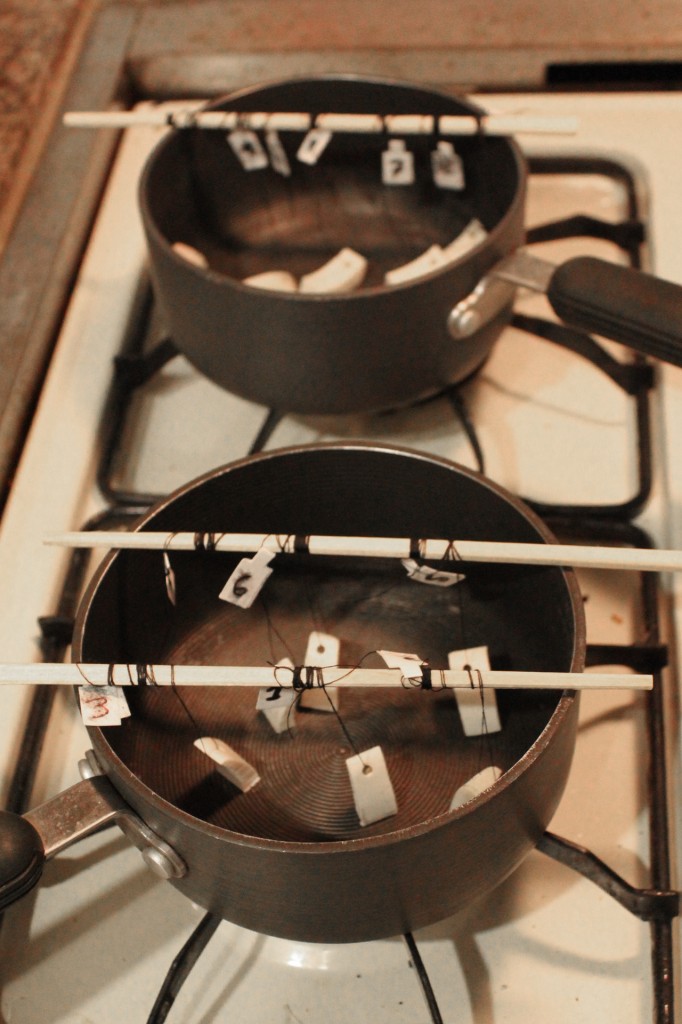
(Above) Next, we tied the pieces to chopsticks and put them in pots.
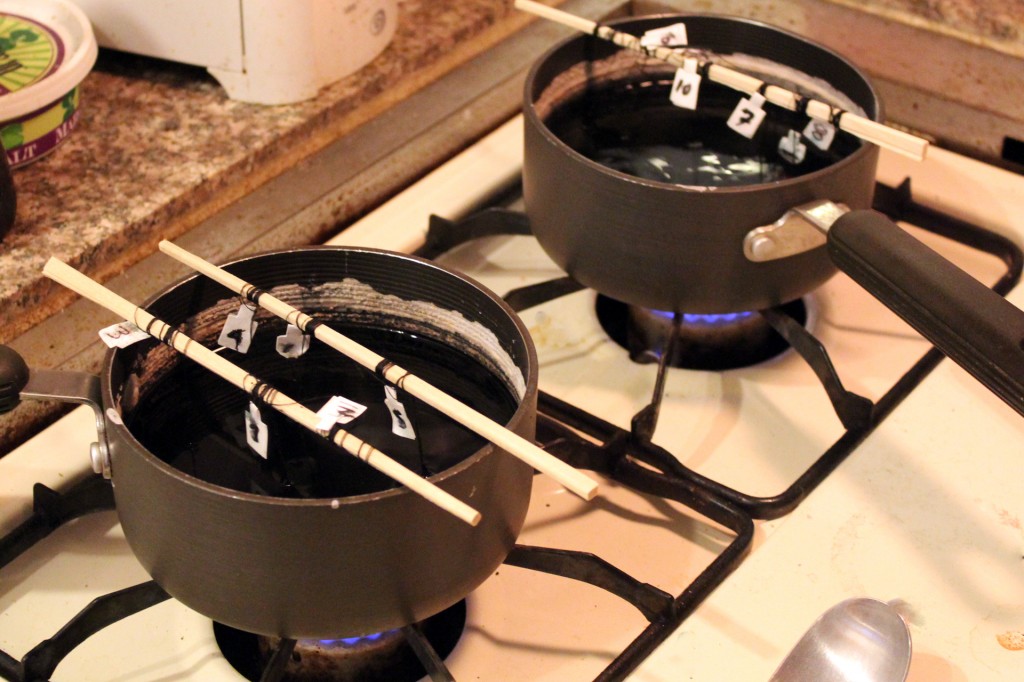
(Above) We filled the pots with just enough water to cover the ‘toe-nails’ (2 cups) and added a little bit of dish soap to each along with 4 tablespoons of the black dye and a 1/4 cup of salt.
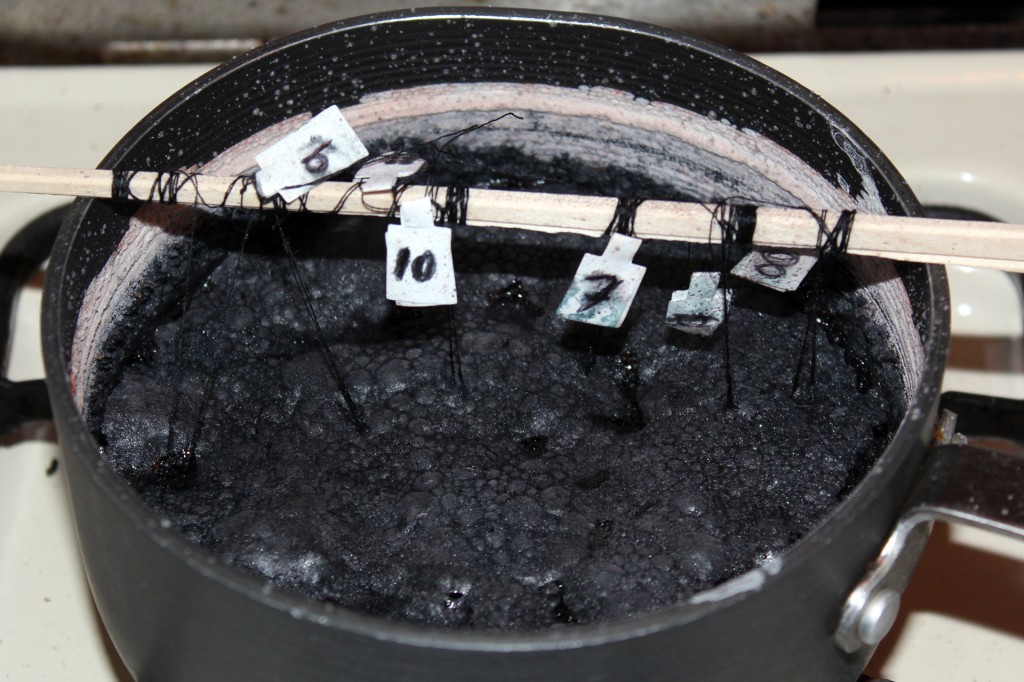
(Above) We put the pieces back in and tended them while they simmered to make sure they didn’t boil. One pot was on for just 15 minutes while the other continued for one hour (turned into the mess pictured above).
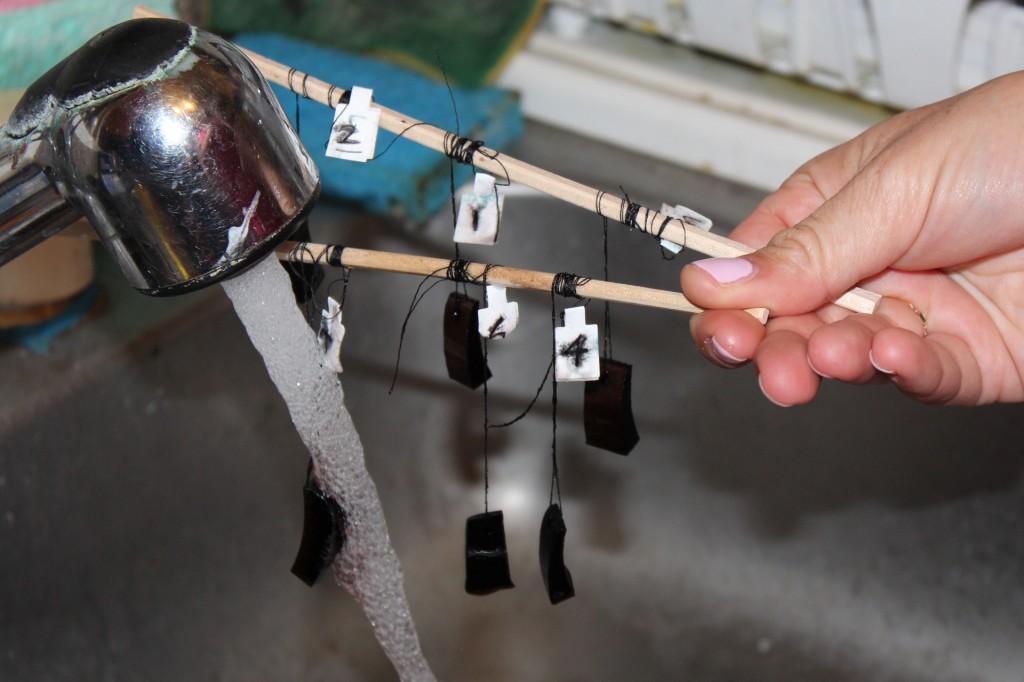
(Above) We left the pieces in the water until they cooled down to room temperature then rinsed them under cold water thoroughly.
Back to STUDIO TAPU HOME