Bone Dying Instructions and Results

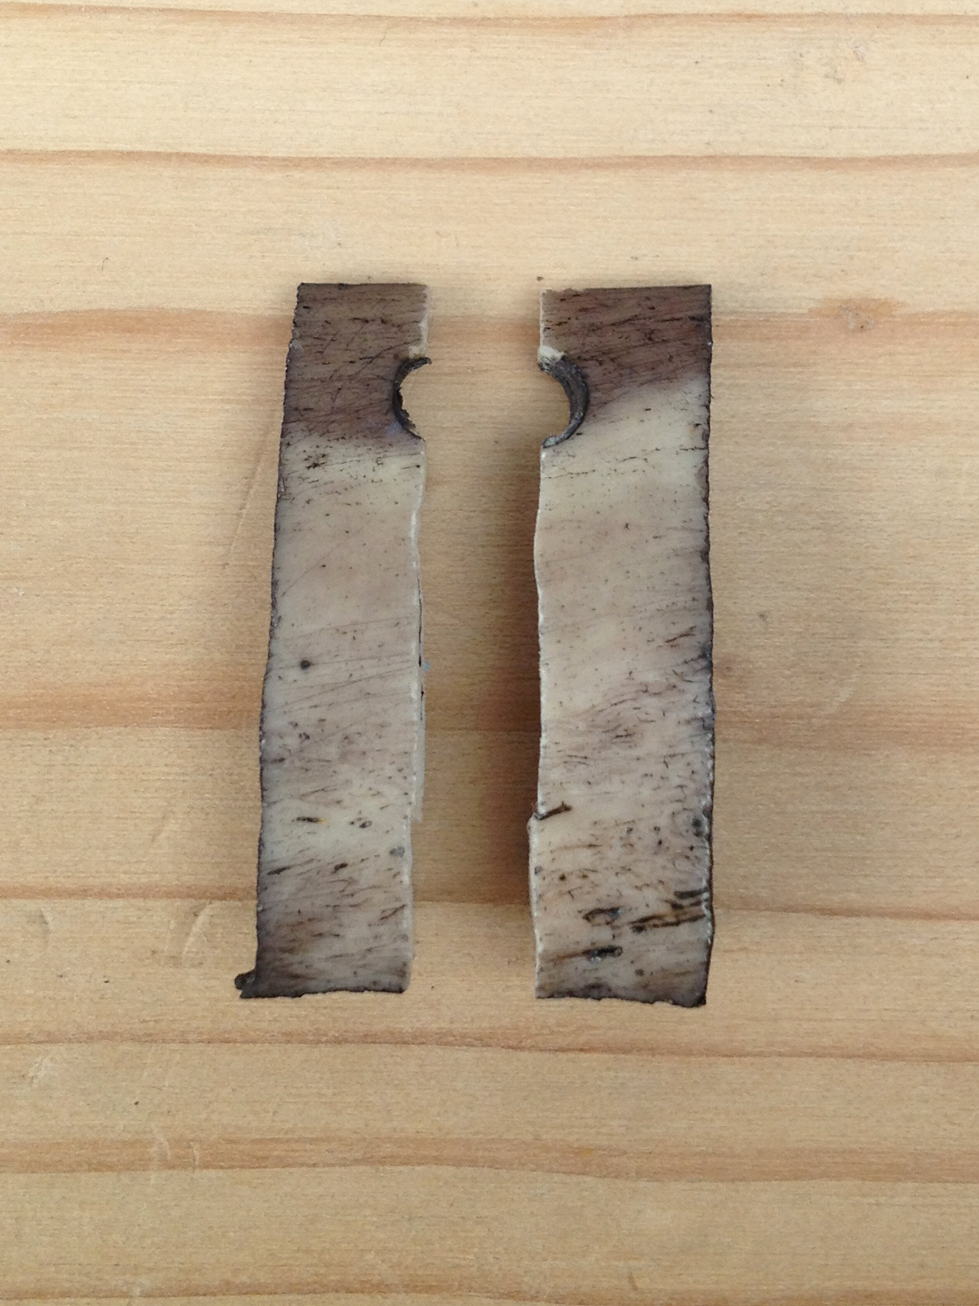
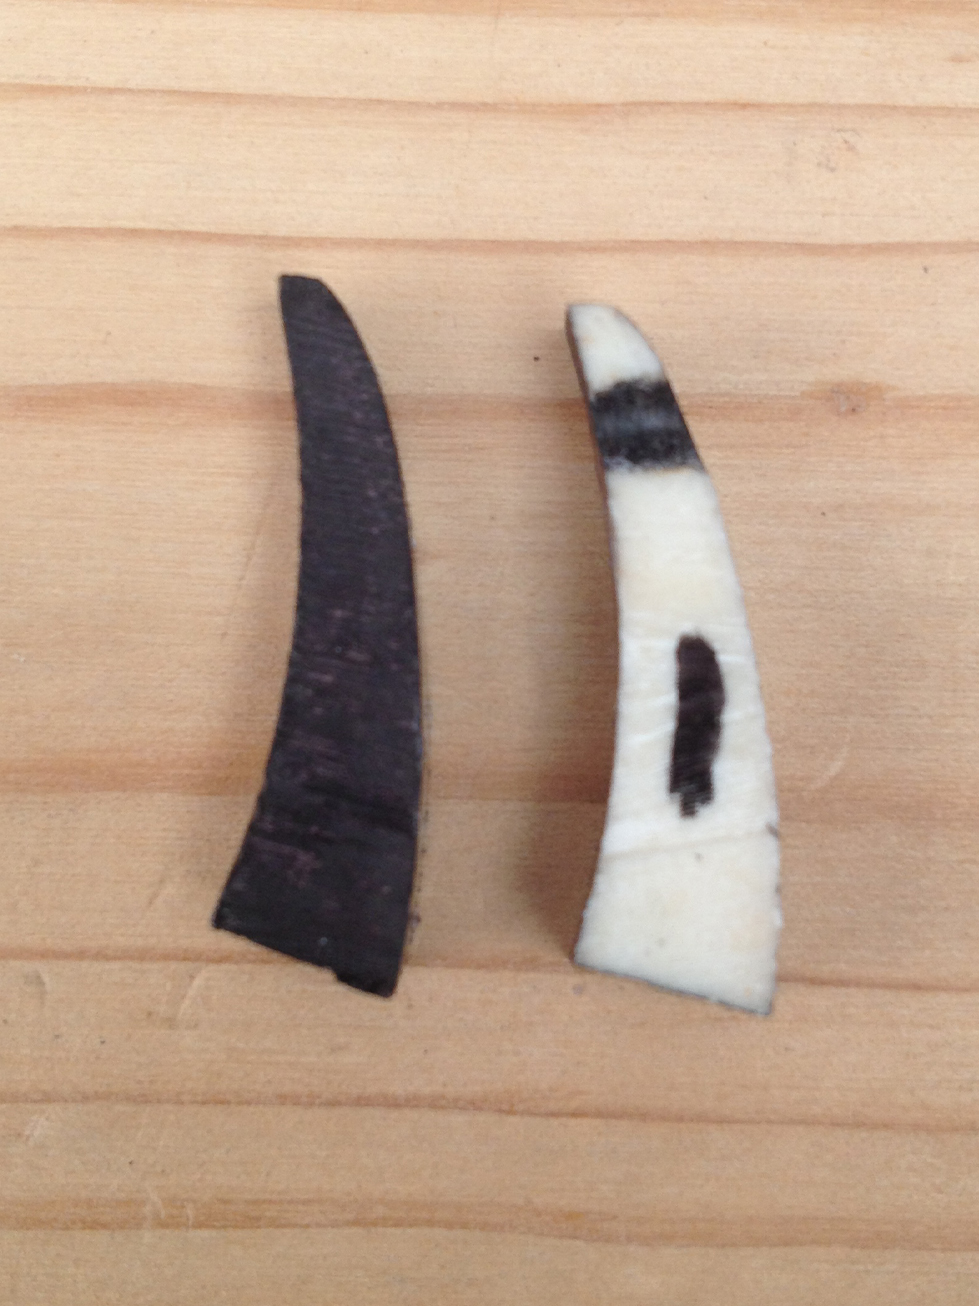
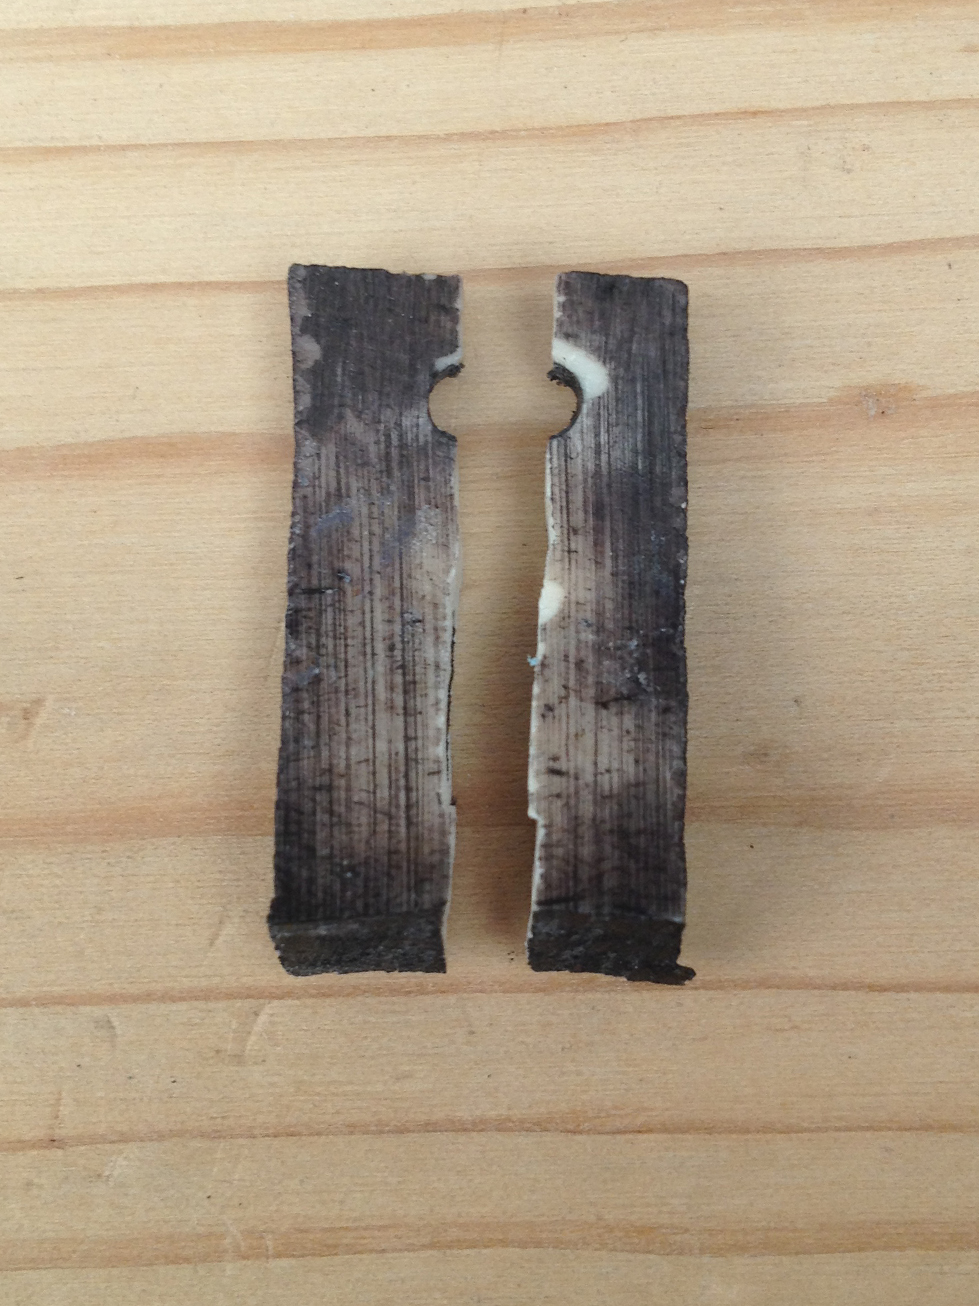
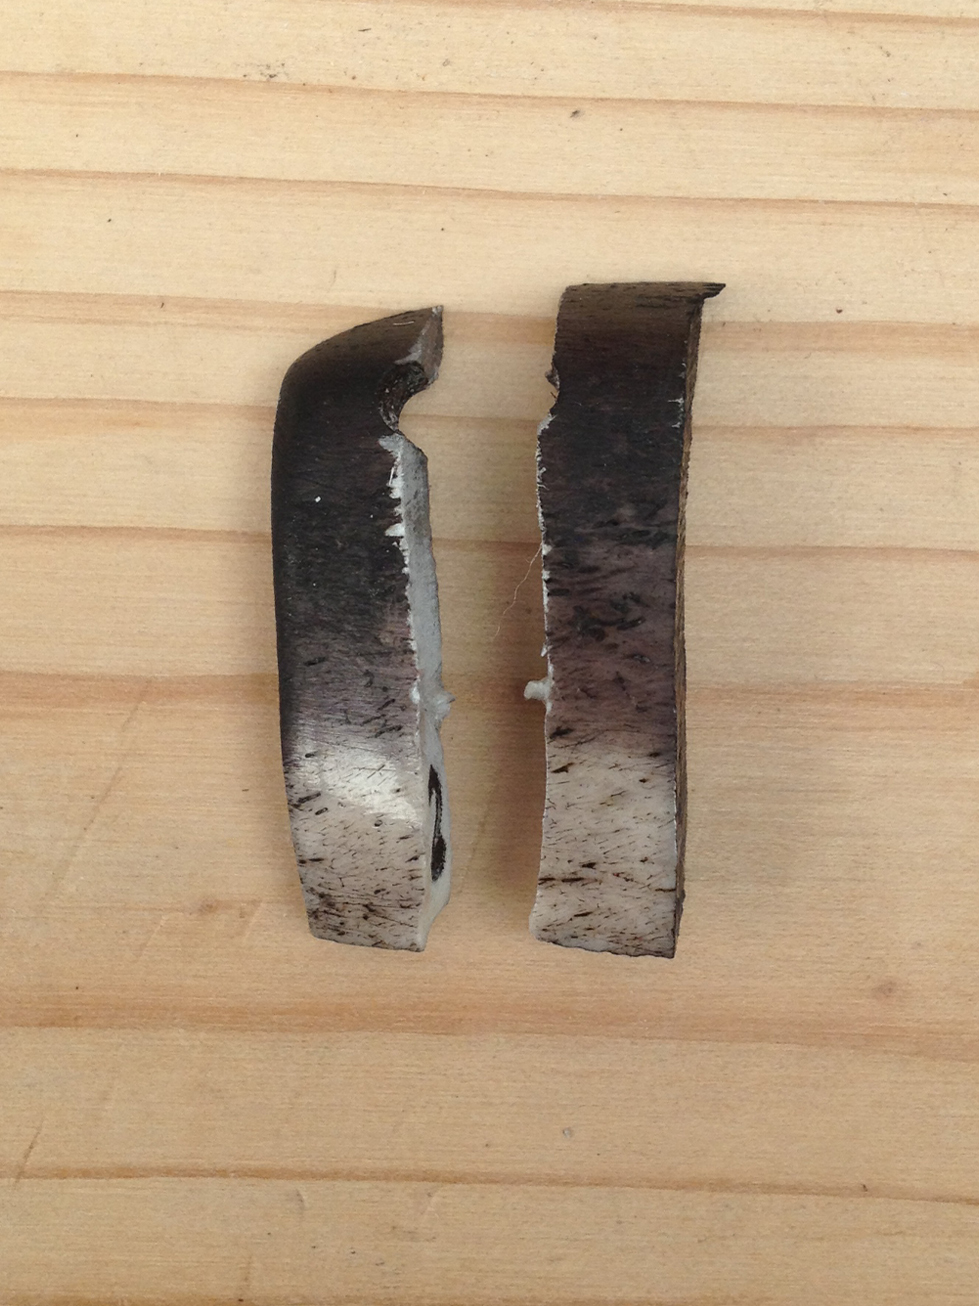
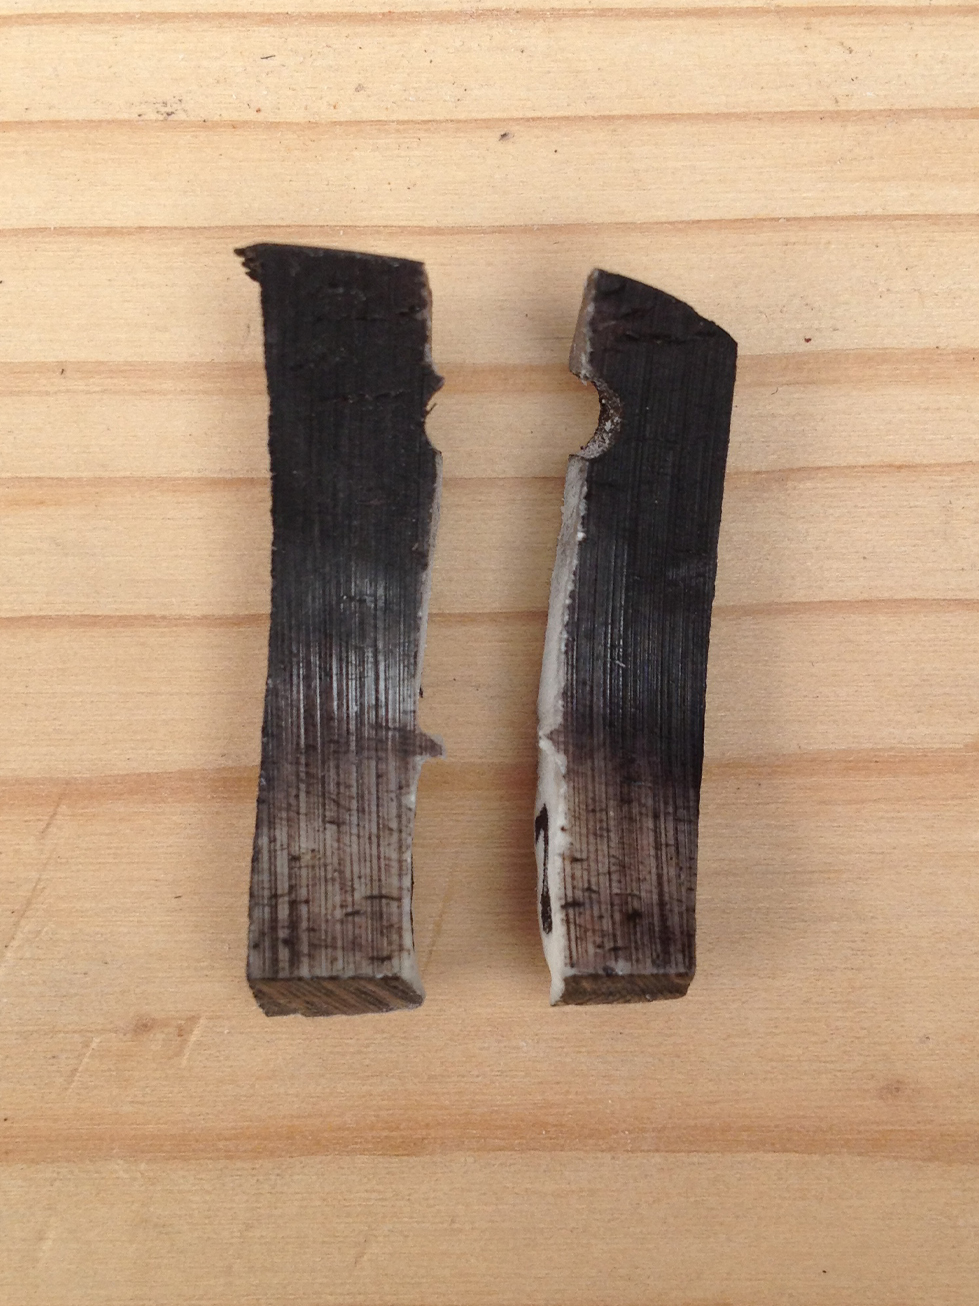
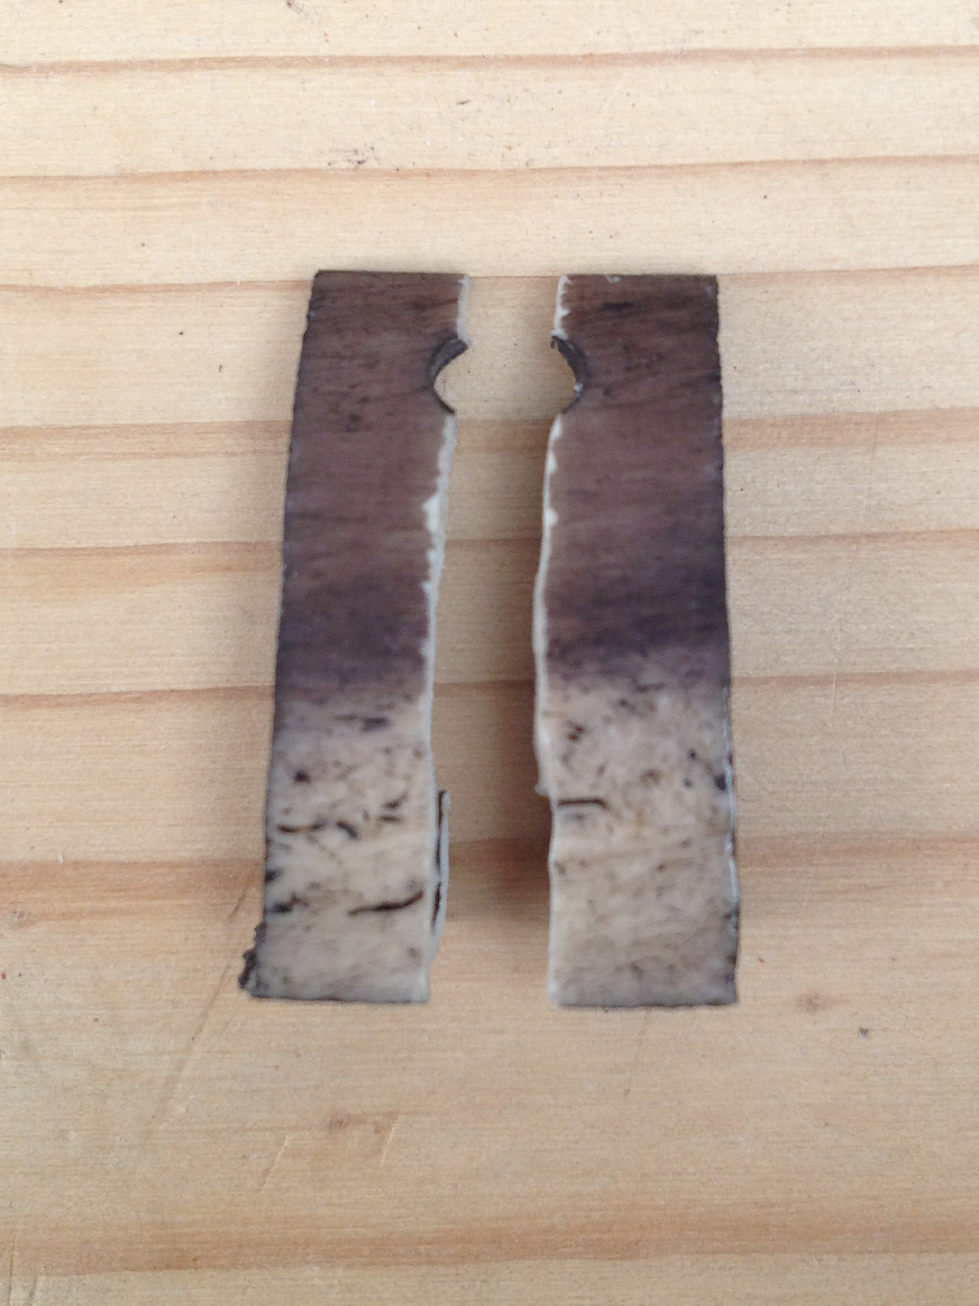
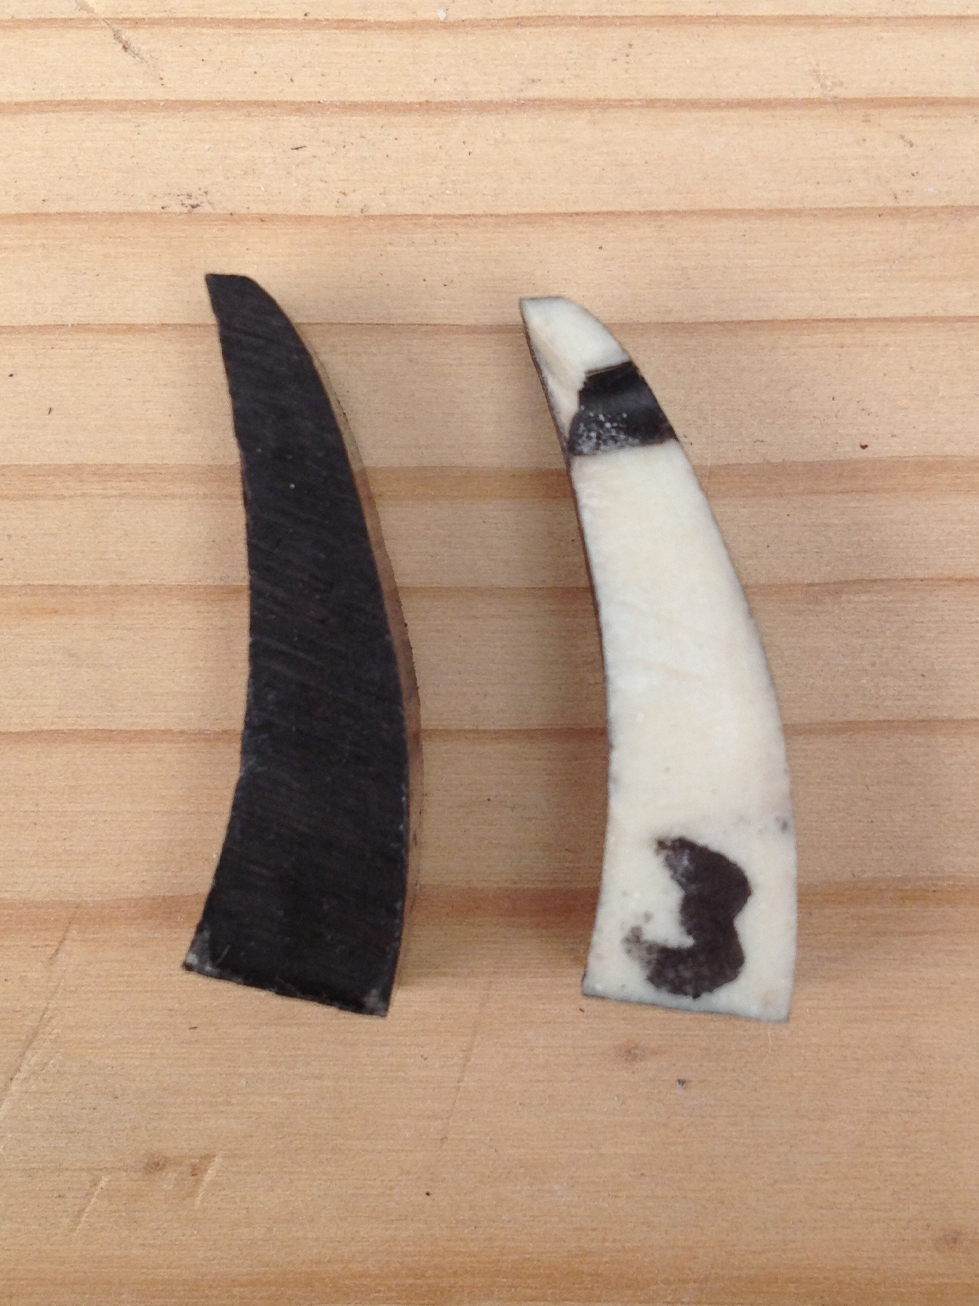
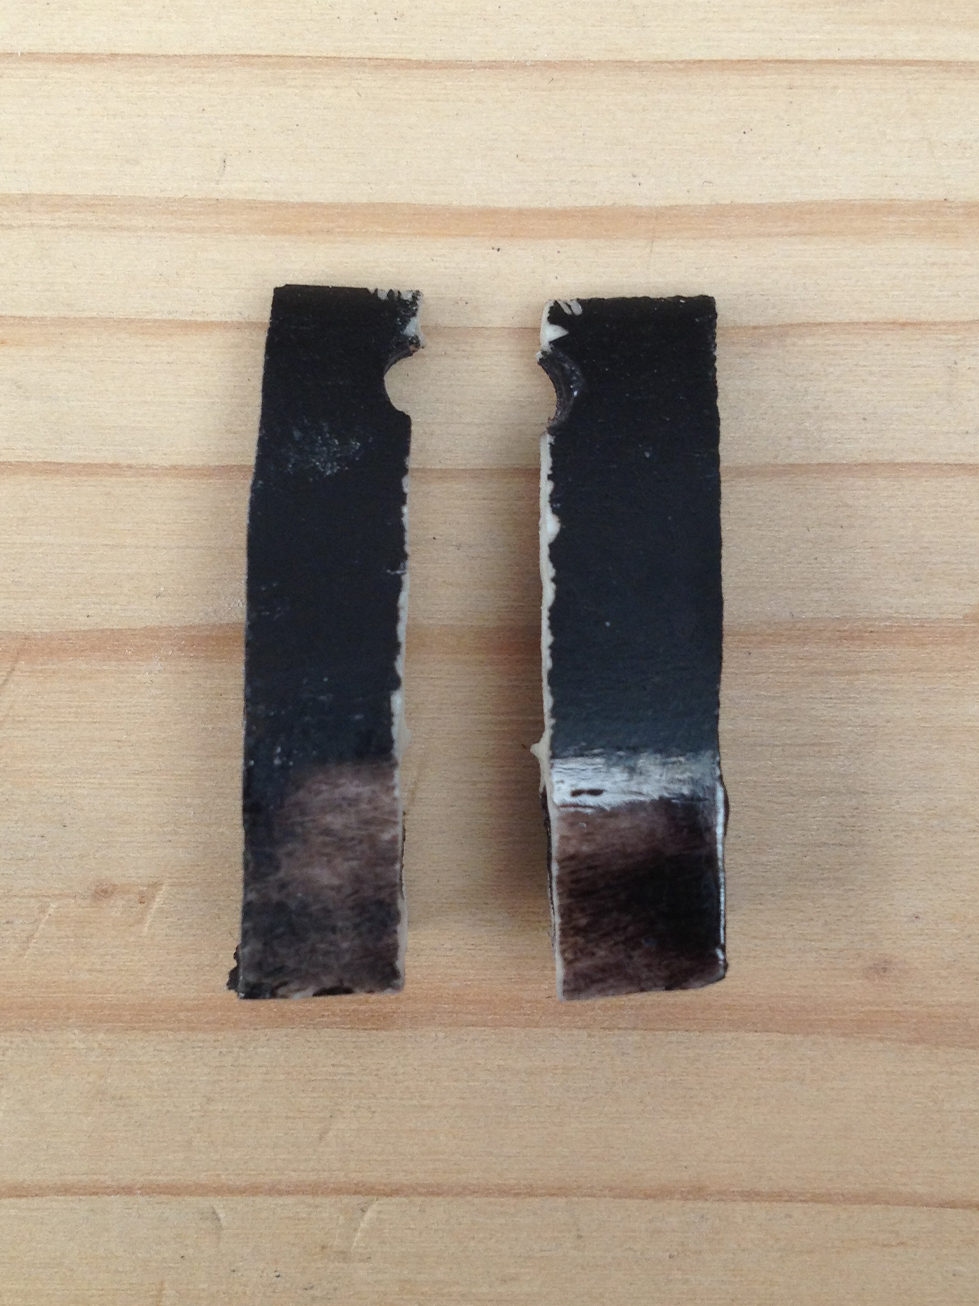
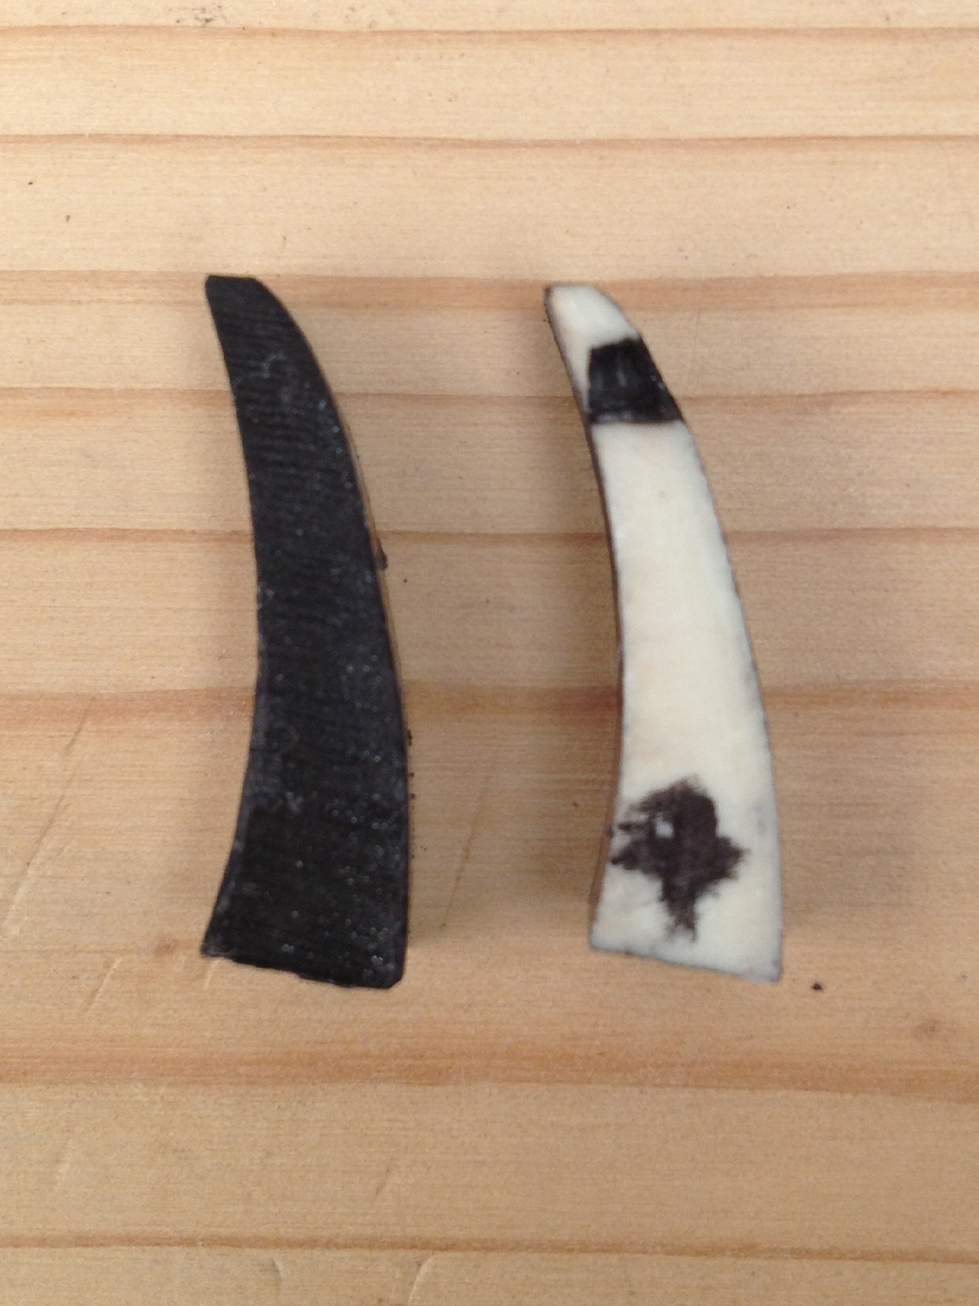
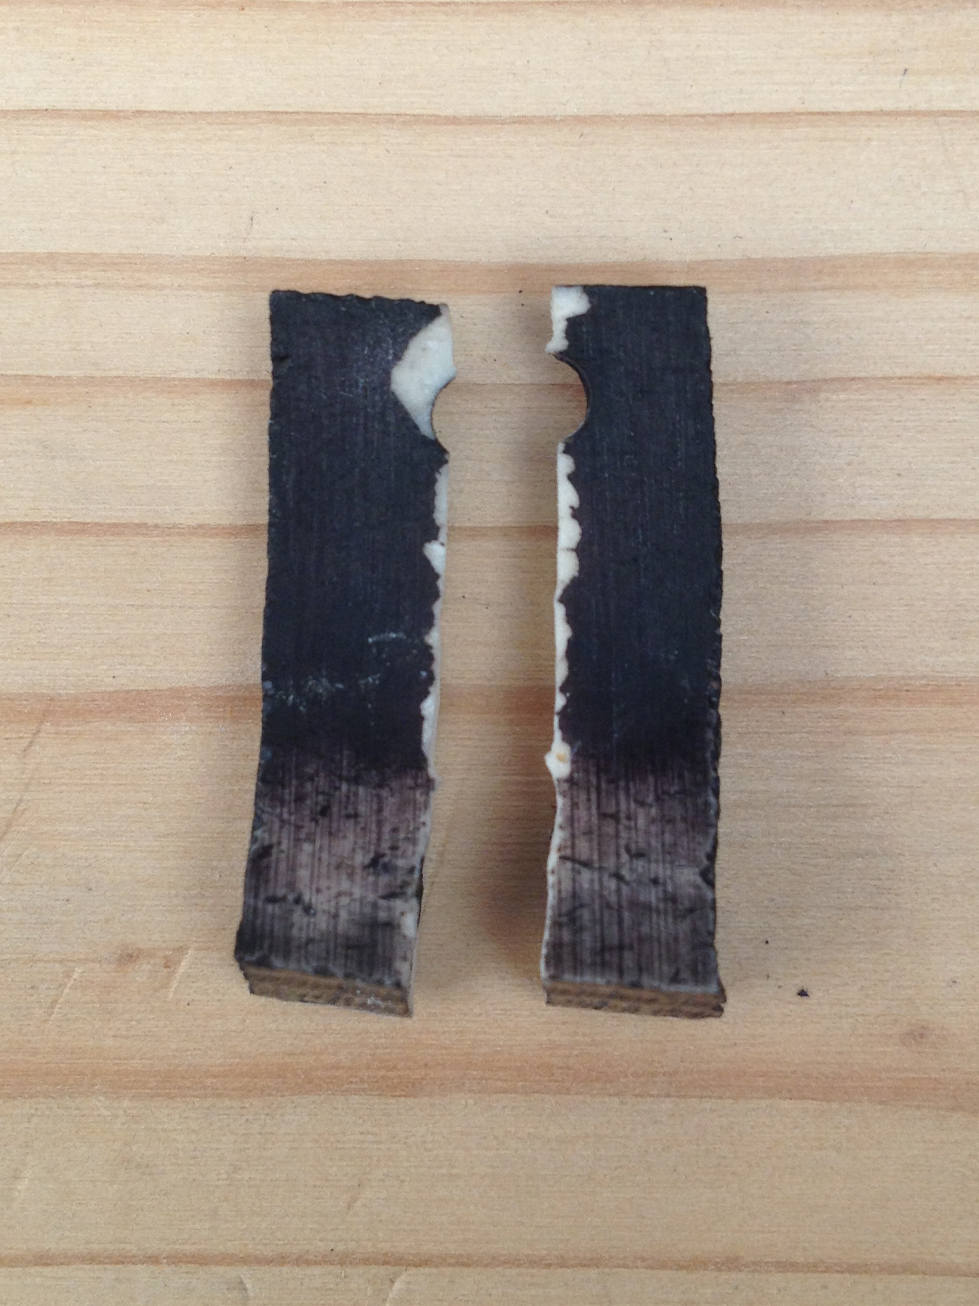
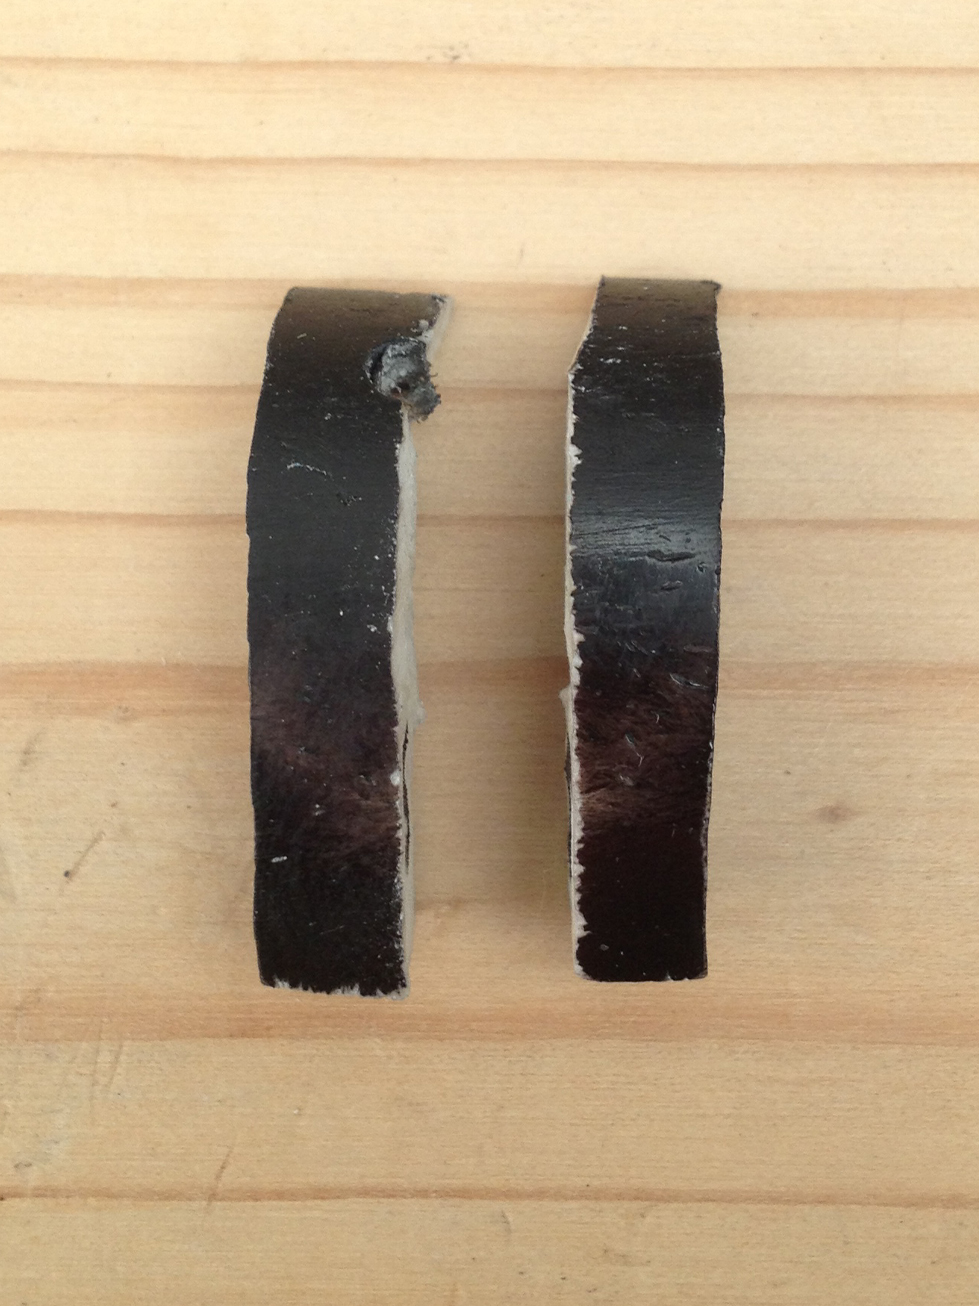
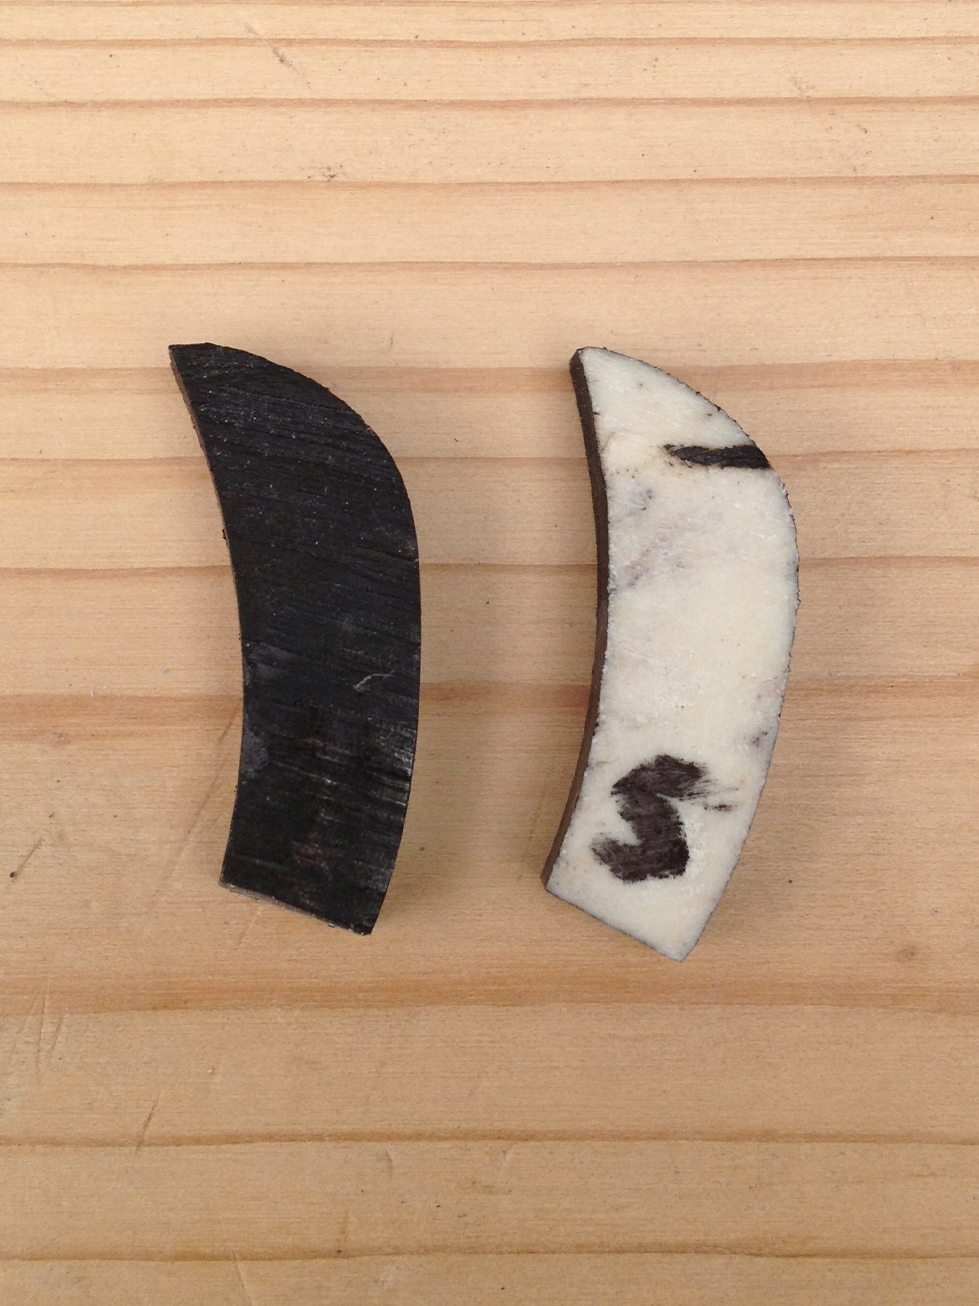
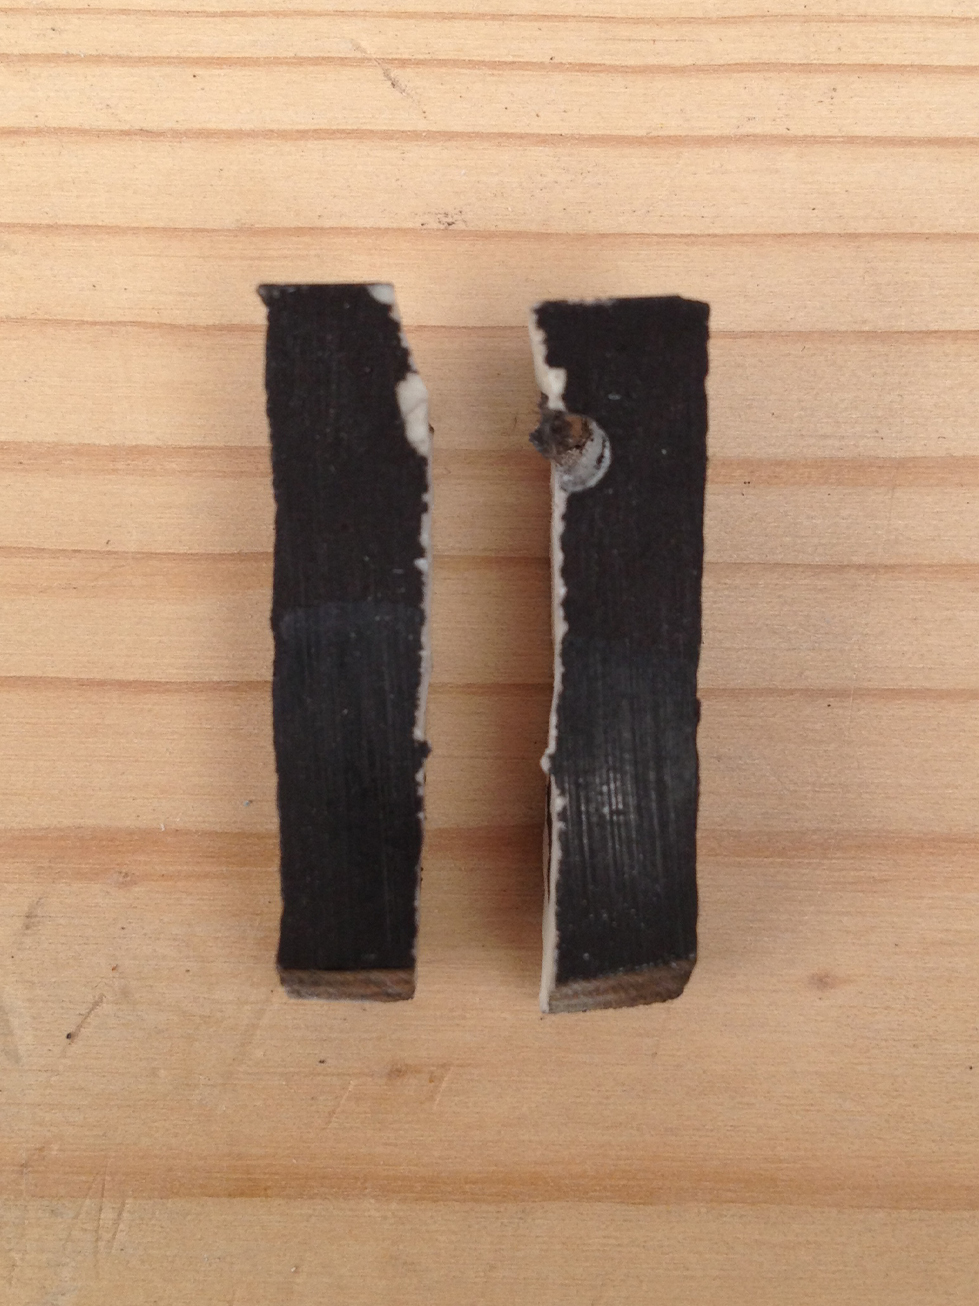
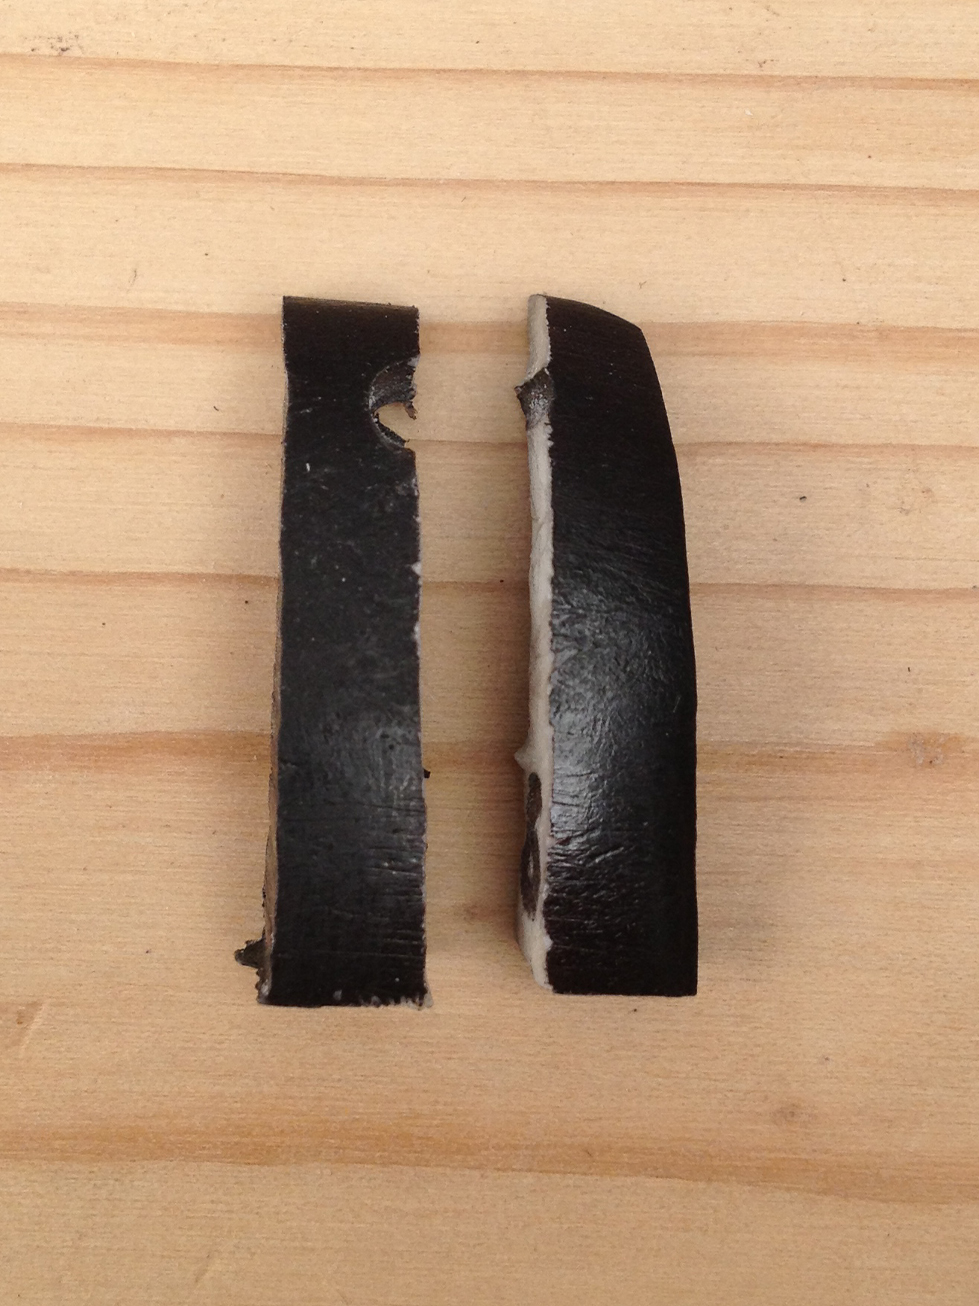
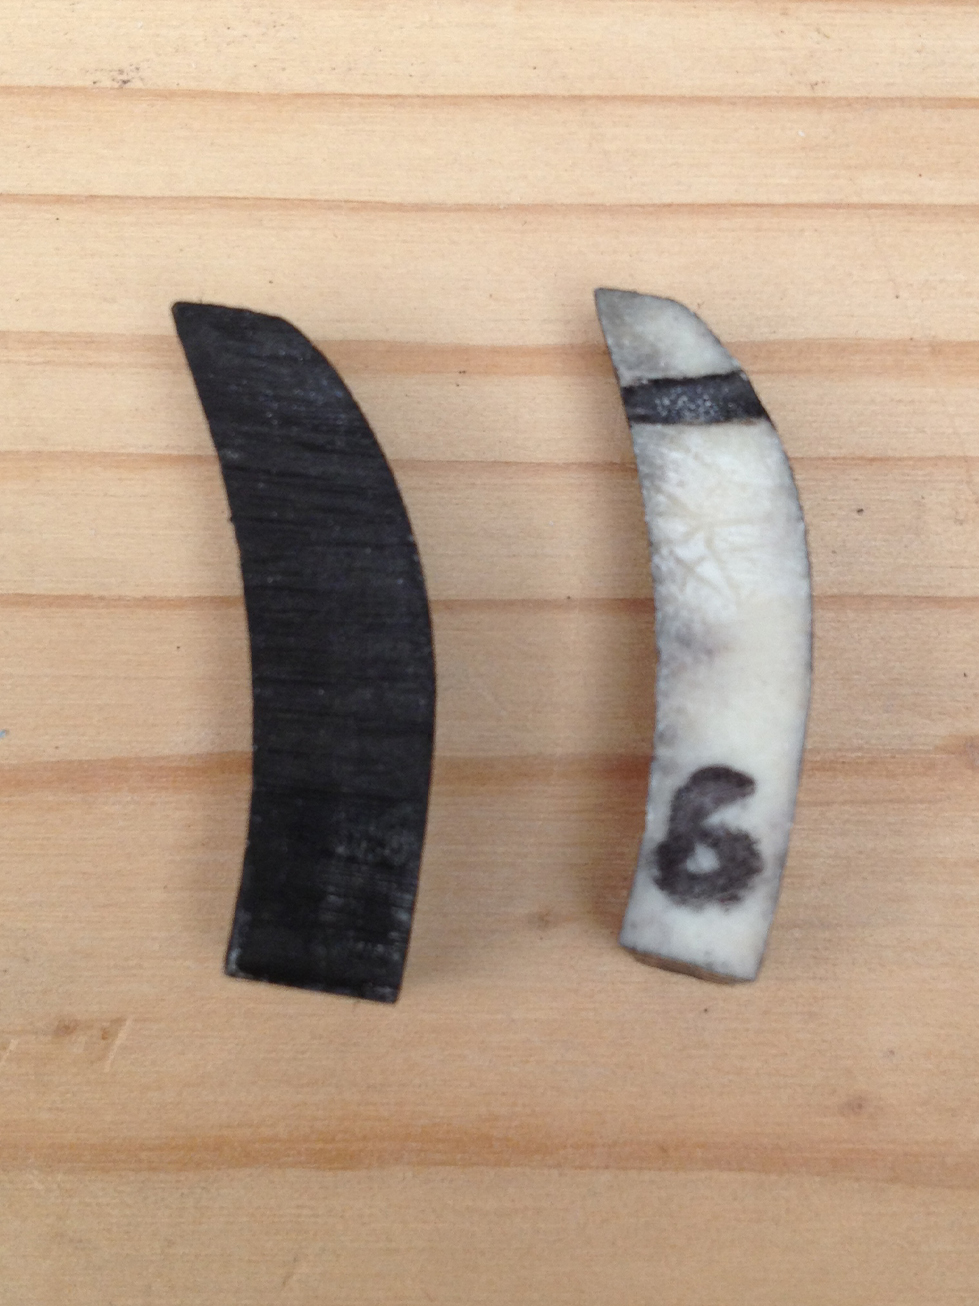
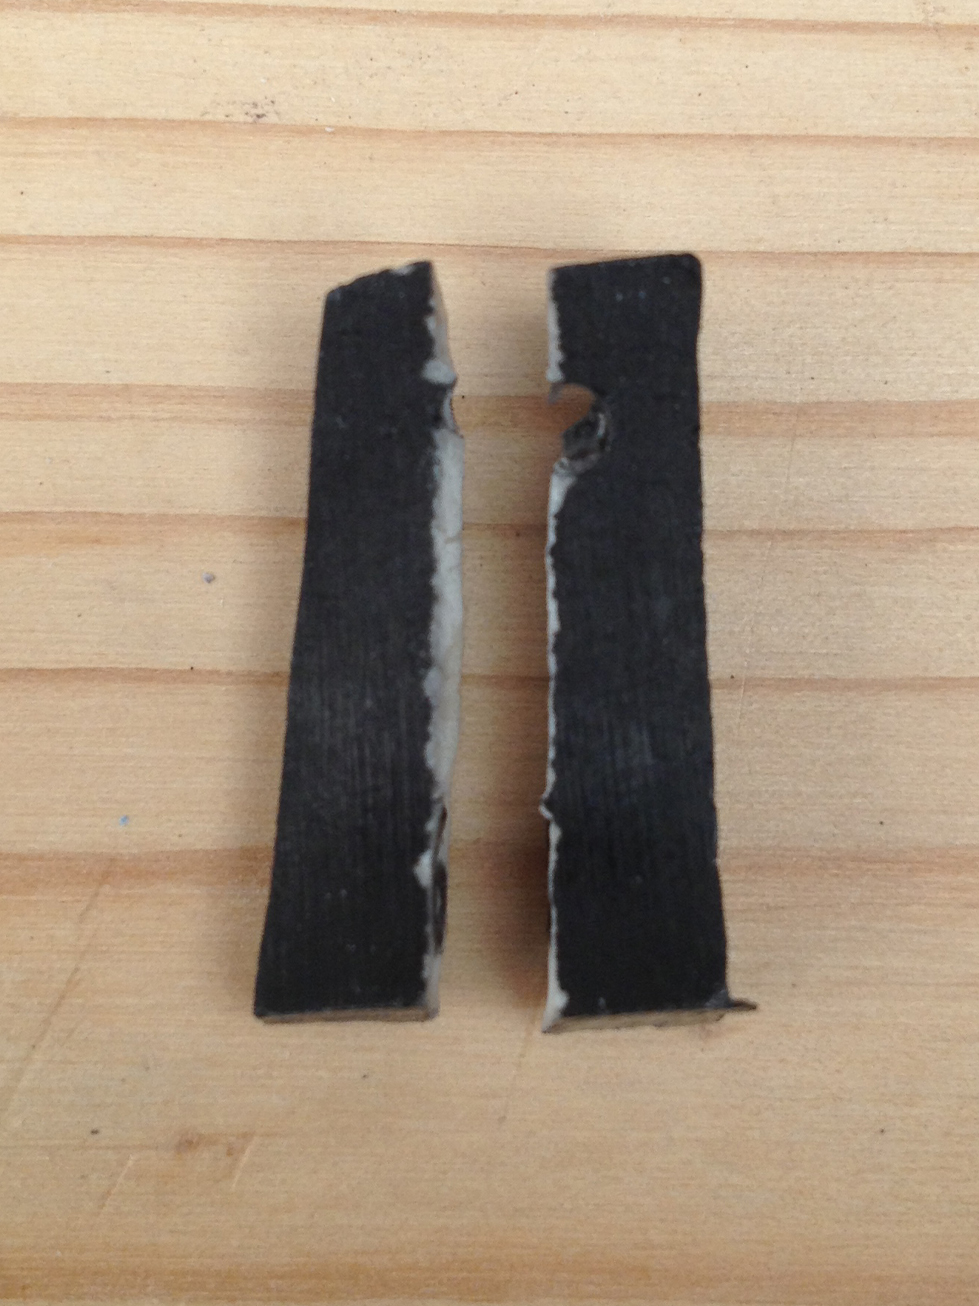
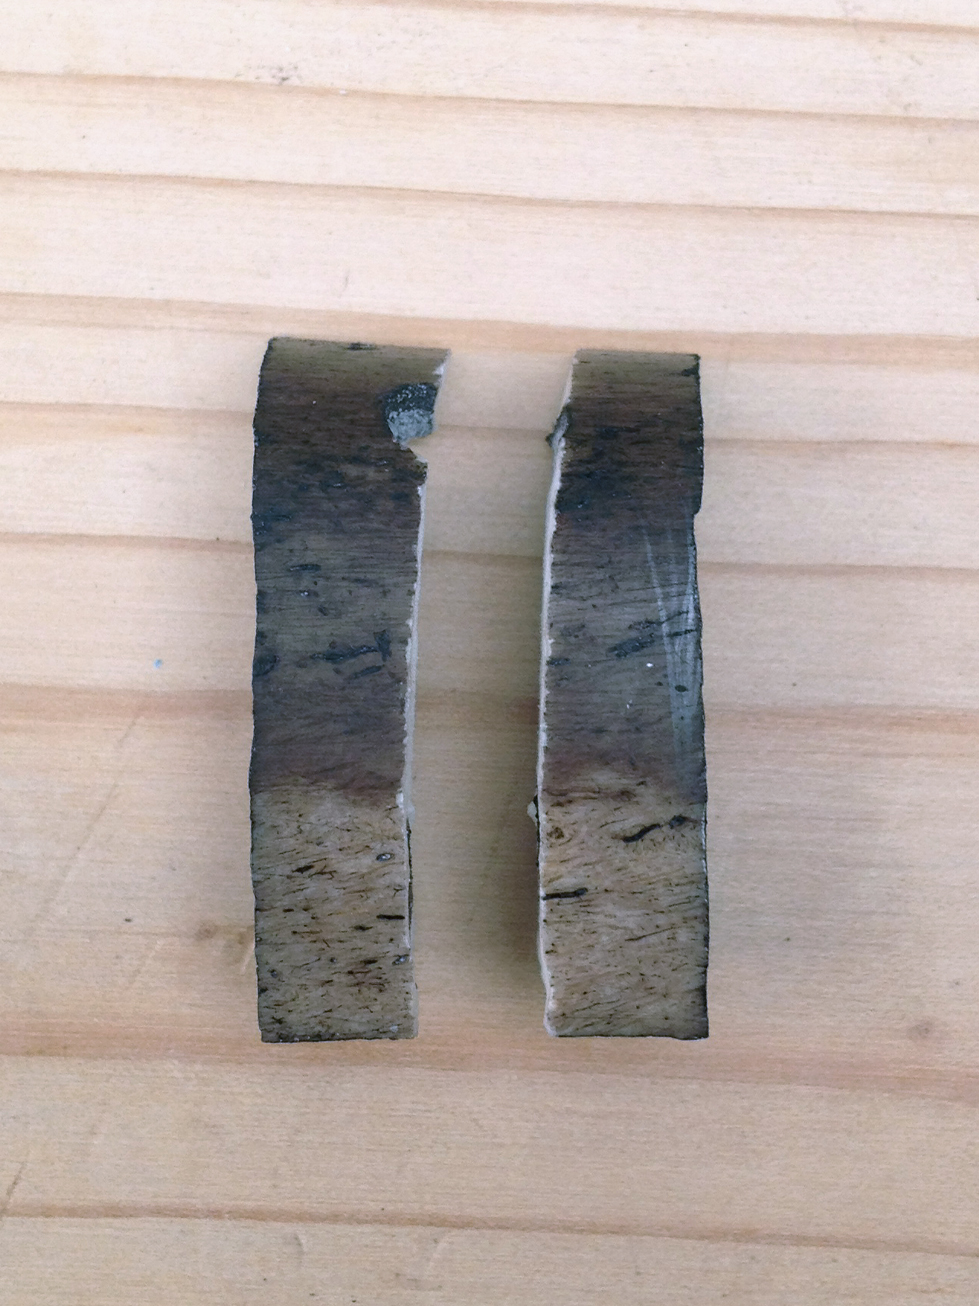
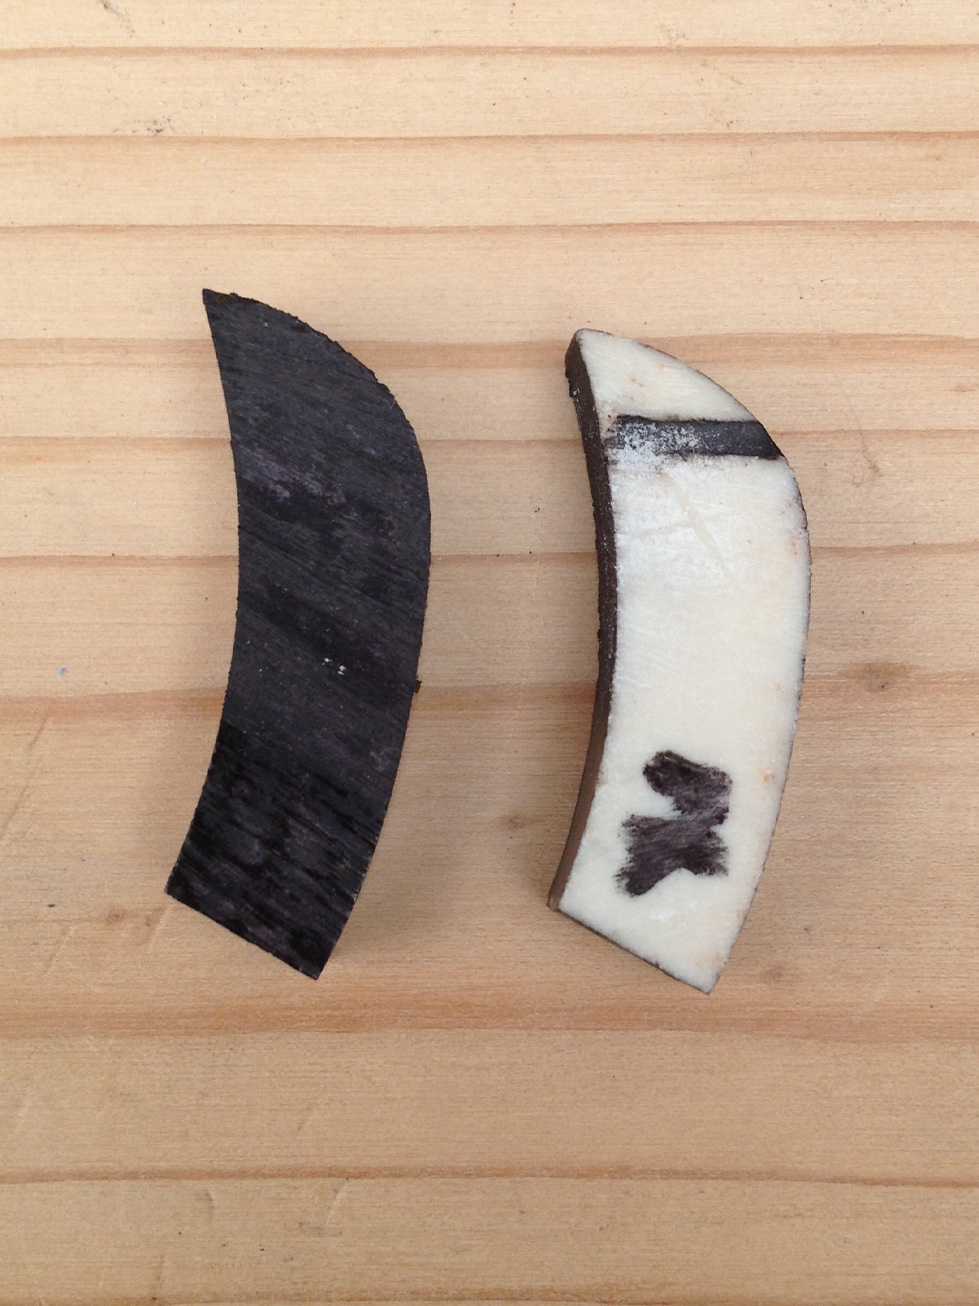
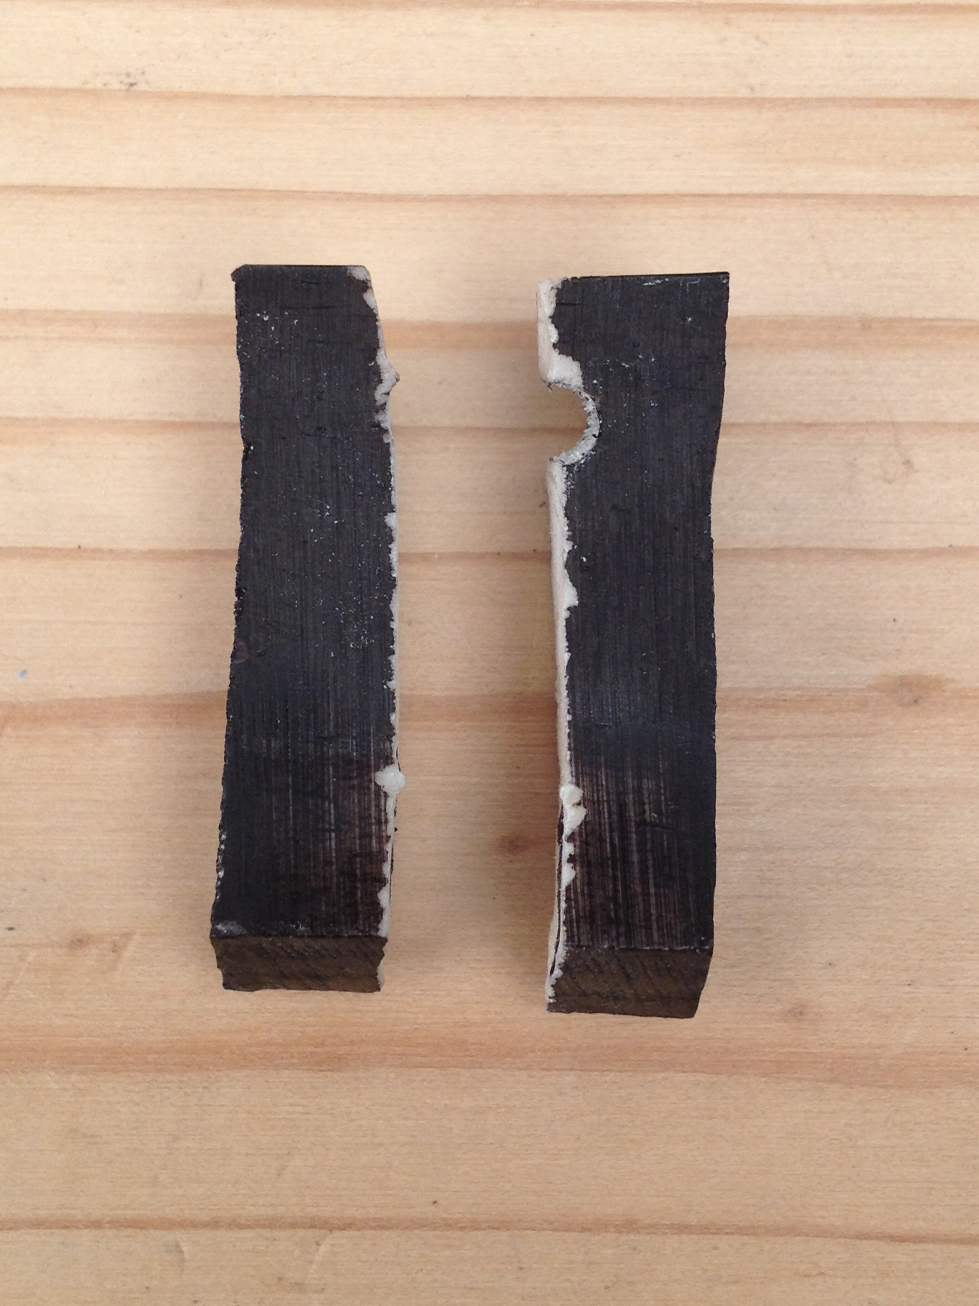
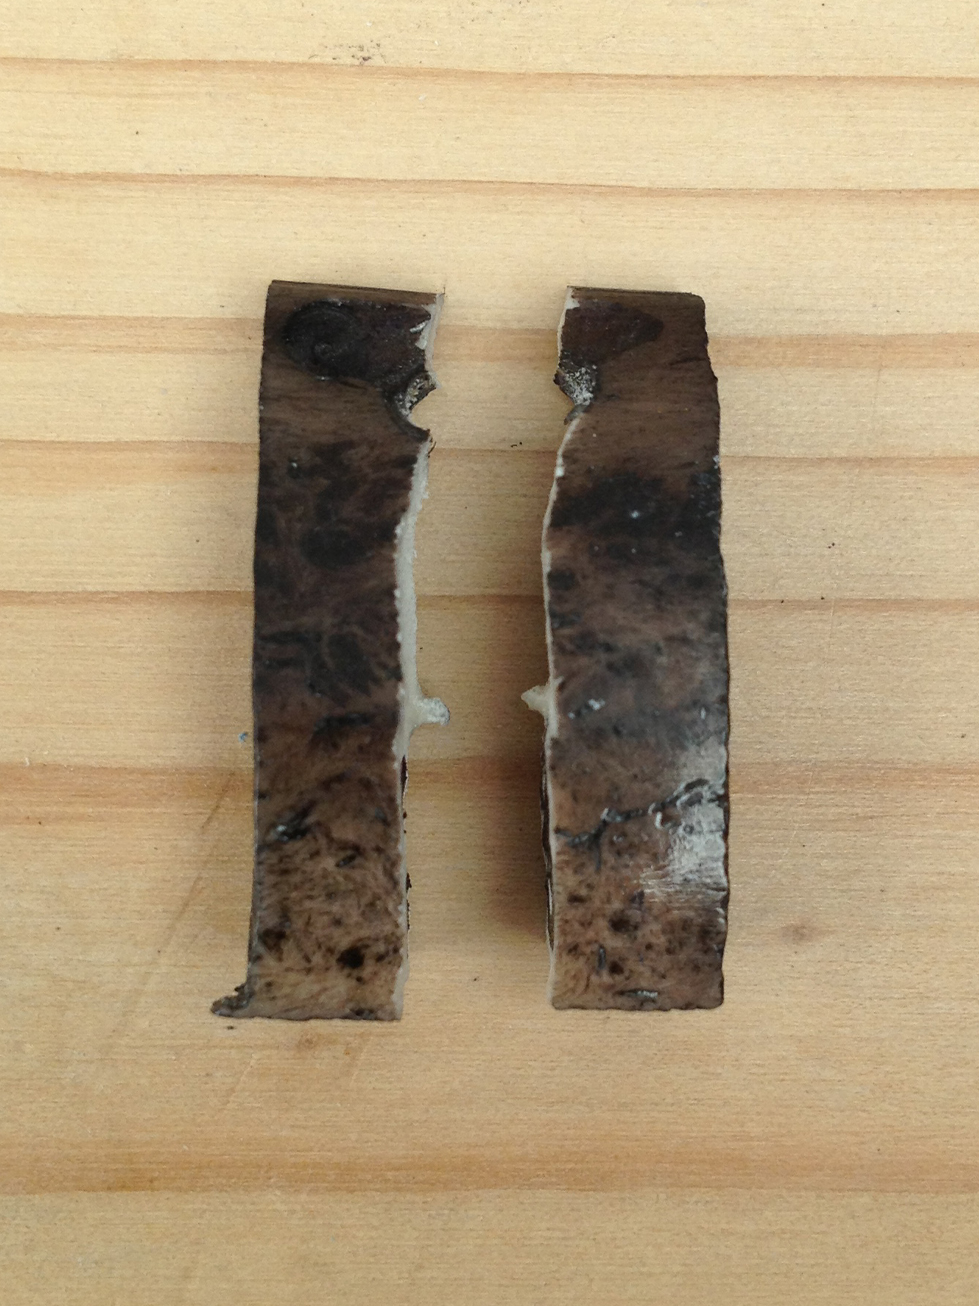
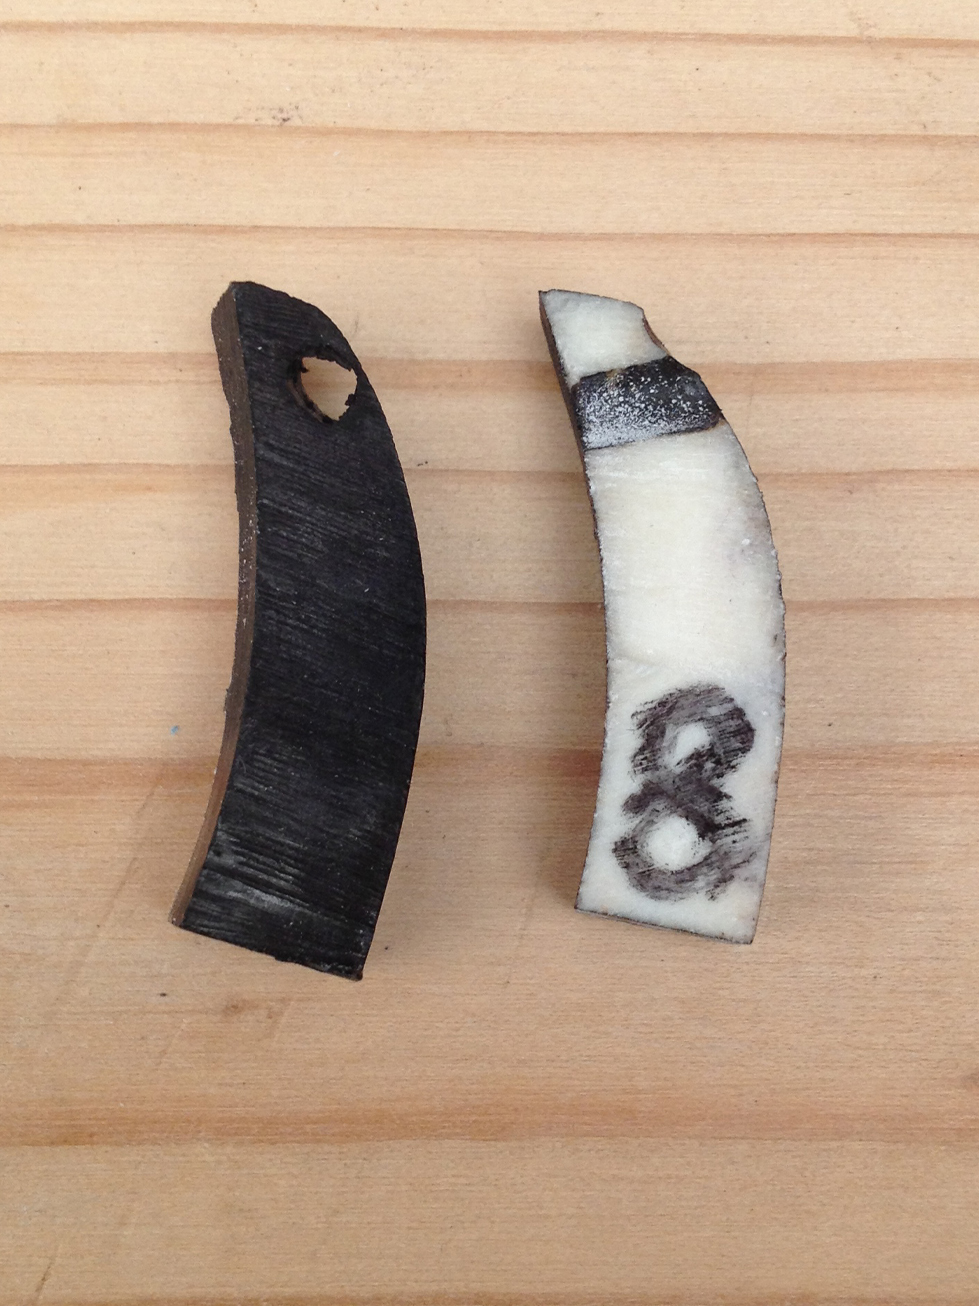
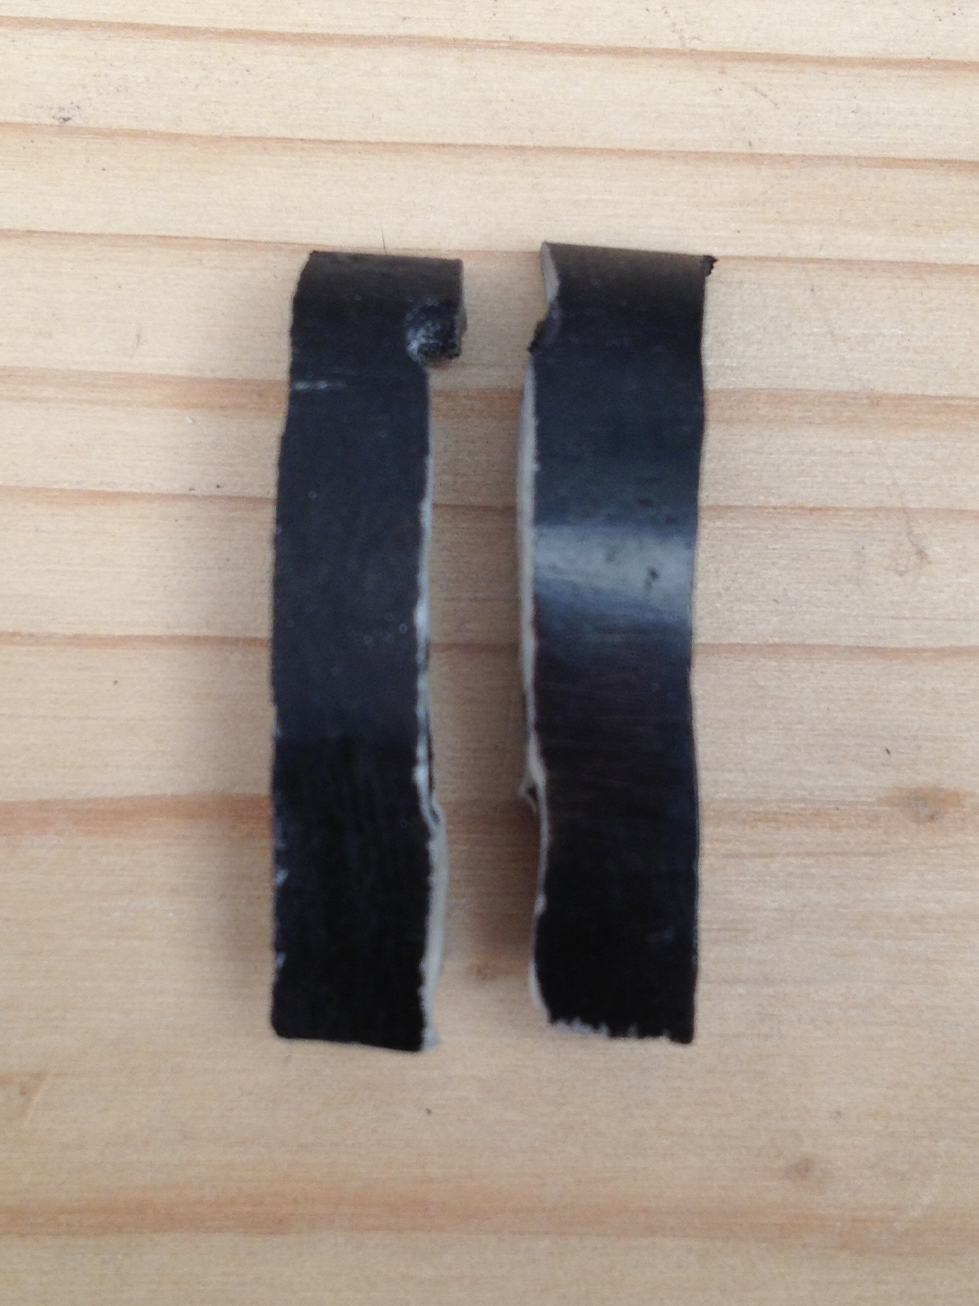
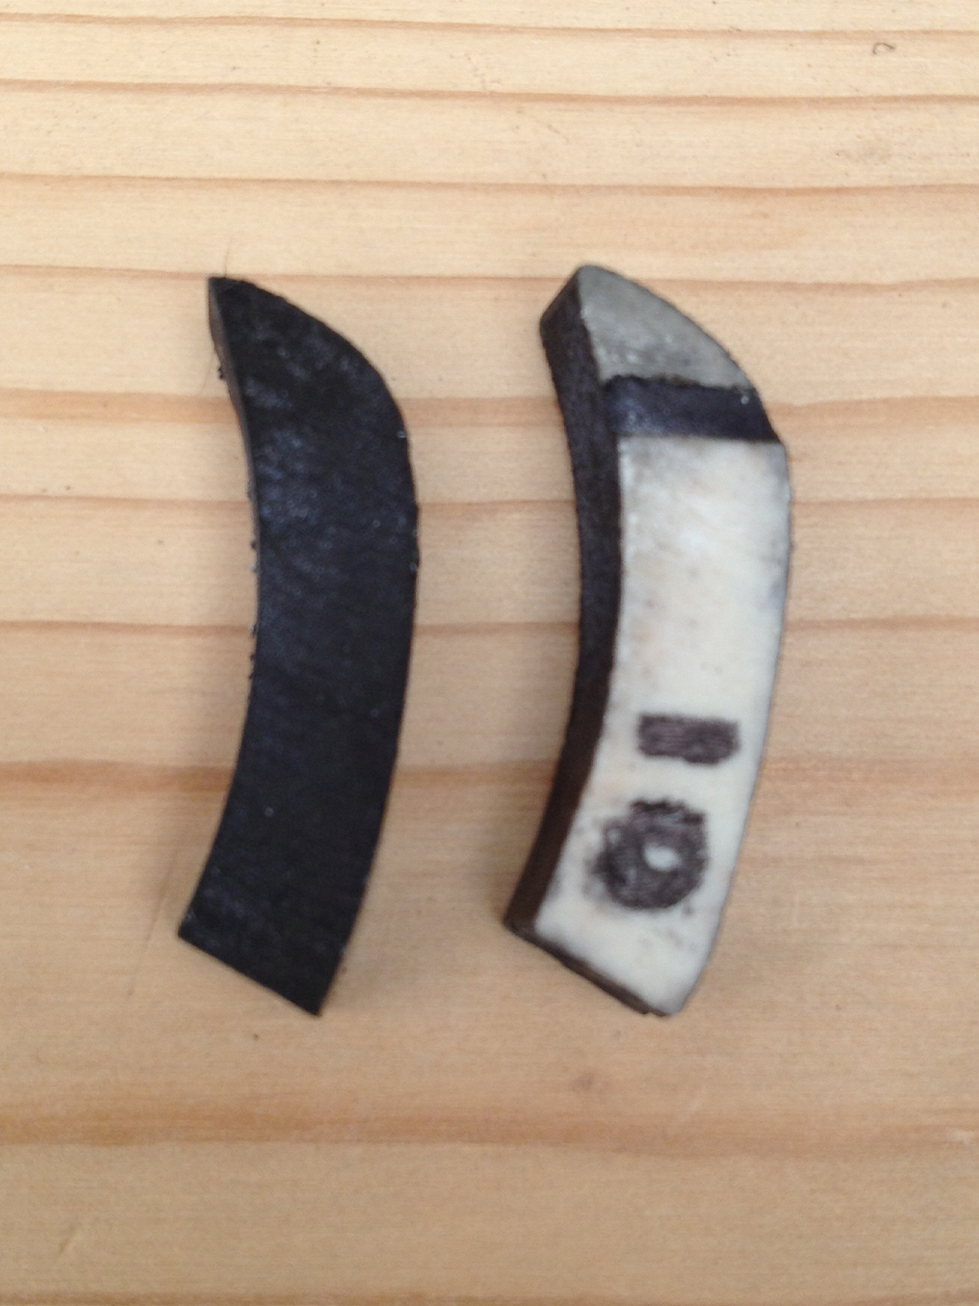
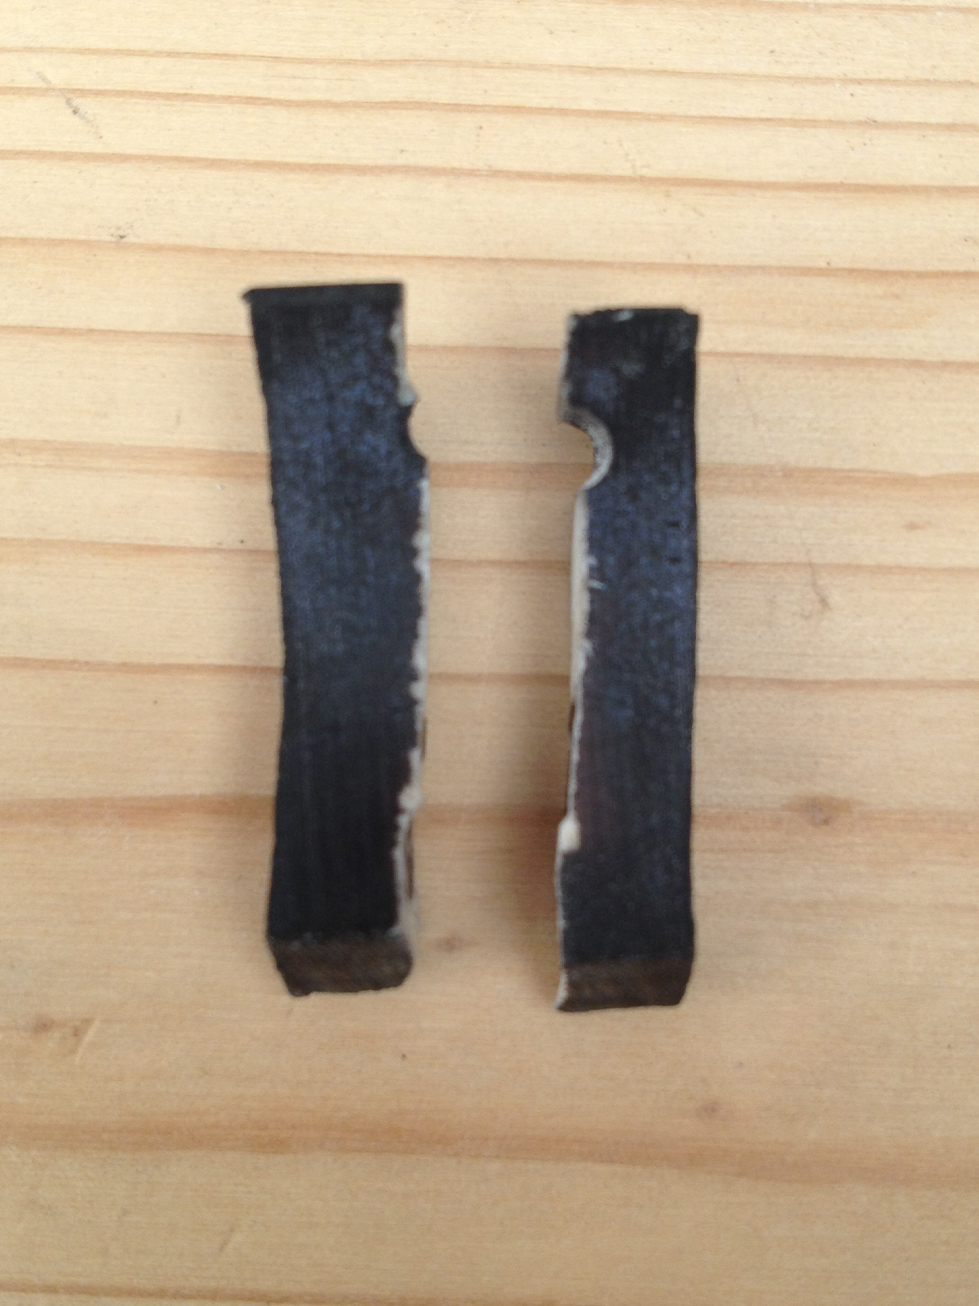
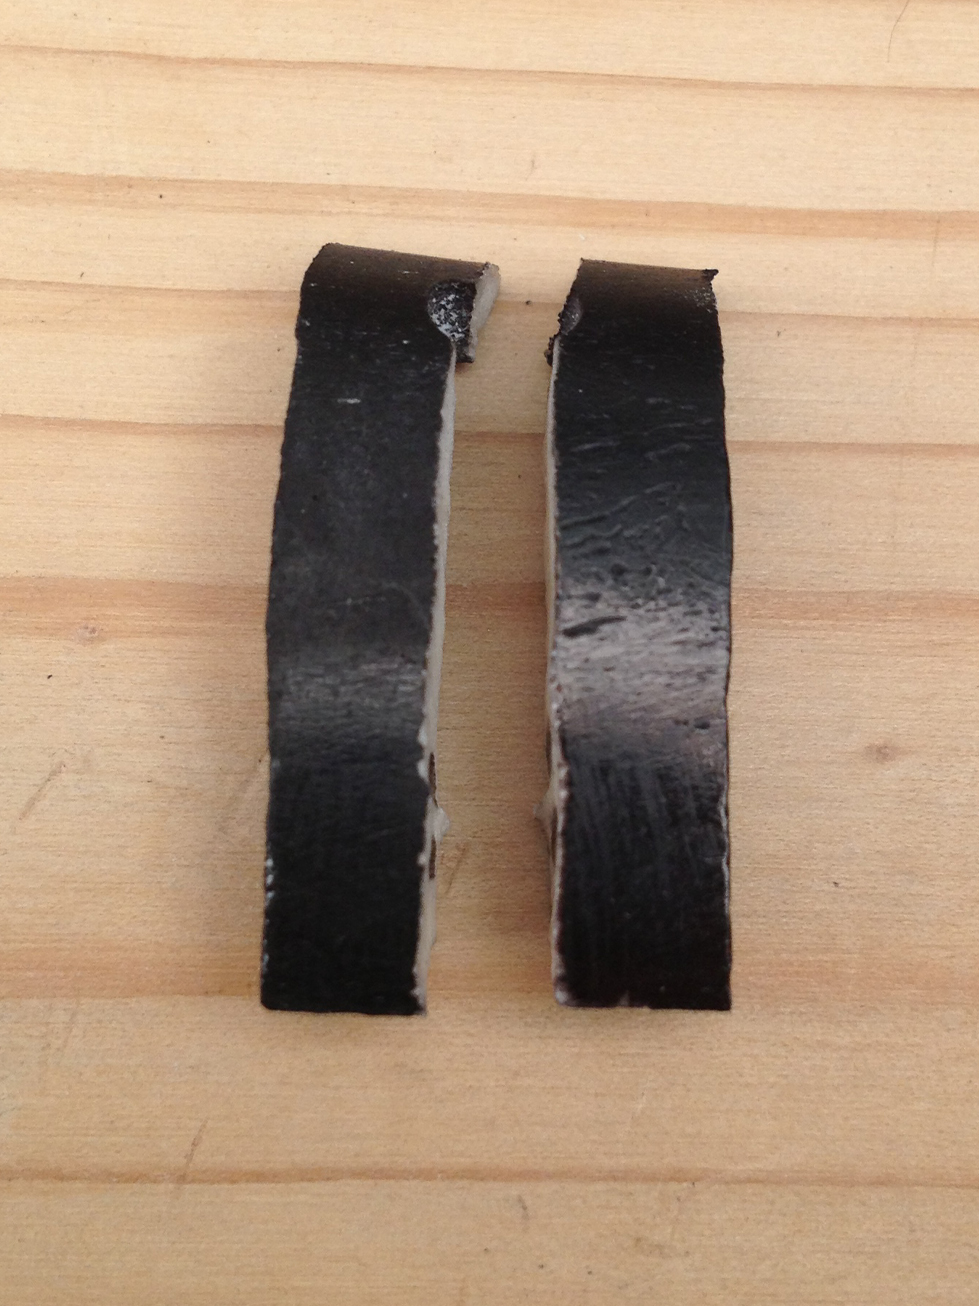
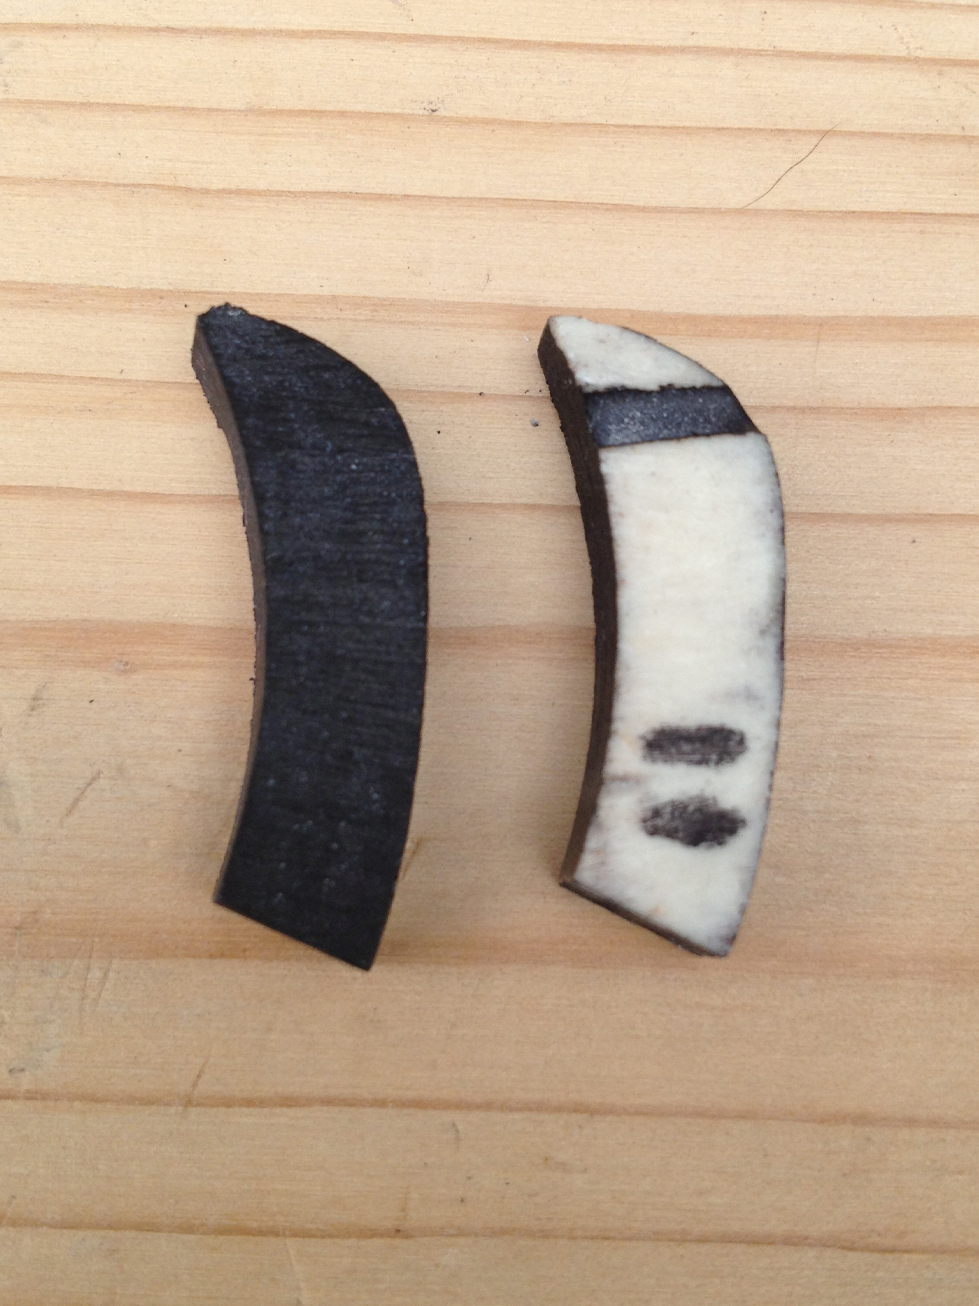
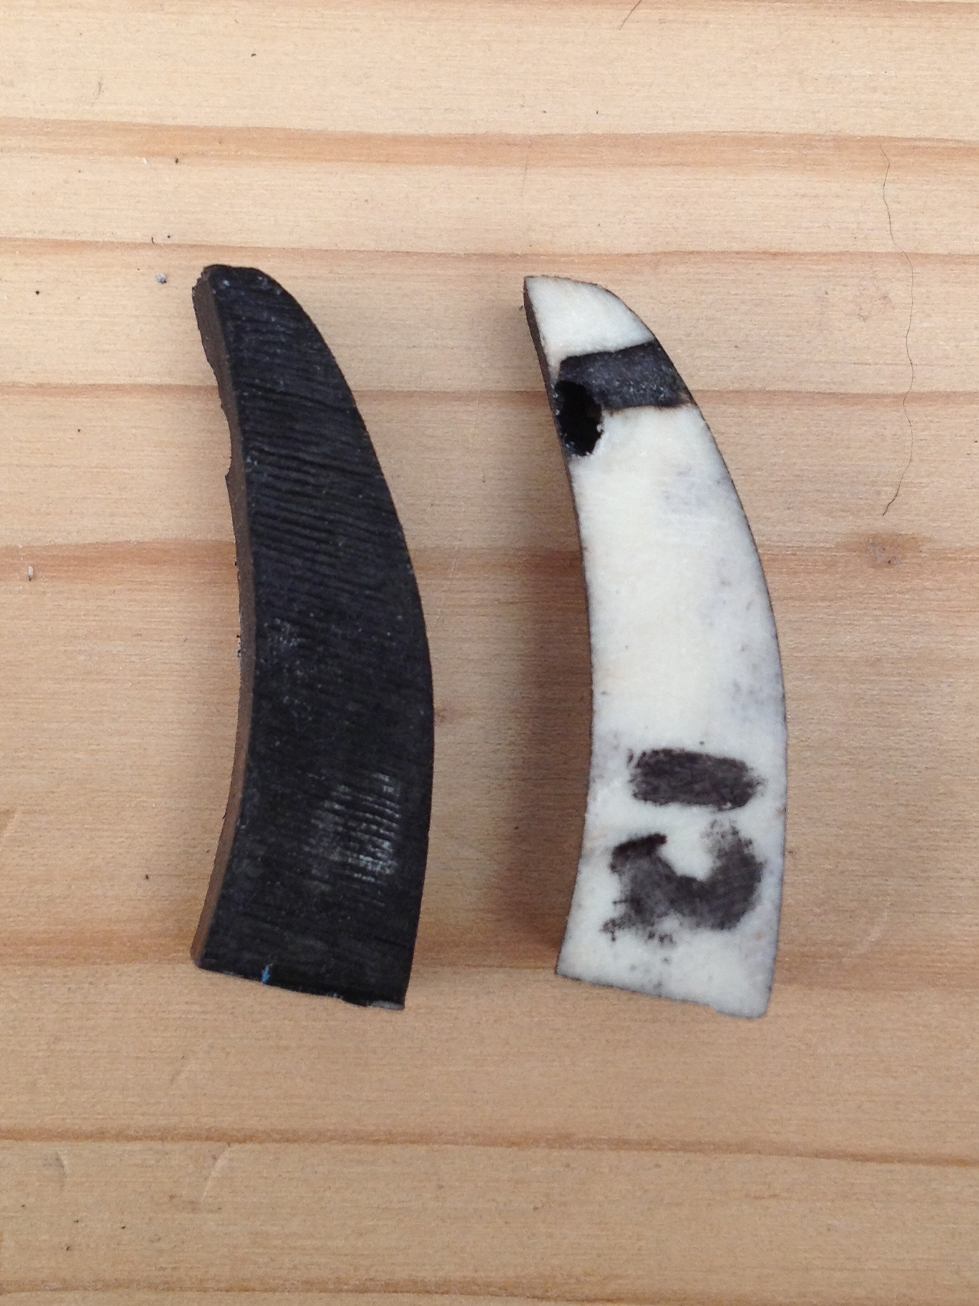
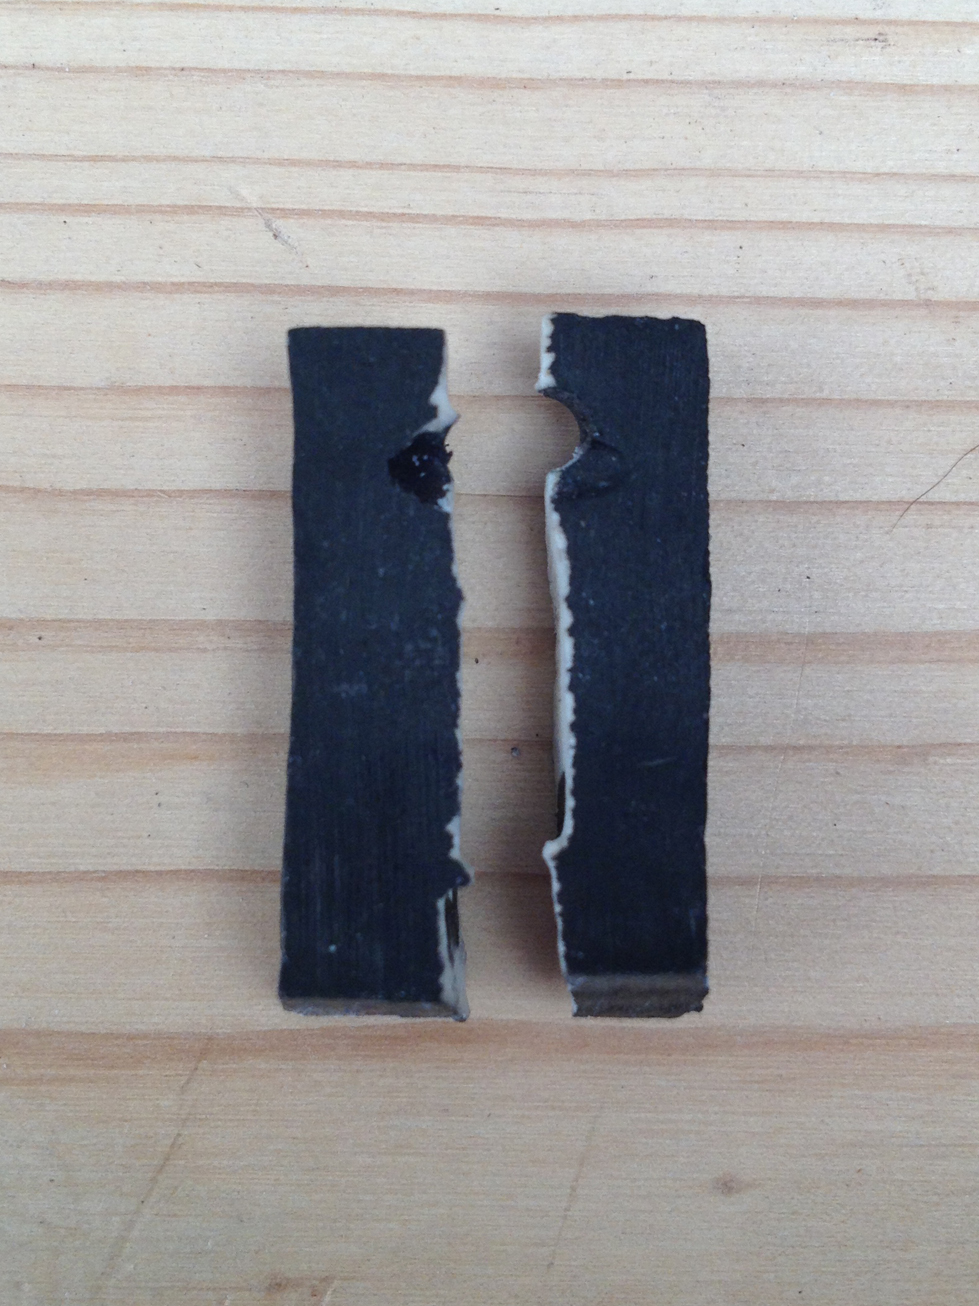
I asked my wife to help sift through all the research I did online and she came up with the following experiment to see which processes worked best for turning bone as black as possible without loosing too much of the surface texture. The results so far suggest that the rougher the bone’s surface the more the dye will infiltrate but it didn’t soak into the bone very deep on any of the pieces.

Bone Dying Test: Instructions

 Degreasing (after this step, wear gloves)

  1. oven cleaner method: follow instructions on product
  2. dish soap: wash like a dish, rinse
  3. nothing: easy

Surface Treatment

  1. sand to 1500 grit
  2. sand to 1500 grit, then soak in vinegar 30 minutes and rinse in water with baking soda
  3. sand to coarse grit

Dyeing (use 2 small pots for different time lengths)

  1. put pieces into pot
  2. cover with just enough (normal temperature) water
  3. add a few drops dishwashing liquid
  4. bring to simmer (NOT BOILING)
  5. add ¼ bottle of dye (+ salt if dye container says so)
  6. keep at simmer (NOT BOILING) for either 15 minutes or 1 hour
  7. remove from heat and allow to cool (keep bone in pot)
  8. once water has cooled to room temperature, remove and rinse pieces

Finishing

try nothing, mineral oil, or carnuba wax

15 minutes in dye
no degreasing dish soap oven cleaner
fine sand  1 – light grey  2 – light grey  3 – light grey
coarse sand  1 – grey  2 – grey  3 – grey
vinegar  4 – near black  5 – Black  6 – Black


60 minutes in dye
no degreasing dish soap oven cleaner
fine sand  7 – grey  8 – grey  9 – dark grey
coarse sand  7 – black  8 – near black  9 – black
vinegar  10 – Black  11 – Black  12 – Black

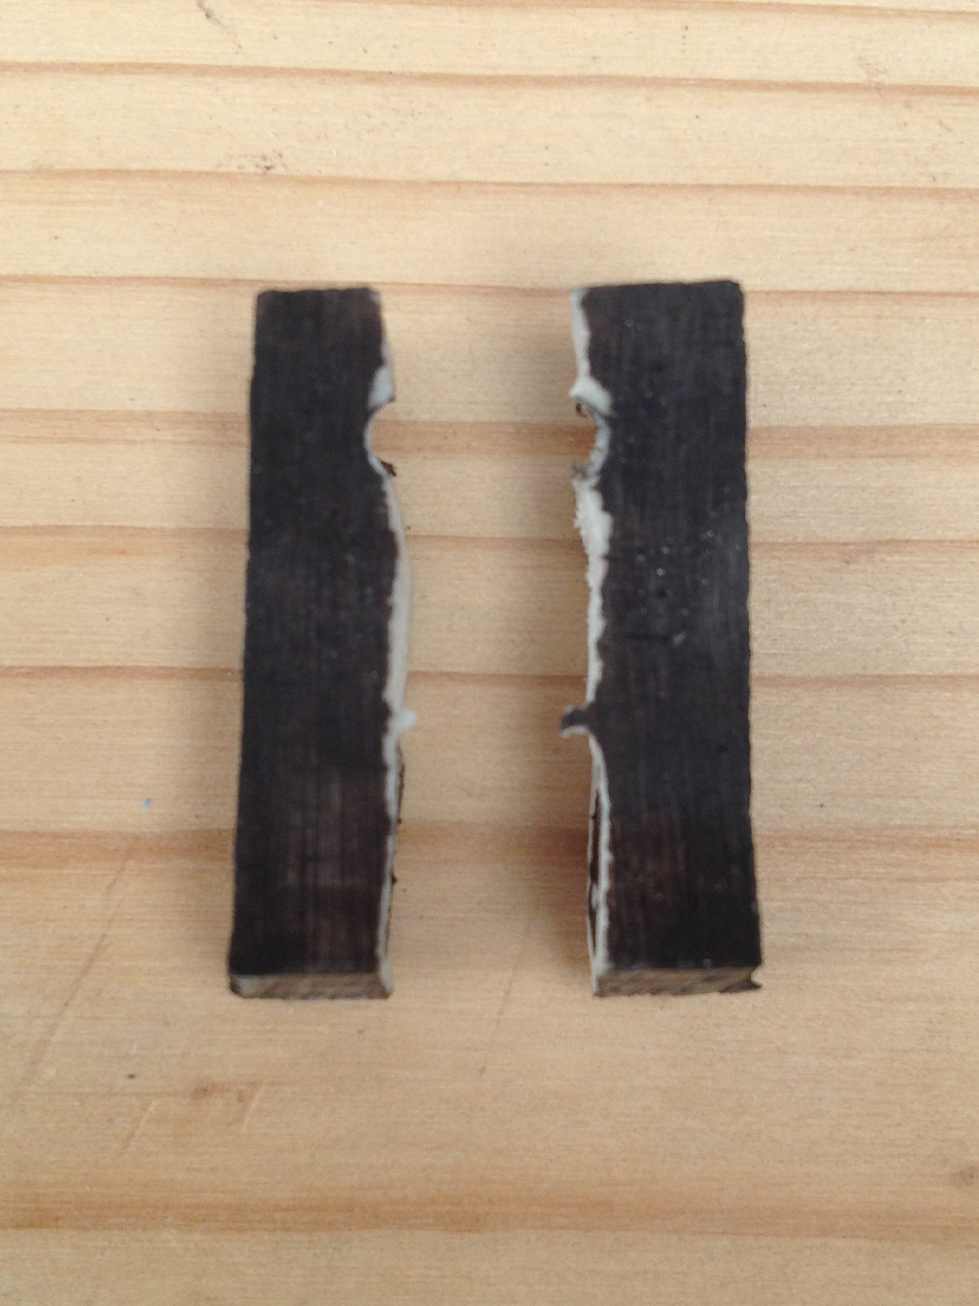
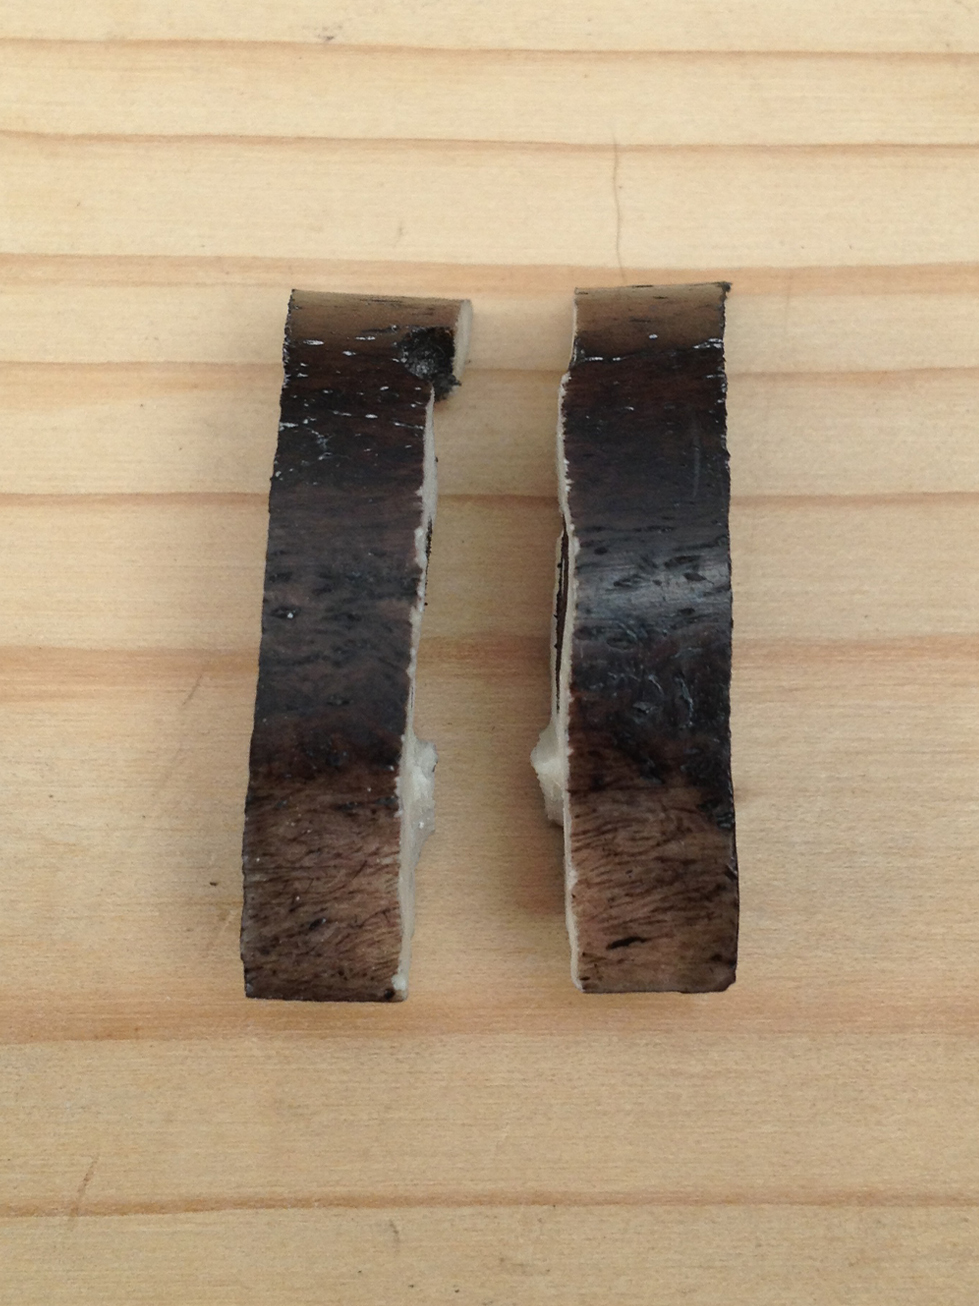
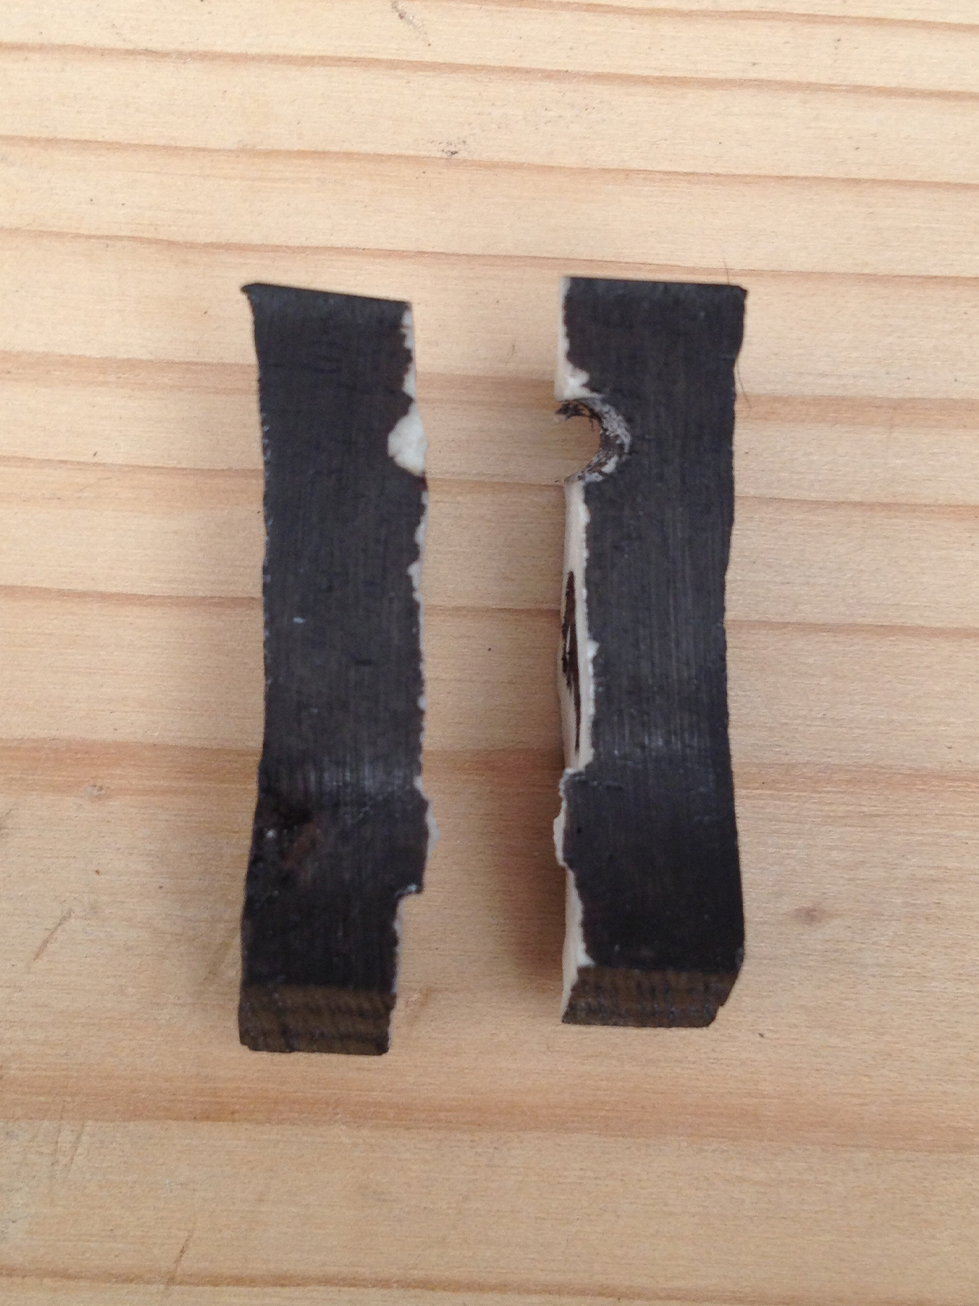
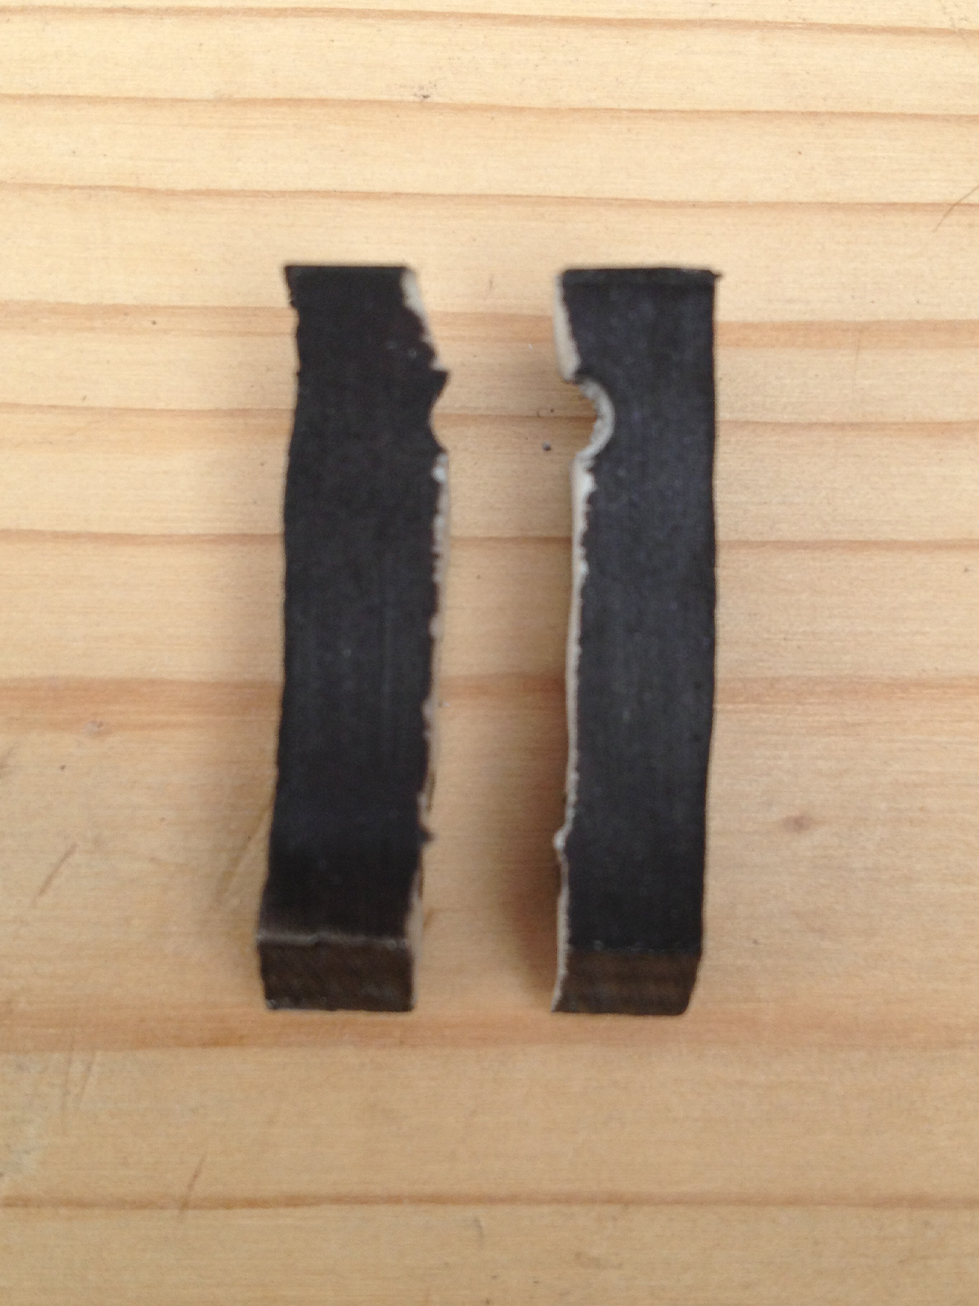
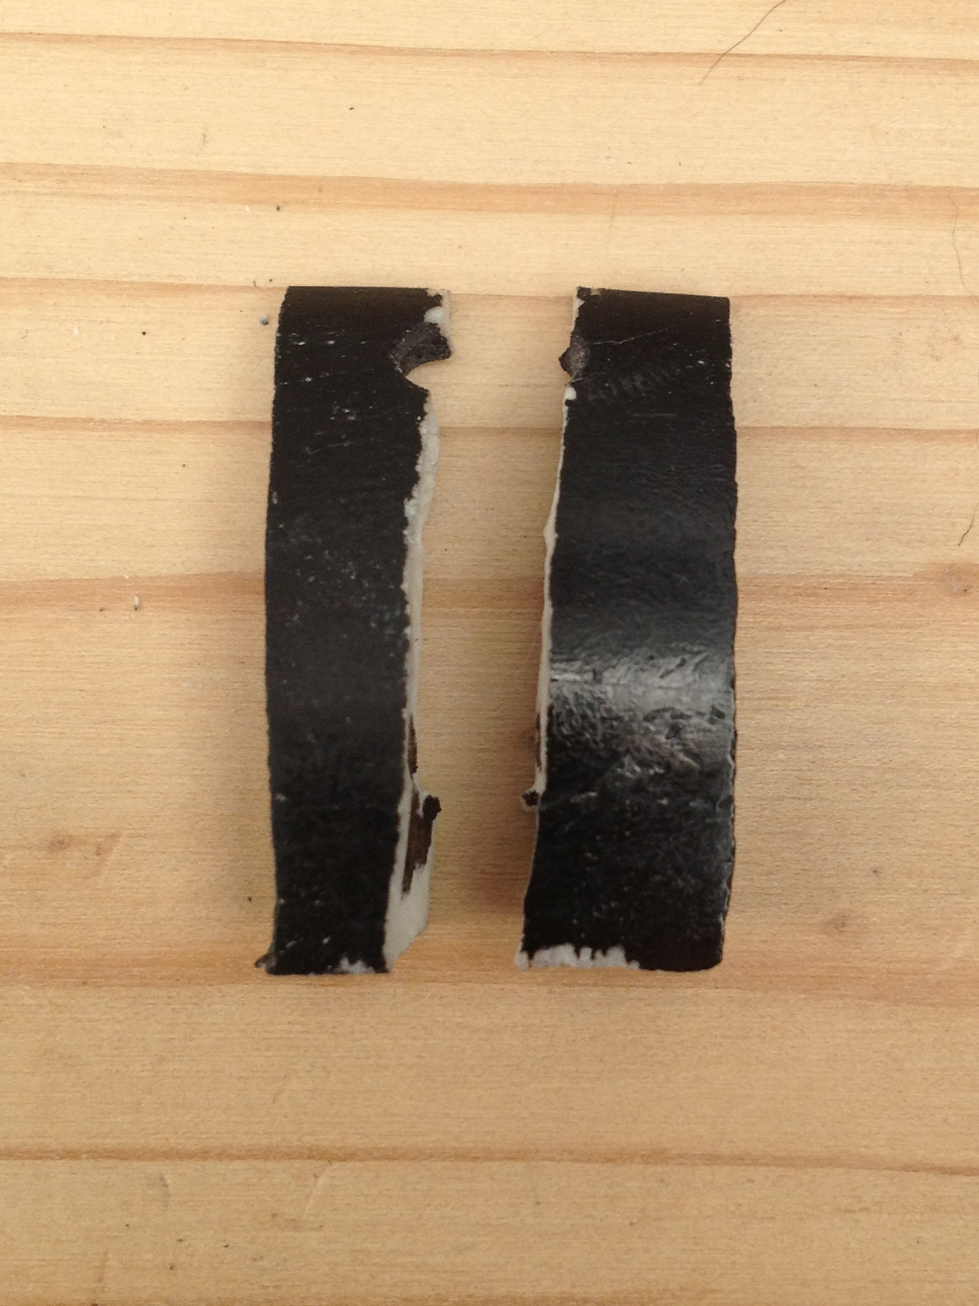
Photos of pieces after treatment:


Back to STUDIO TAPU HOME

Panther Toe nails – Staining bone black experiment 1: Black Dye Process

The following pictures demonstrate how we prepared and dyed the bone in the first attempt to get black bone without loosing too much of the quality of the bone. (Complete steps in next post)

(Above) First off, I made 12 ‘Panther toe-nails’ from two slightly different pieces of bone. I sanded the front of all up to Fine 1500 grit and left the other sides at Coarse 100 grit. I didn’t spend that much time on sanding, I just wanted to get an idea of the impact on the various surfaces.

(Above) Next, we labeled each of the pieces one through twelve.

(Above) Some of the pieces were degreased in oven cleaner while others were scrubbed with dish-soap to see if we could get the oils out of the bone. Also some pieces were left alone.

(Above) In this step, we just soaked some of the pieces in vinegar to slightly roughen the surface.

(Above) We also thoroughly rinsed the vinegar off the pieces that were soaked.

(Above) Then we neutralized the vinegar with a solution of baking soda and rinsed again.

(Above) Next, we tied the pieces to chopsticks and put them in pots.

(Above) We filled the pots with just enough water to cover the ‘toe-nails’ (2 cups) and added a little bit of dish soap to each along with 4 tablespoons of the black dye and a 1/4 cup of salt.

(Above) We put the pieces back in and tended them while they simmered to make sure they didn’t boil. One pot was on for just 15 minutes while the other continued for one hour (turned into the mess pictured above).

(Above) We left the pieces in the water until they cooled down to room temperature then rinsed them under cold water thoroughly.

Back to STUDIO TAPU HOME

Bone Carving Resources – The Studio Tapu Book List

From time to time people contact me through my website asking how to go about making their own bone carving. Unfortunately unless you come from New Zealand or a Pacific Island there just are not that many resources available. So going forward I will post any and all bone carving related resources I come across and here are a few I have already found. Some of the books are hard to find but not impossible.

Bone Carving – A Skillbase of Techniques and Concepts by Stephen Myhre

This book is essentially the Bone Carving Bible. It sets a precedent for quality of craftsmanship and it will walk you through step by step how to prepare the bone, what tools to use and how to approach traditional Maori motifs without offending anyone. It is the kind of book you keep on hand when carving as a reference if you ever get stuck or forget what cleaning agent to use and so on. I recommend this book to anyone interested in bone carving be they beginner or advanced.

Scrimshaw Techniques by Jim Stevens

Not essentially a bone carving book but it does cover some bone preparation techniques relevant to bone carving. For anyone interested in scrimshaw it is a great resource. I enjoyed reading about the history of this art form and I hope to incorporate some scrimshaw into my own work at some point.

Manawa Pacific Heartbeat – A Celebration of Contemporary Maori and Northwest Coast Art by Nigel Reading and Gary Wyatt

This book covers the art of contemporary artists from Maori, Inuit and native American backgrounds. The unique cultures actually have a lot in common through their artwork which is commonly carved wood and bone amongst other mediums. Its great to see these artists getting some recognition for their skills.