I asked my wife to help sift through all the research I did online and she came up with the following experiment to see which processes worked best for turning bone as black as possible without loosing too much of the surface texture. The results so far suggest that the rougher the bone’s surface the more the dye will infiltrate but it didn’t soak into the bone very deep on any of the pieces.
Bone Dying Test: Instructions
Degreasing (after this step, wear gloves)
- oven cleaner method: follow instructions on product
- dish soap: wash like a dish, rinse
- nothing: easy
Surface Treatment
- sand to 1500 grit
- sand to 1500 grit, then soak in vinegar 30 minutes and rinse in water with baking soda
- sand to coarse grit
Dyeing (use 2 small pots for different time lengths)
- put pieces into pot
- cover with just enough (normal temperature) water
- add a few drops dishwashing liquid
- bring to simmer (NOT BOILING)
- add ¼ bottle of dye (+ salt if dye container says so)
- keep at simmer (NOT BOILING) for either 15 minutes or 1 hour
- remove from heat and allow to cool (keep bone in pot)
- once water has cooled to room temperature, remove and rinse pieces
Finishing
try nothing, mineral oil, or carnuba wax
| 15 minutes in dye | |||
| no degreasing | dish soap | oven cleaner | |
| fine sand | 1 – light grey | 2 – light grey | 3 – light grey |
| coarse sand | 1 – grey | 2 – grey | 3 – grey |
| vinegar | 4 – near black | 5 – Black | 6 – Black |
| 60 minutes in dye | |||
| no degreasing | dish soap | oven cleaner | |
| fine sand | 7 – grey | 8 – grey | 9 – dark grey |
| coarse sand | 7 – black | 8 – near black | 9 – black |
| vinegar | 10 – Black | 11 – Black | 12 – Black |
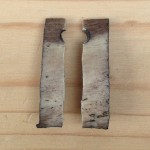
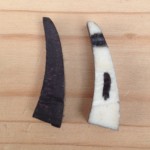
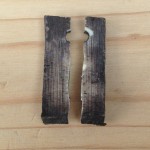
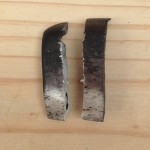
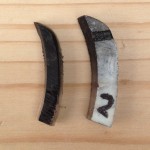
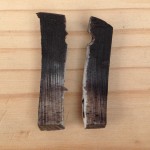
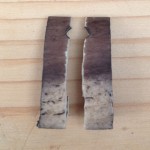
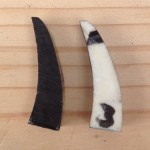
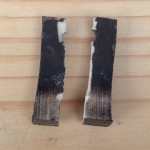
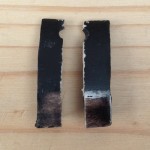
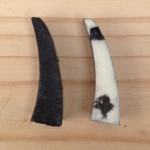
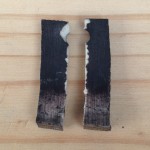
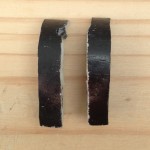
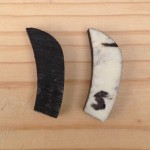
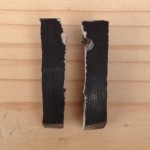
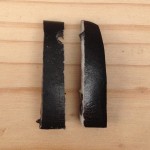
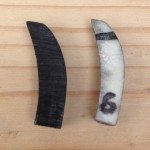
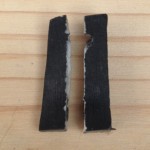
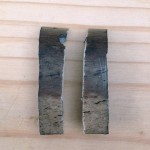
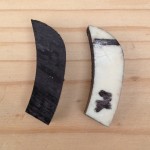
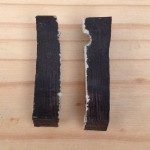
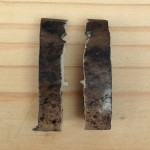
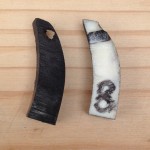
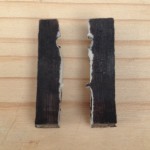
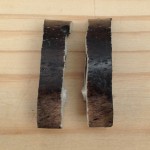
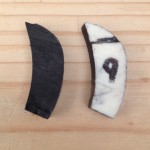
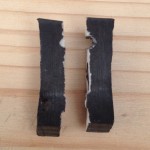
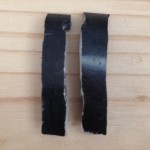
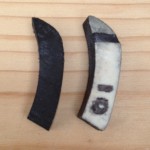
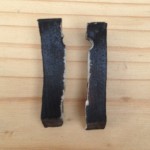
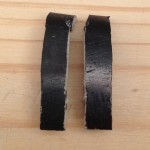
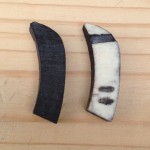
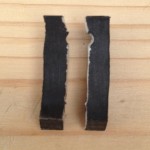
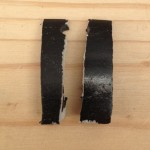
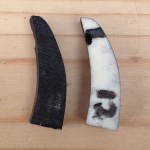
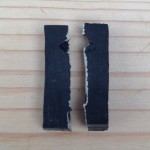
Photos of pieces after treatment:
Back to STUDIO TAPU HOME

Hi. I was very interested that you have had the best effect with degreasing with vinegar. I have been staining bone for using inks and food colouring. I have had some very good and deep colour effects and also some very so-so effects and although the bone didn’t seem to be oily it is quite possible that this the reason for my variable results. I’ll try degreasing next time. Thanks.
Hi, sorry this reply is so late, I just found your comment.
From what we figured the vinegar just roughed up the surface a bit. The rougher the surface was it seemed the darker the colour. In the end my patron didn’t opt for the black dye so we never tried it on the actual carving. I kind of want to try it one in the future though so please share what you find out.
You may want to look at this forum discussing dyeing bone blanks for knives:
Also amongst the research we did:
Cheers!
TJ
Hello!
question is, what kind of paint to use for coloring?
Thanks!
Johny
We didn’t use paint, this was a dyeing test. In the end we kept the bone white but people recommended simply using oil paint to color the bone. I would lightly sand the surface to rough it up before applying the paint.
TJ